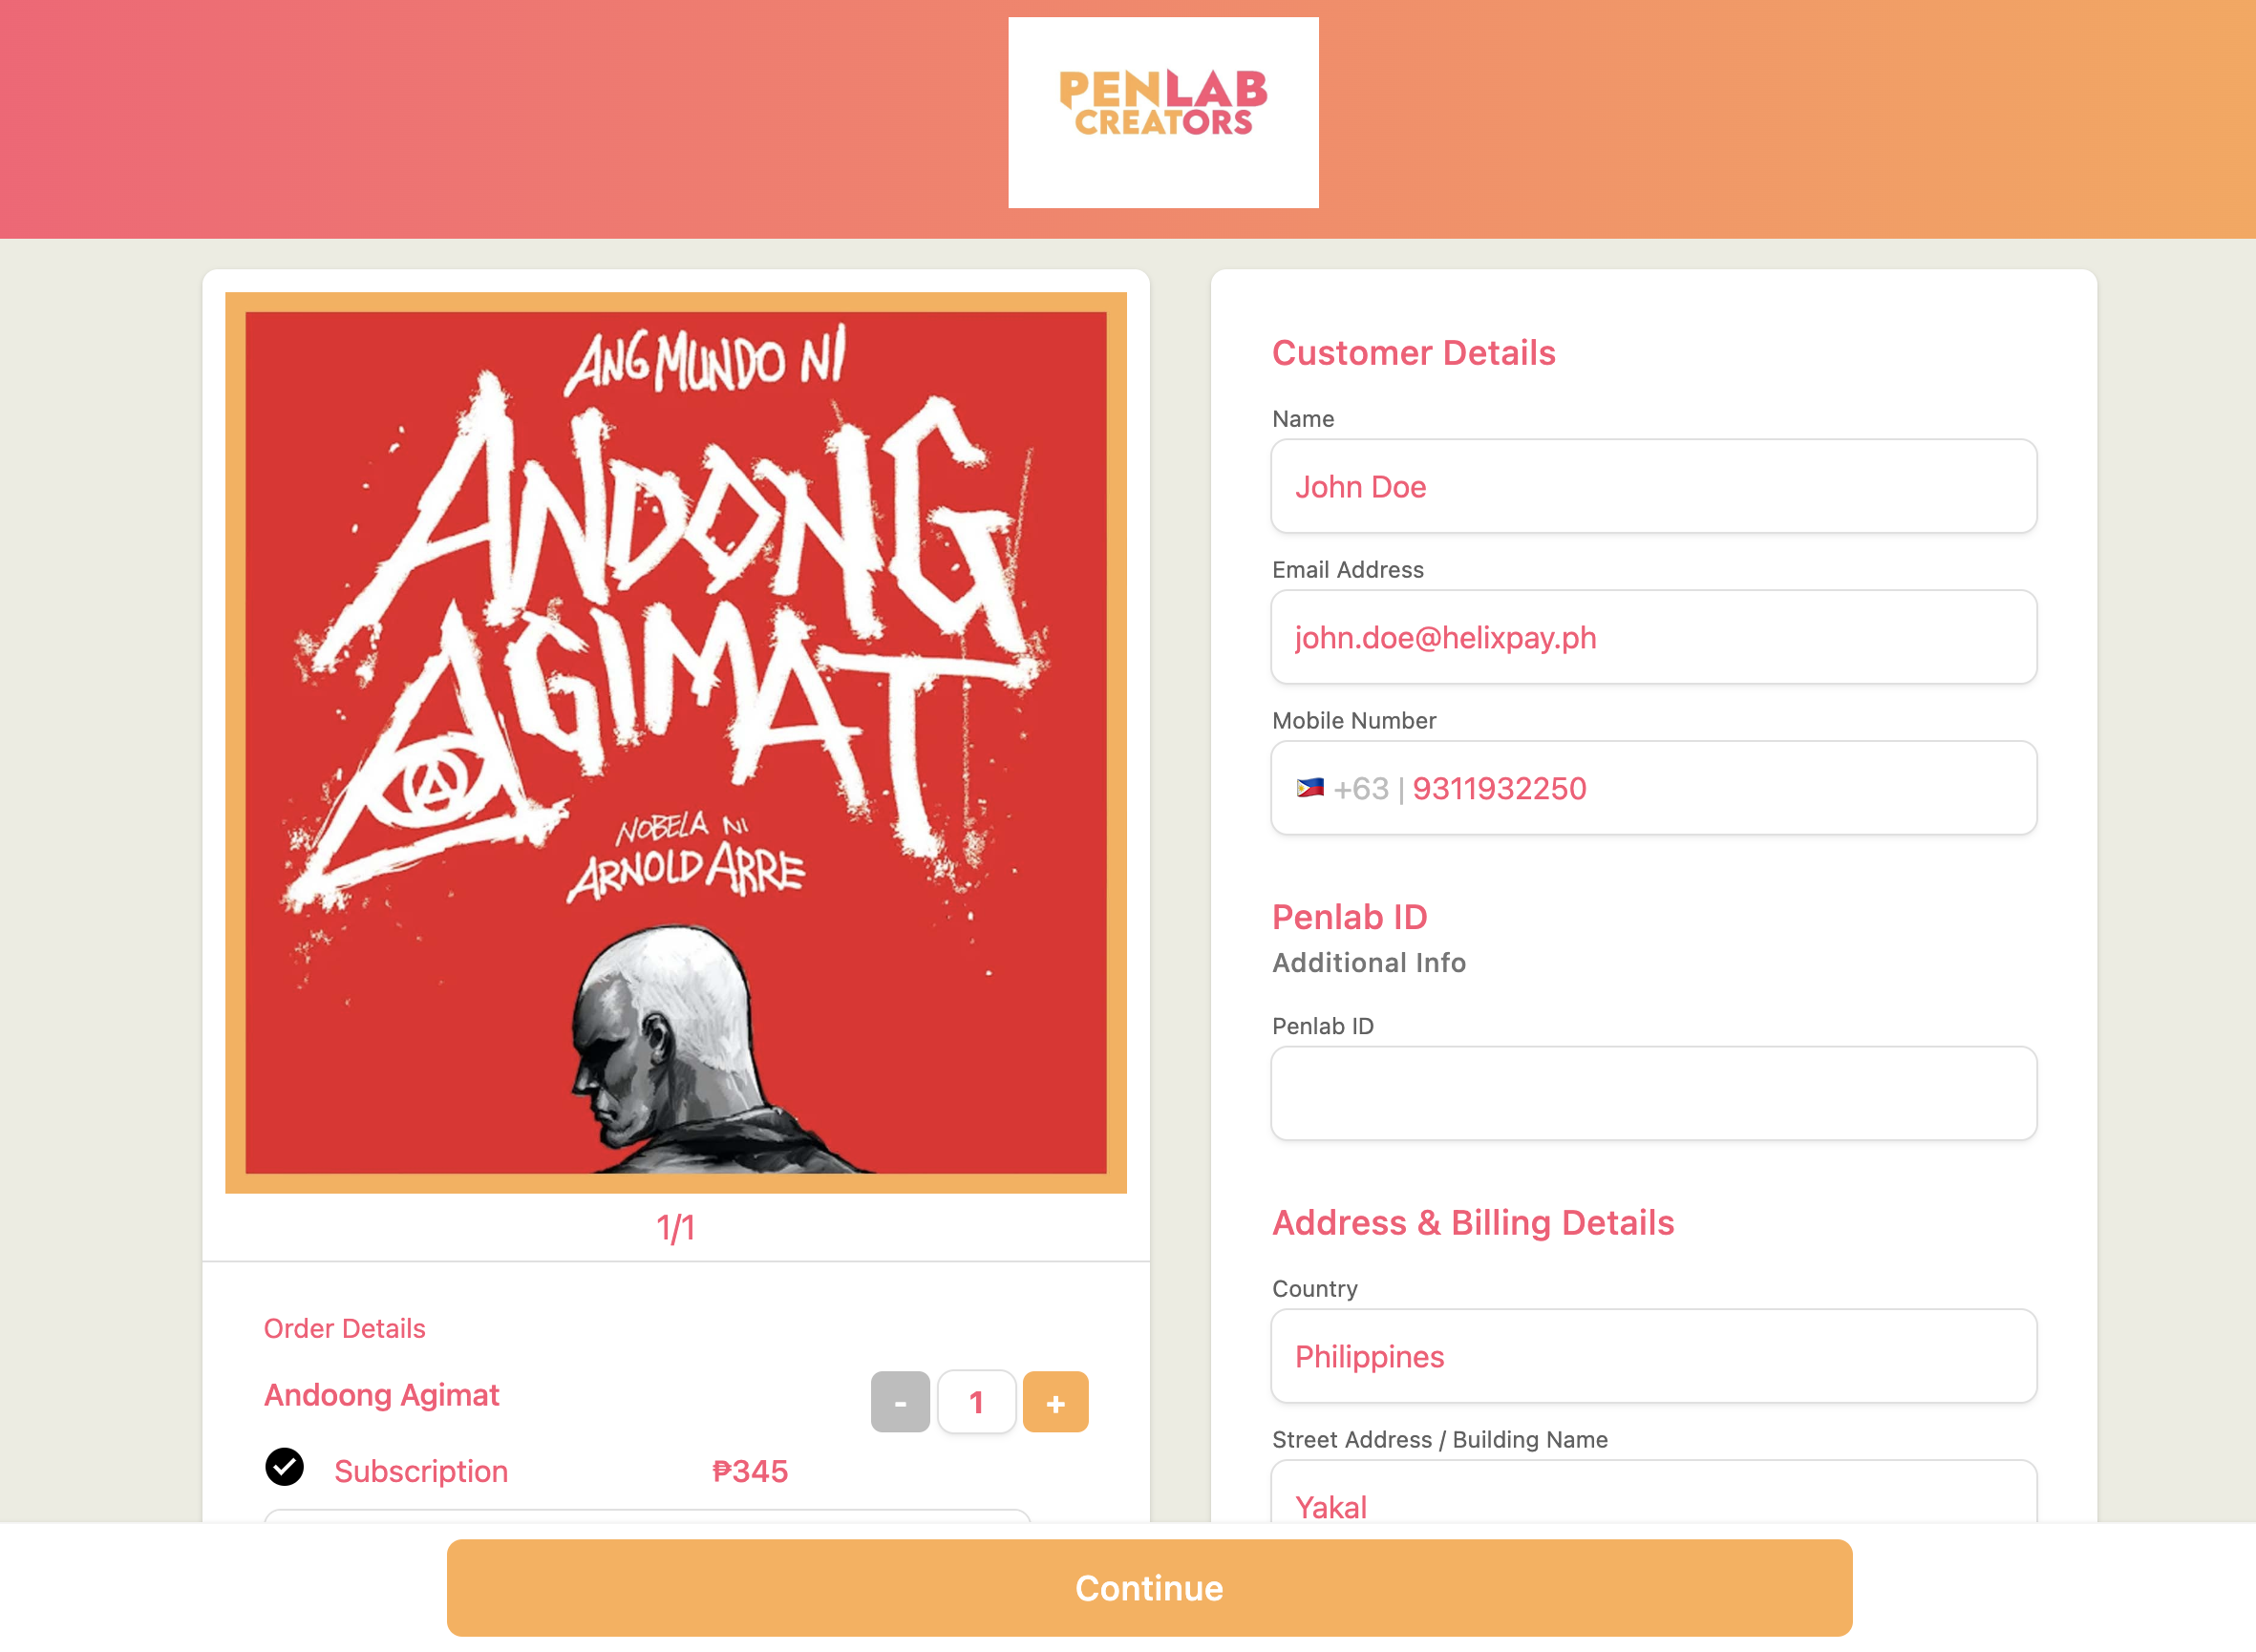
The main purpose of storefront query params is to pre-populate the customer/checkout from fields.
Pre-defined Query Params:
| Name | Type | Required | |
|---|---|---|---|
| name | AlphaNumeric | Yes | |
| AlphaNumeric | Yes | ||
| mobile_country_code | AlphaNumeric | No | Format: ISO 3166-1 alpha-2 |
| mobile_number | Numeric | No | Do not include Mobile Country Code |
| country | AlphaNumeric | No | |
| address | AlphaNumeric | No | |
| city | AlphaNumeric | No | |
| province | Alphanumeric | No | |
| barangay | Alphanumeric | No | |
| zipcode | Alphanumeric | No |
Note: if you pass any query params without the required params it will result to an error 400 page display
sample url format:
<https://{> helixpay storefront domain }?name={customer name}&email={customer email}
Query Params for Custom Fields
If you have custom fields setup in HelixPay Merchant Console, you could also pre-populate those via query params.
Possible use case would be is to attach Merchant's internal IDs to a HelixPay Subscription.
How to setup Custom Component and Field in HelixPay Merchant Console:
First, Go to Settings > Custom Component > Click Create New.

Then, Add Custom Component Title and Description.
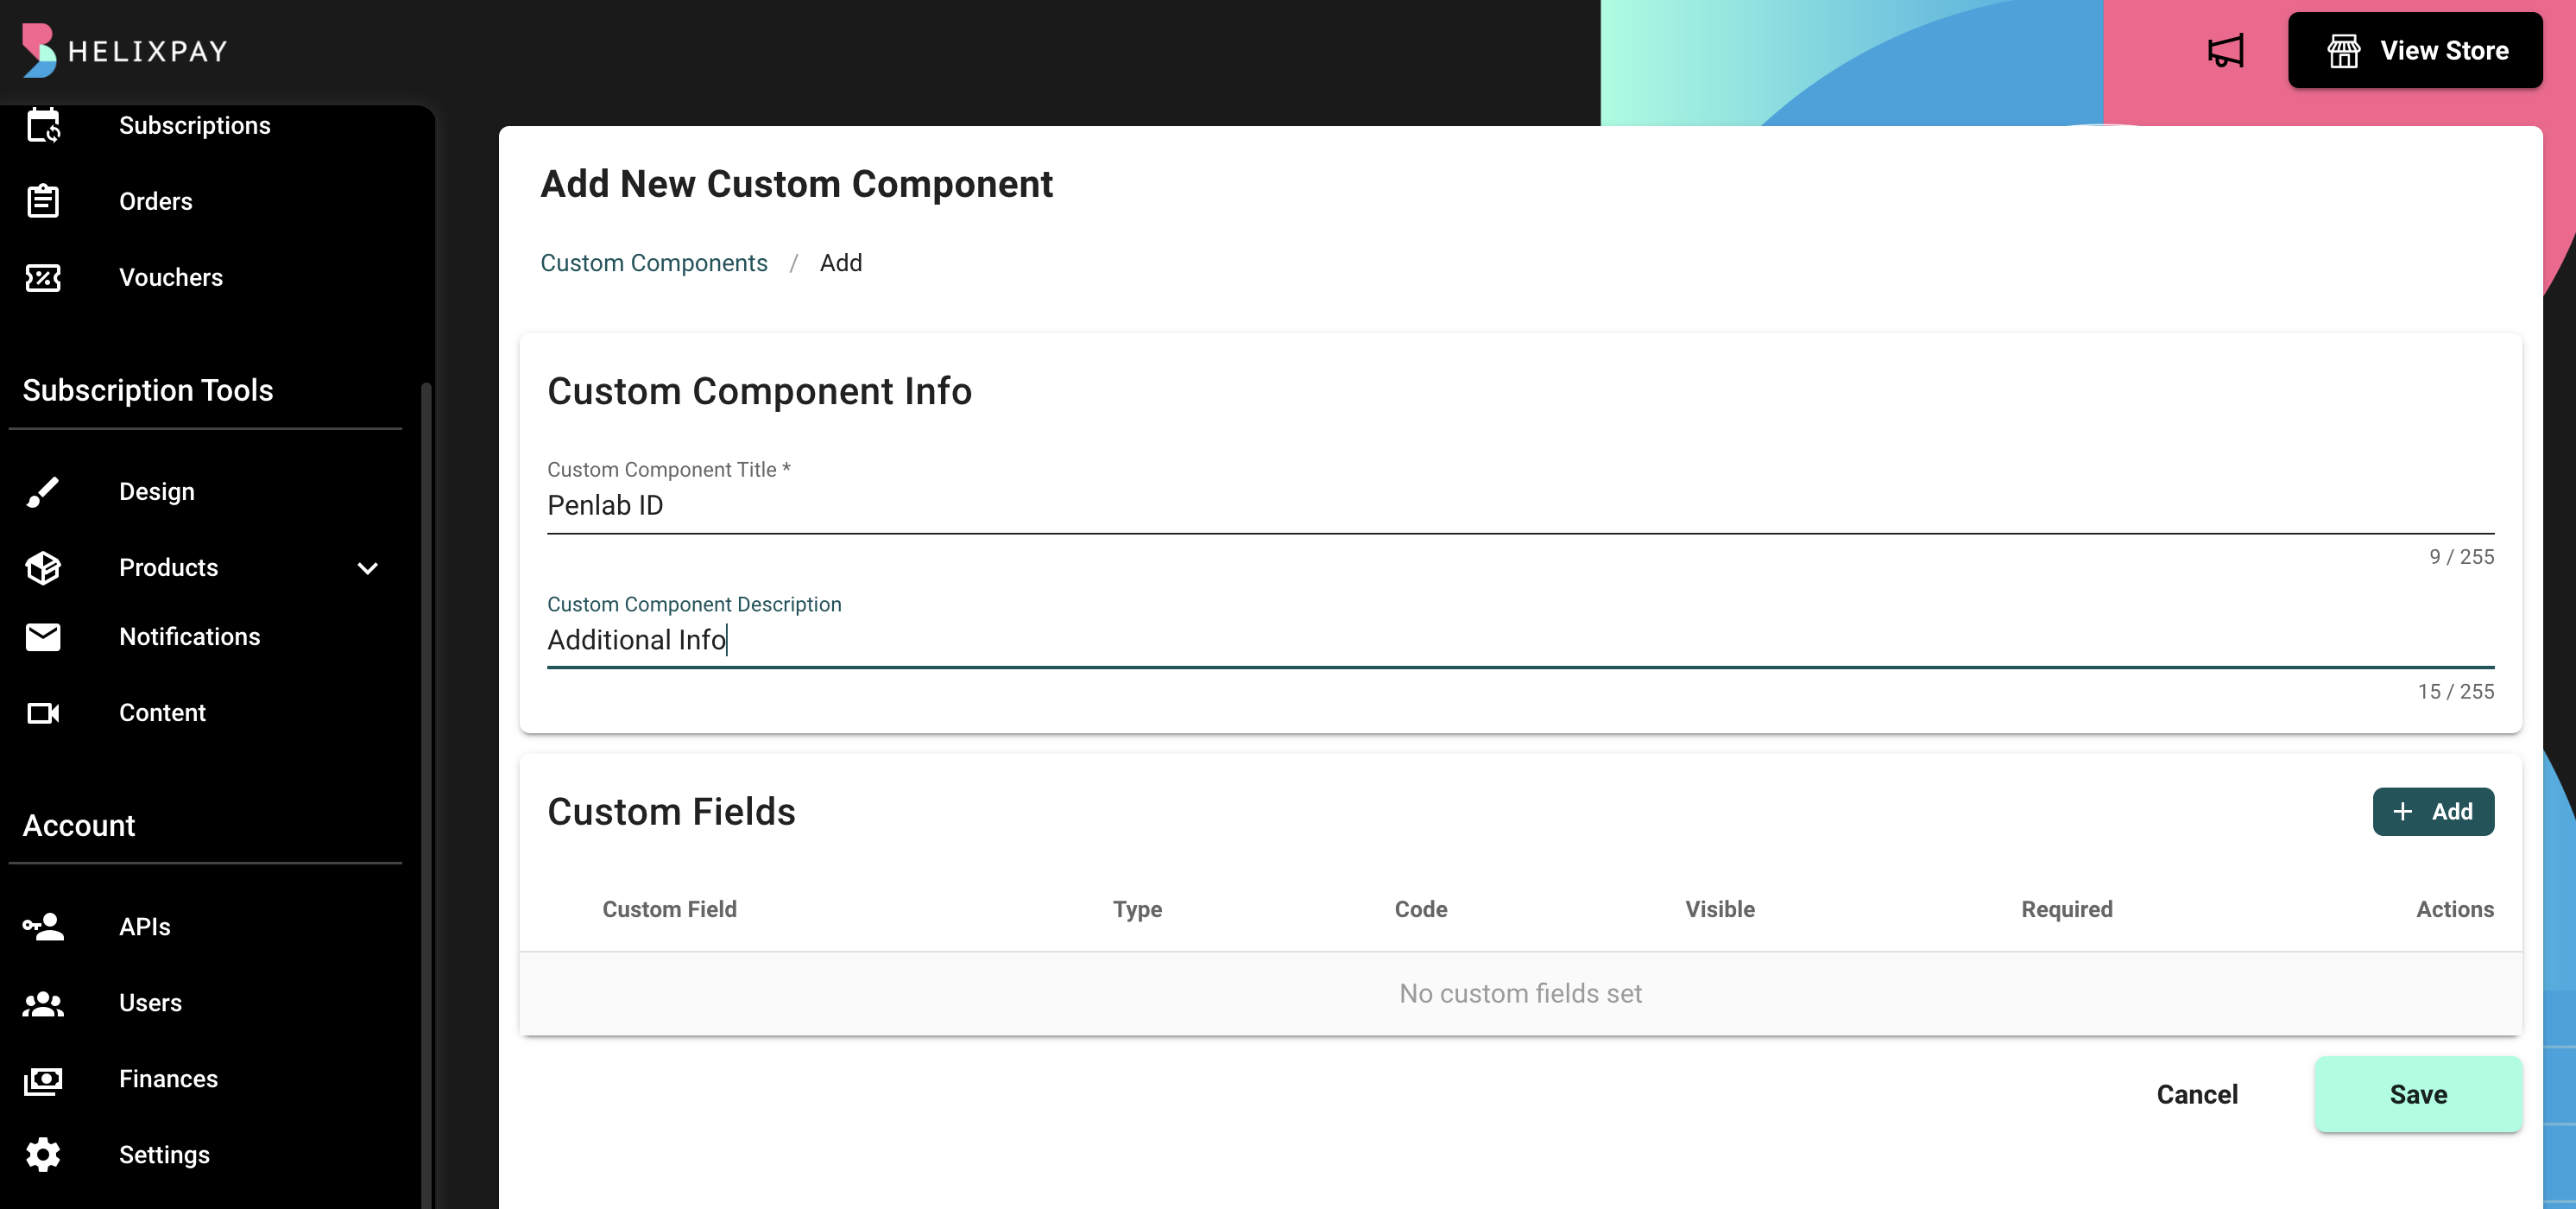
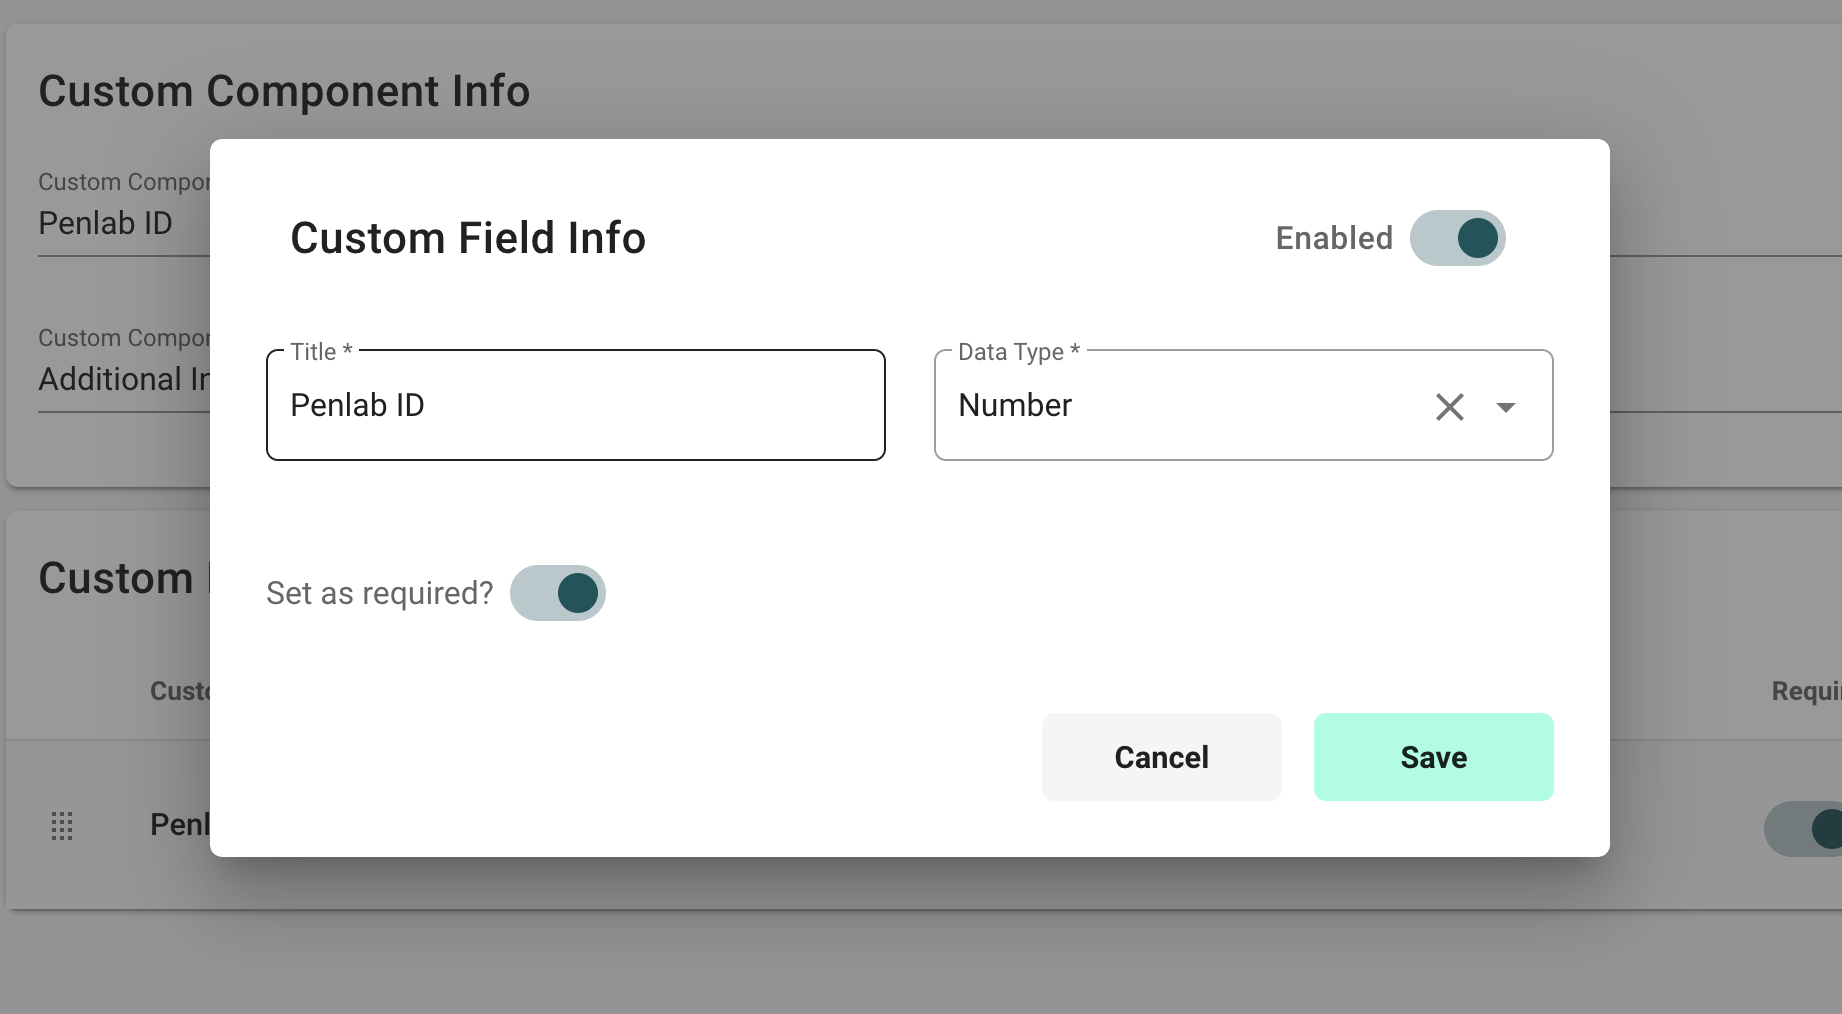
Then, Add Custom Fields.
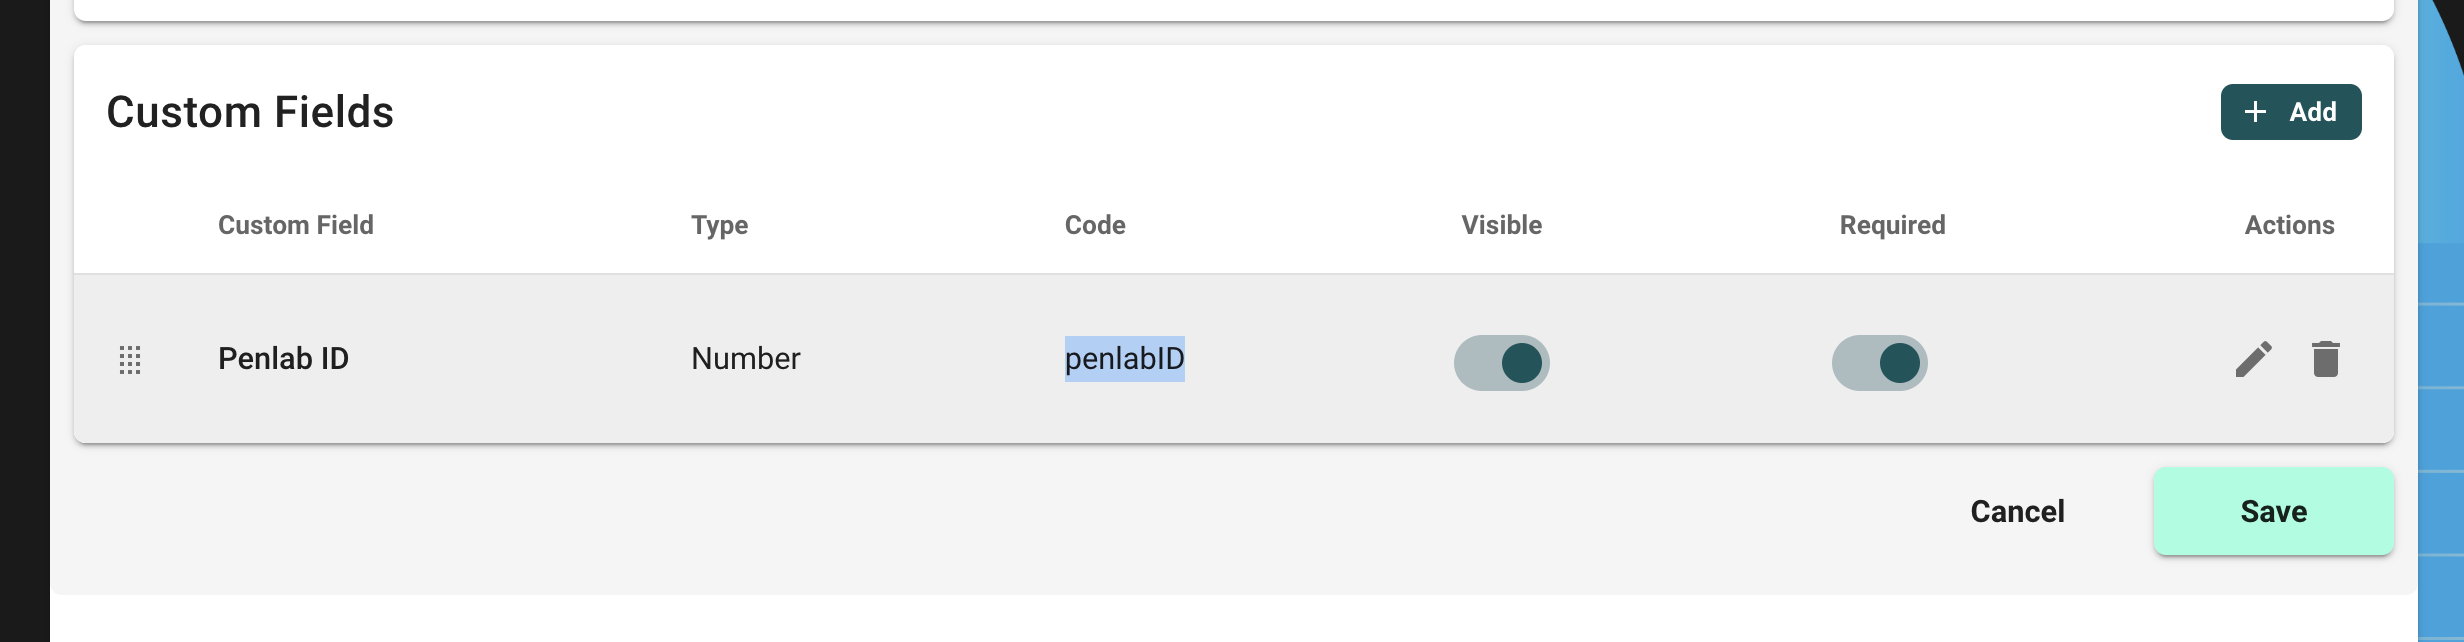
Upon creation, custom code will be generated. This will be used as the query param name of the custom field.
Once the custom component setup has been completed, the new Custom Component and its field(s) will be visible to the storefront.
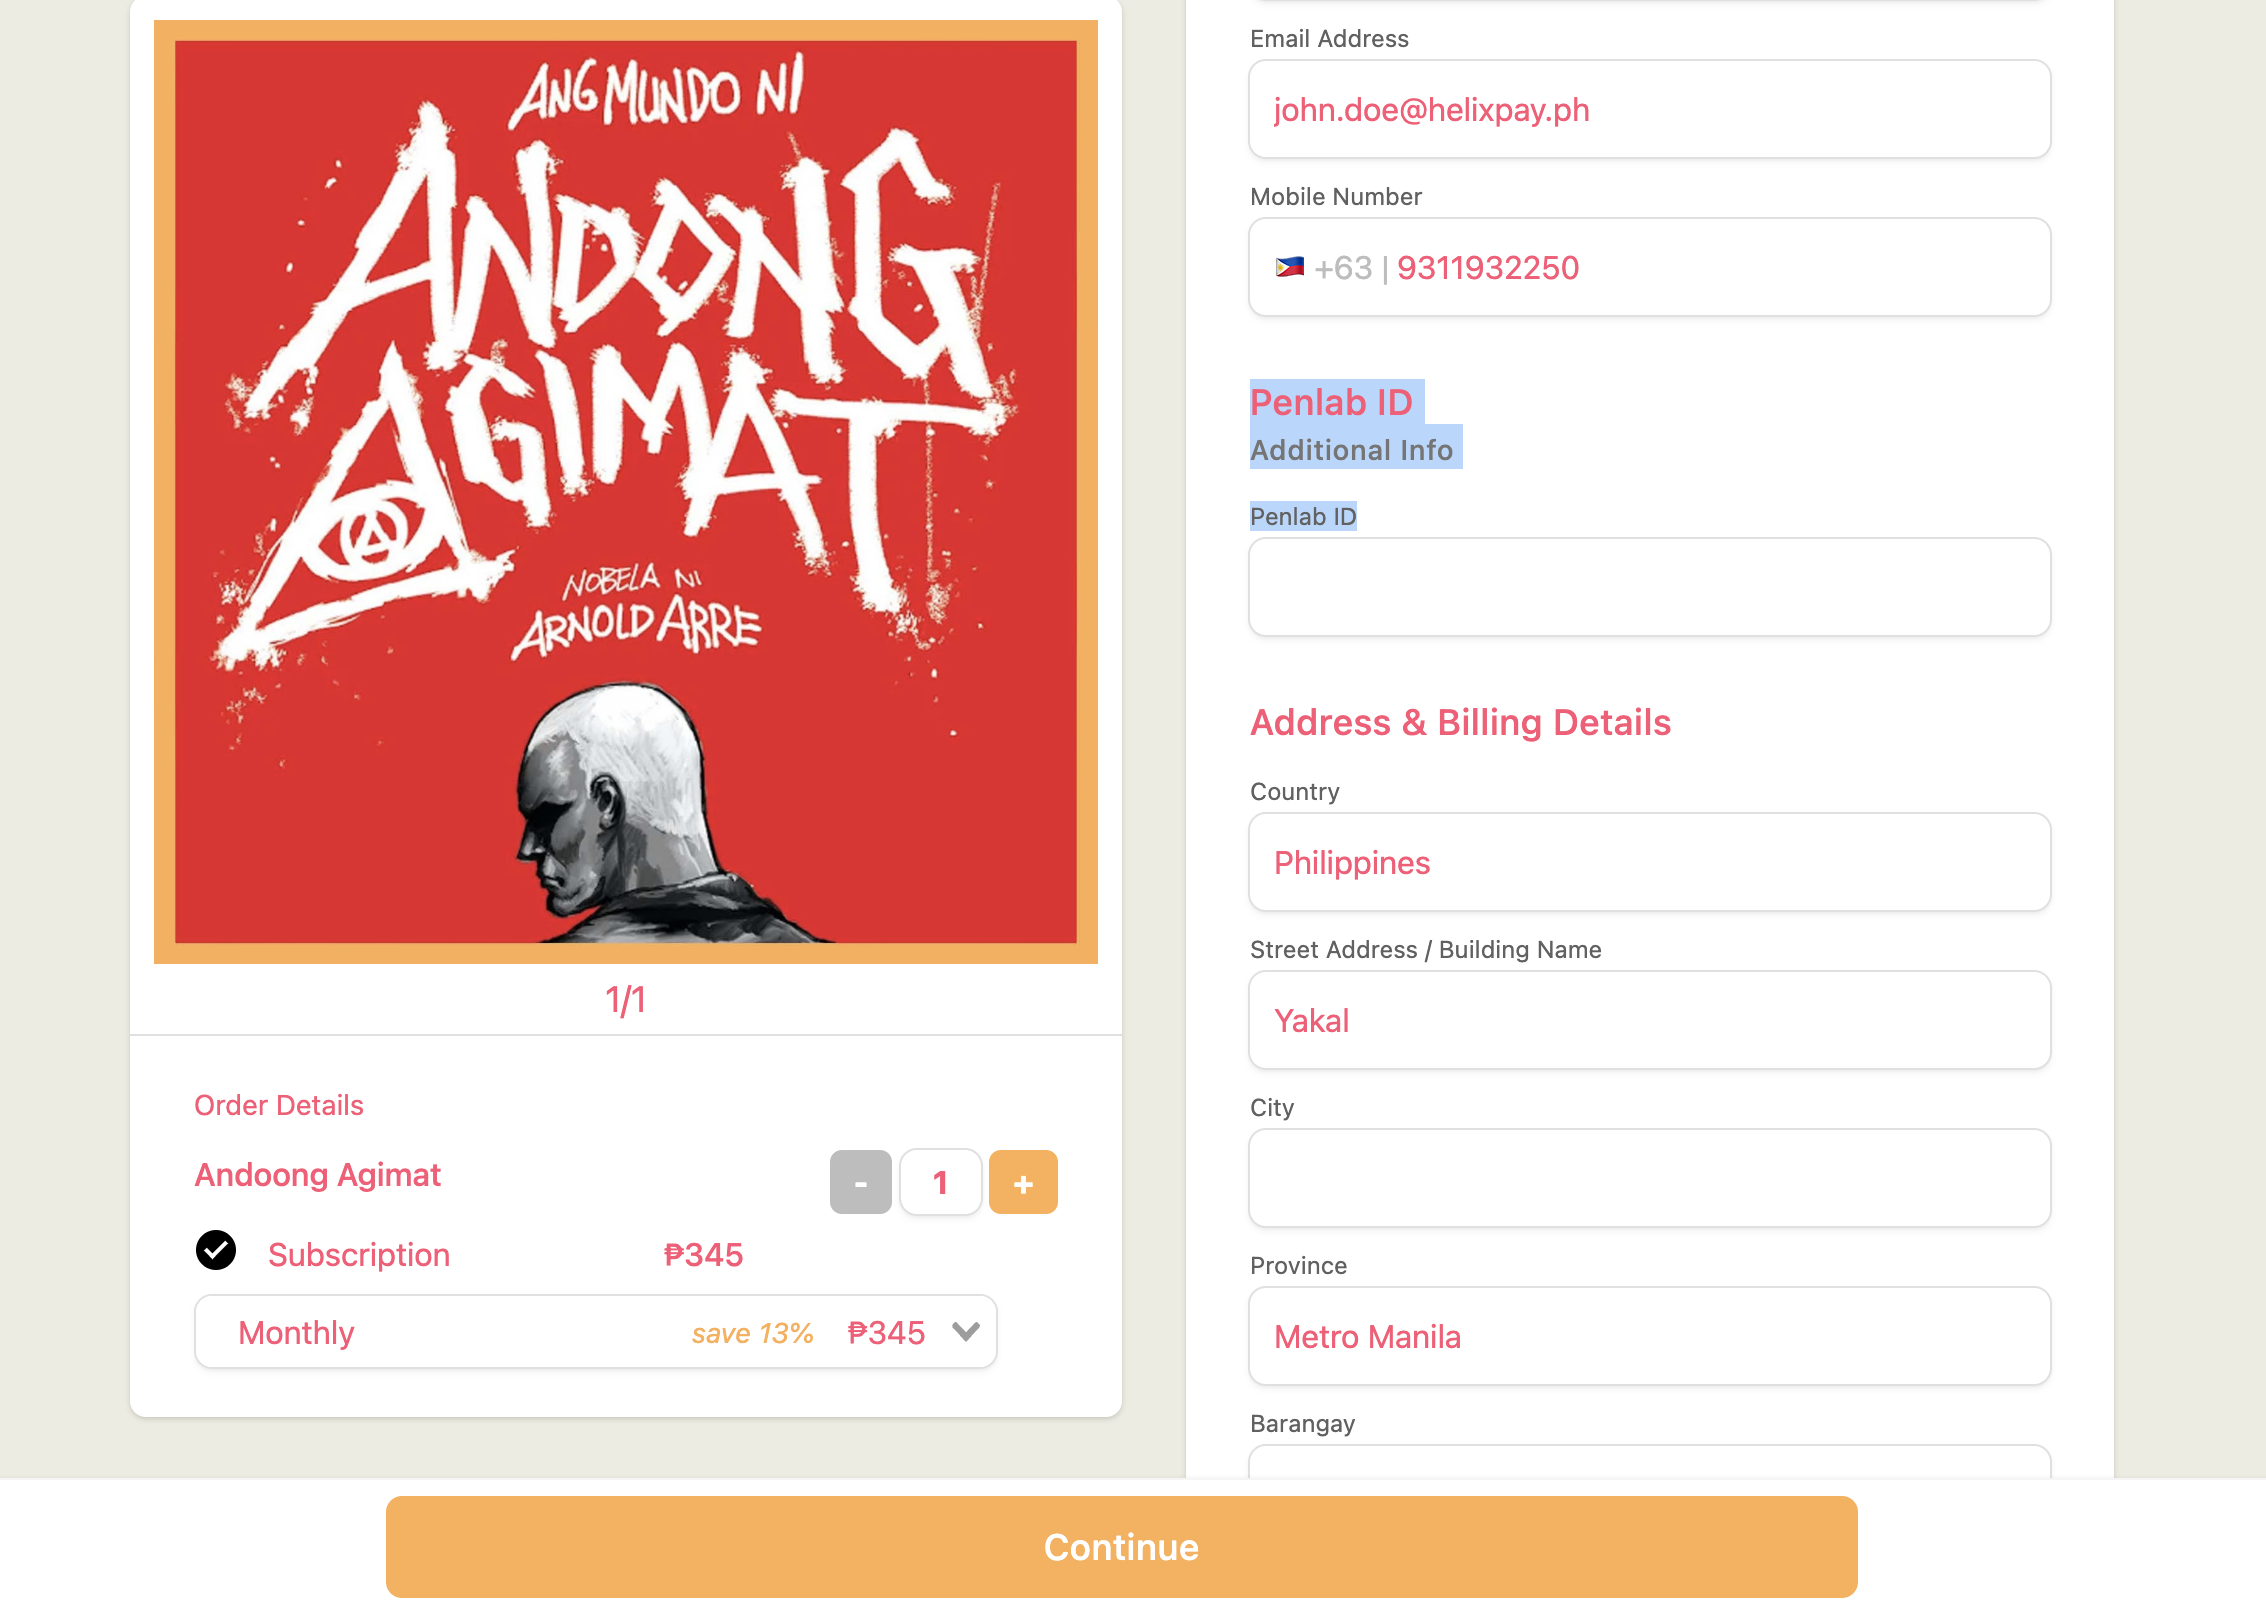
Sample format:
<https://{helixpay> storefront domain }?name={customer name}&email={customer email}&code={custom field value}
Sample url link:
https://sandbox-penlabcreators.helixpay.ph?name=John&[email protected]&penlabID=1234567