Events
Manage your events seamlessly with HelixPay's ticketing tool.
HelixPay's Ticketing Tool allows you to have a smooth check-in flow for the event attendees by making it easier for them to enter the venue with just a simple scan of the QR Code. You can also add more information on the ticket about the event and other instructions you want to share with the attendees. The following are the key features of the Ticketing Tool:
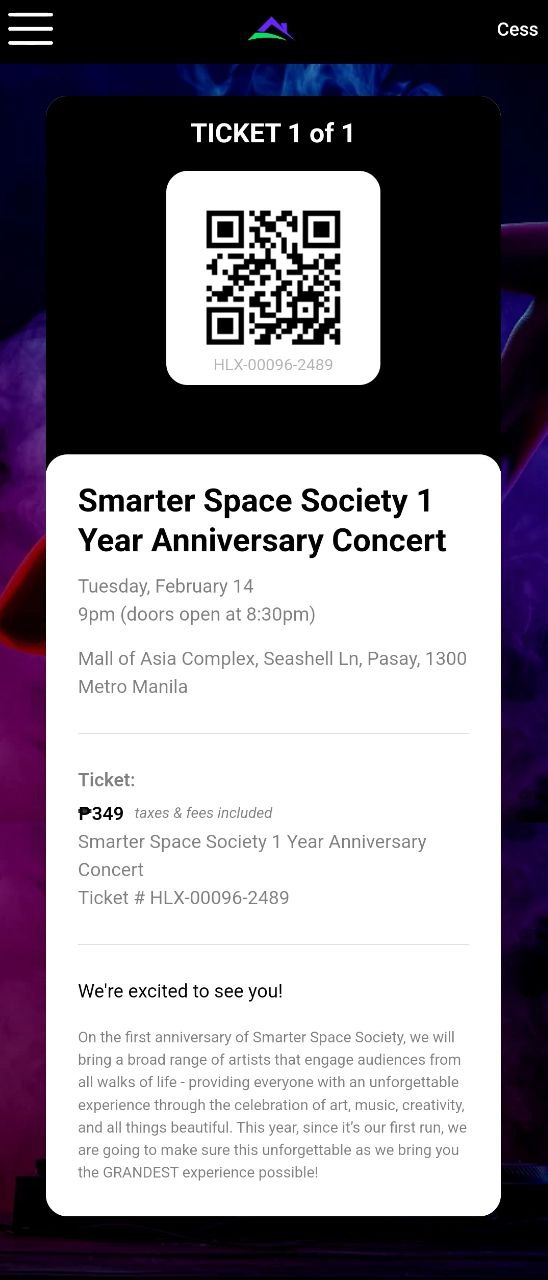
- QR Code Ticket - The QR Code Ticket is automatically generated based on the ordered quantity and it will be sent to the customer's email address once a successful payment is made.
- Ticket List - This shows a list of all the purchased tickets with customer information, event details, and ticket status.
- QR Code Scanner - This is a QR Code scanner that is built inside HelixPay console which allows users with 'Scanner Access' to scan a QR code and activate it.
- Share QR Code Ticket - This tool allows the ticket buyer to transfer QR Code access by generating a share link.
Create Event Ticket
Start creating event ticket SKU by following these steps:
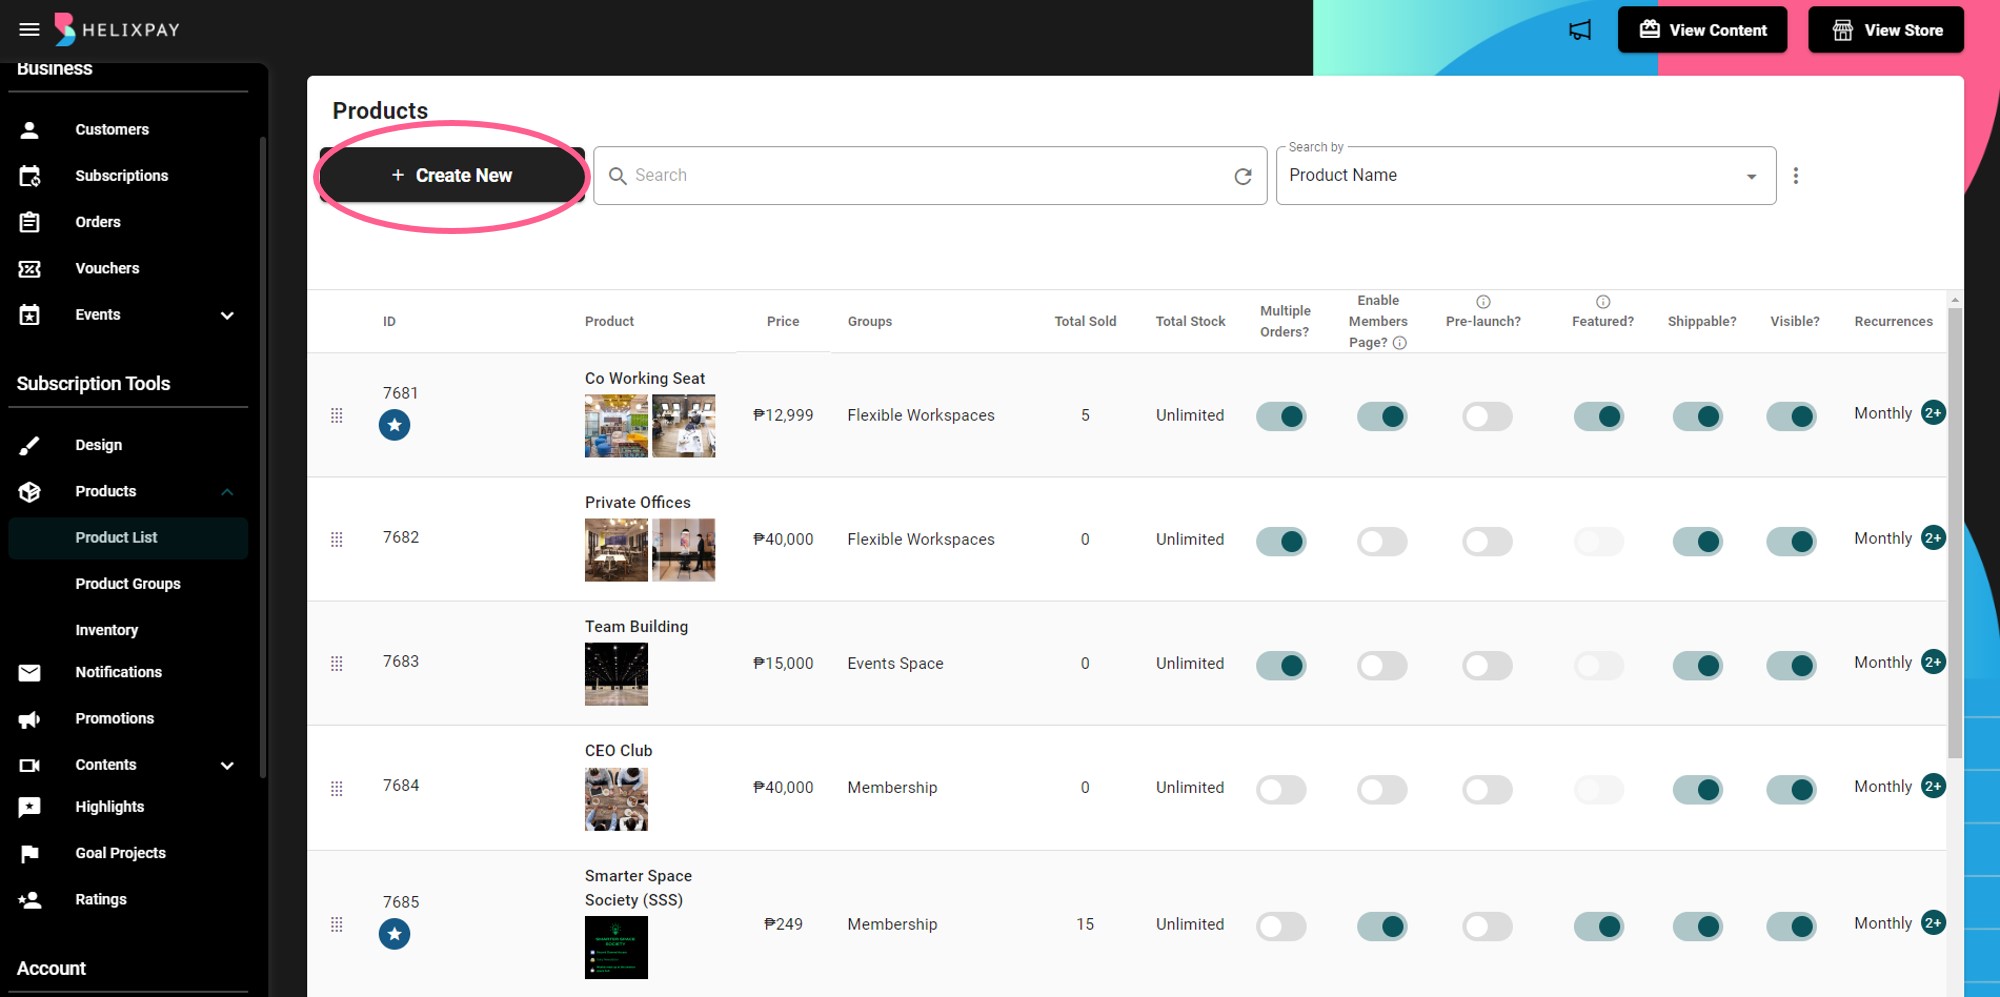
Step 1: Go to Product List then click the '+ Create New' button.
Step 2: Fill in Product Info
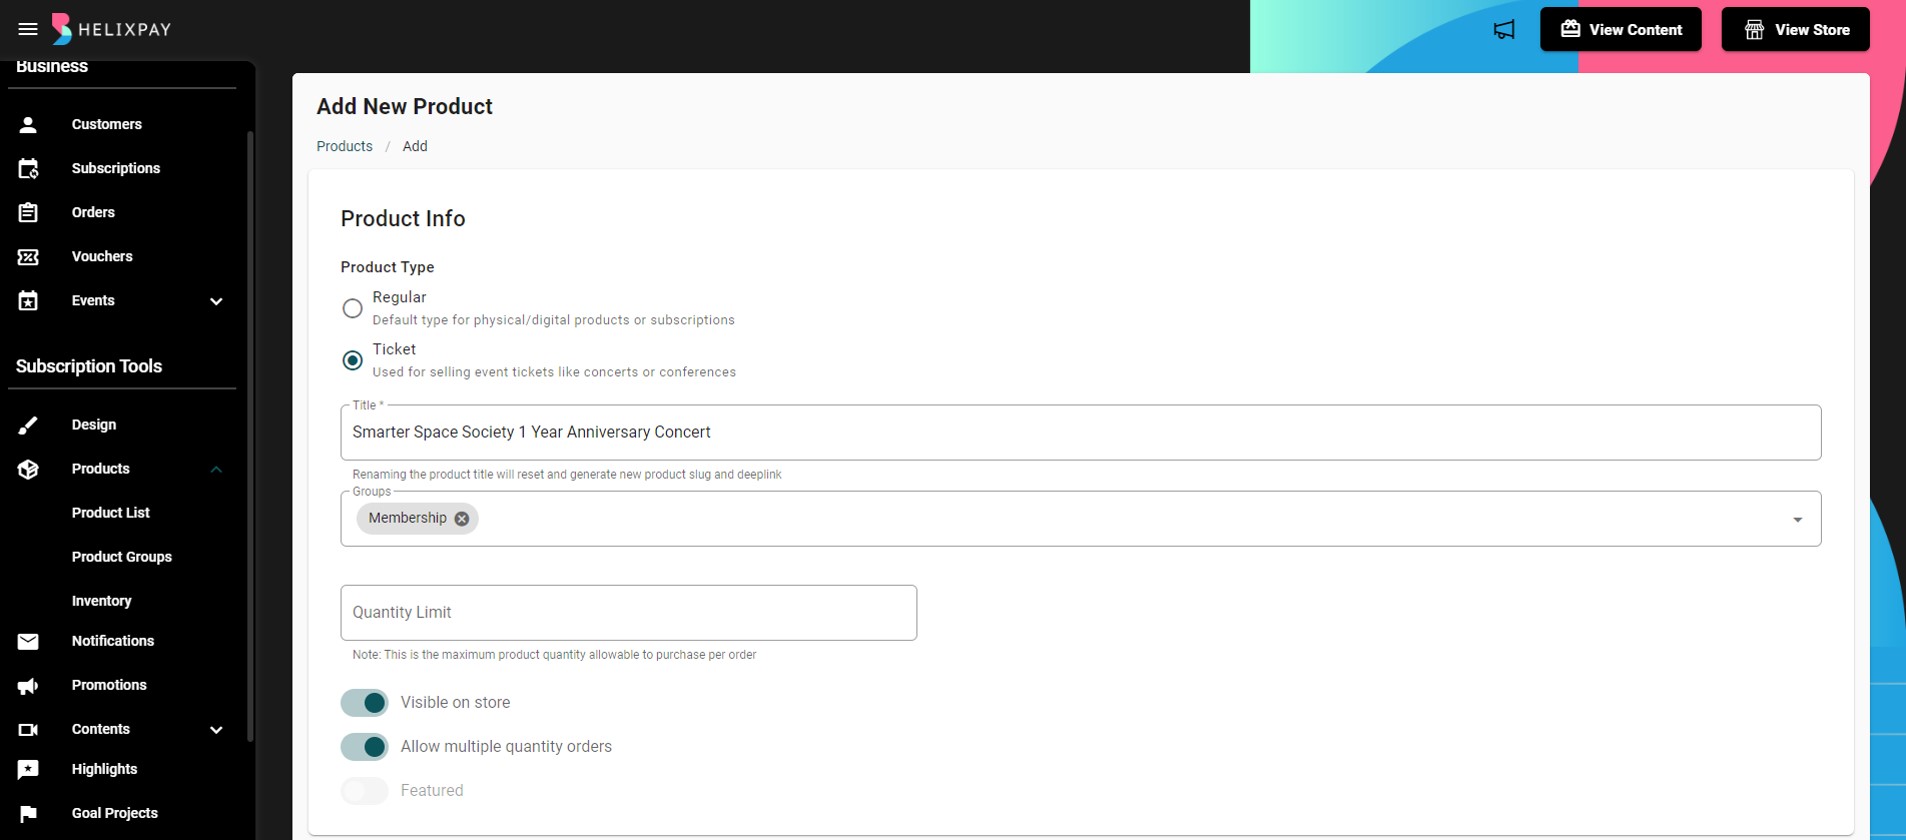
Choose Ticket as Product Type to generate the QR Code Ticket
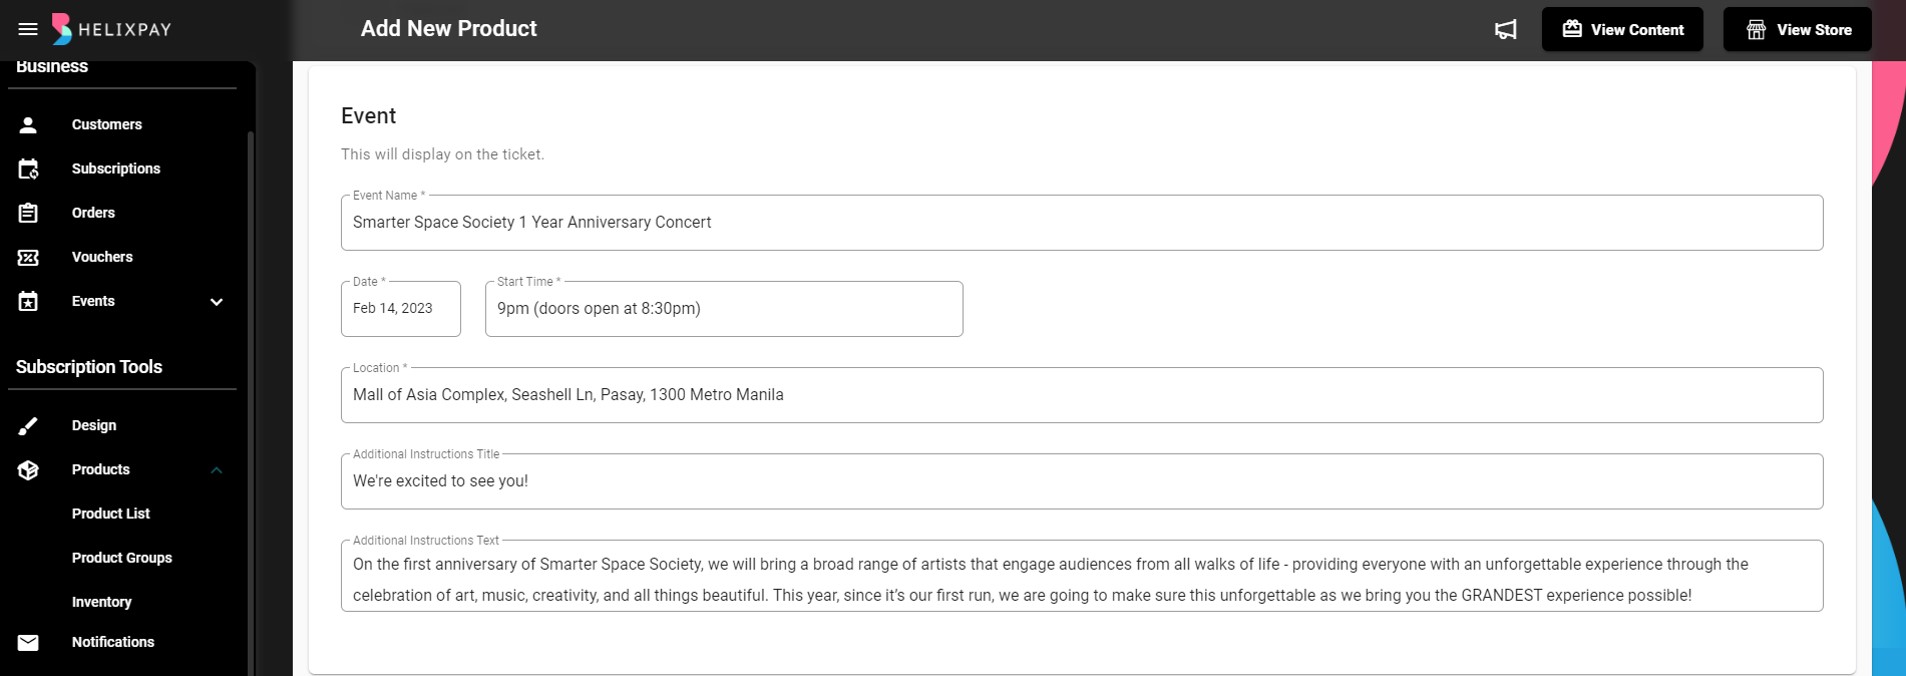
Step 3: Add the Event Details
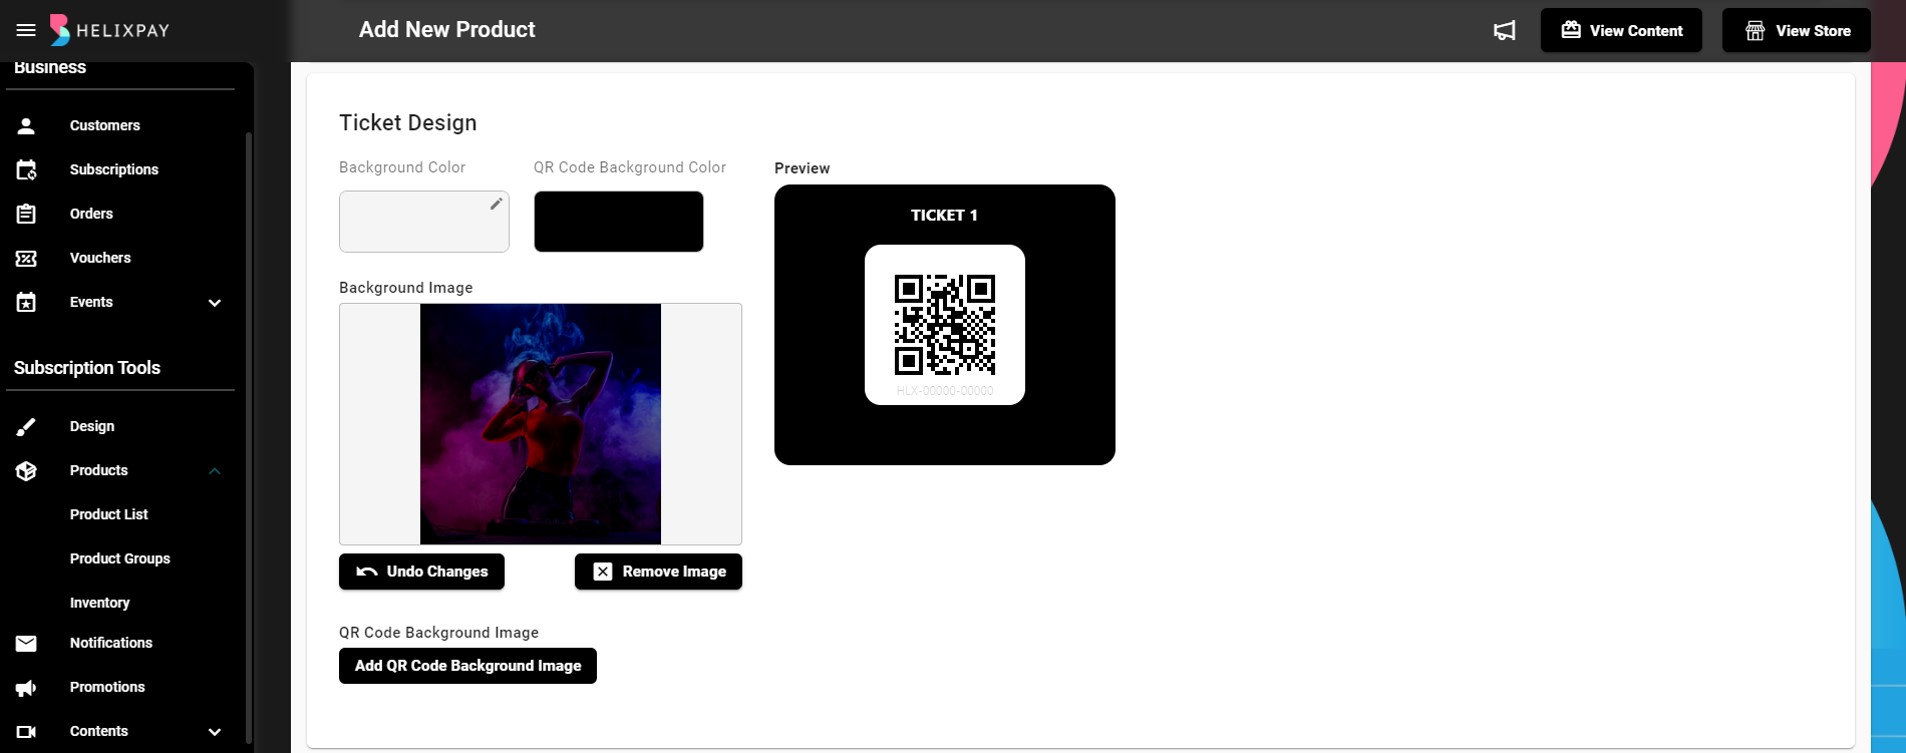
Step 4: Customize Ticket Design
Step 5: Upload product media

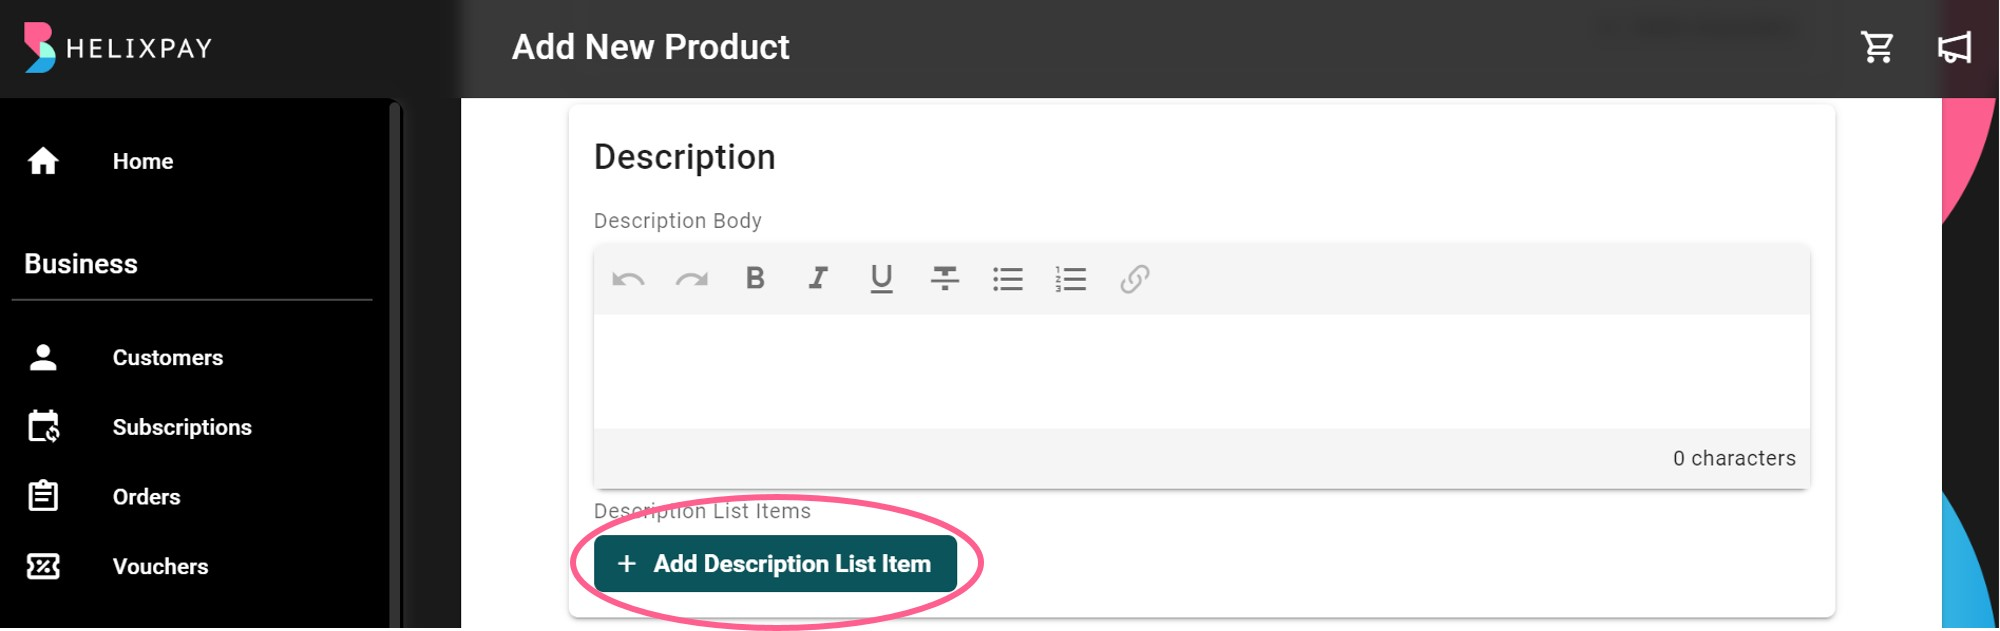
Step 6: Add the Description of the product. List items by clicking on the '+ Add Description List Item', type in the Item Text then click 'Save'
Step 7: Set up Product Details Page
.](https://files.readme.io/c20f461-image.png)
Learn more about Product Details Page here.
Step 8: Add Success Page Banner
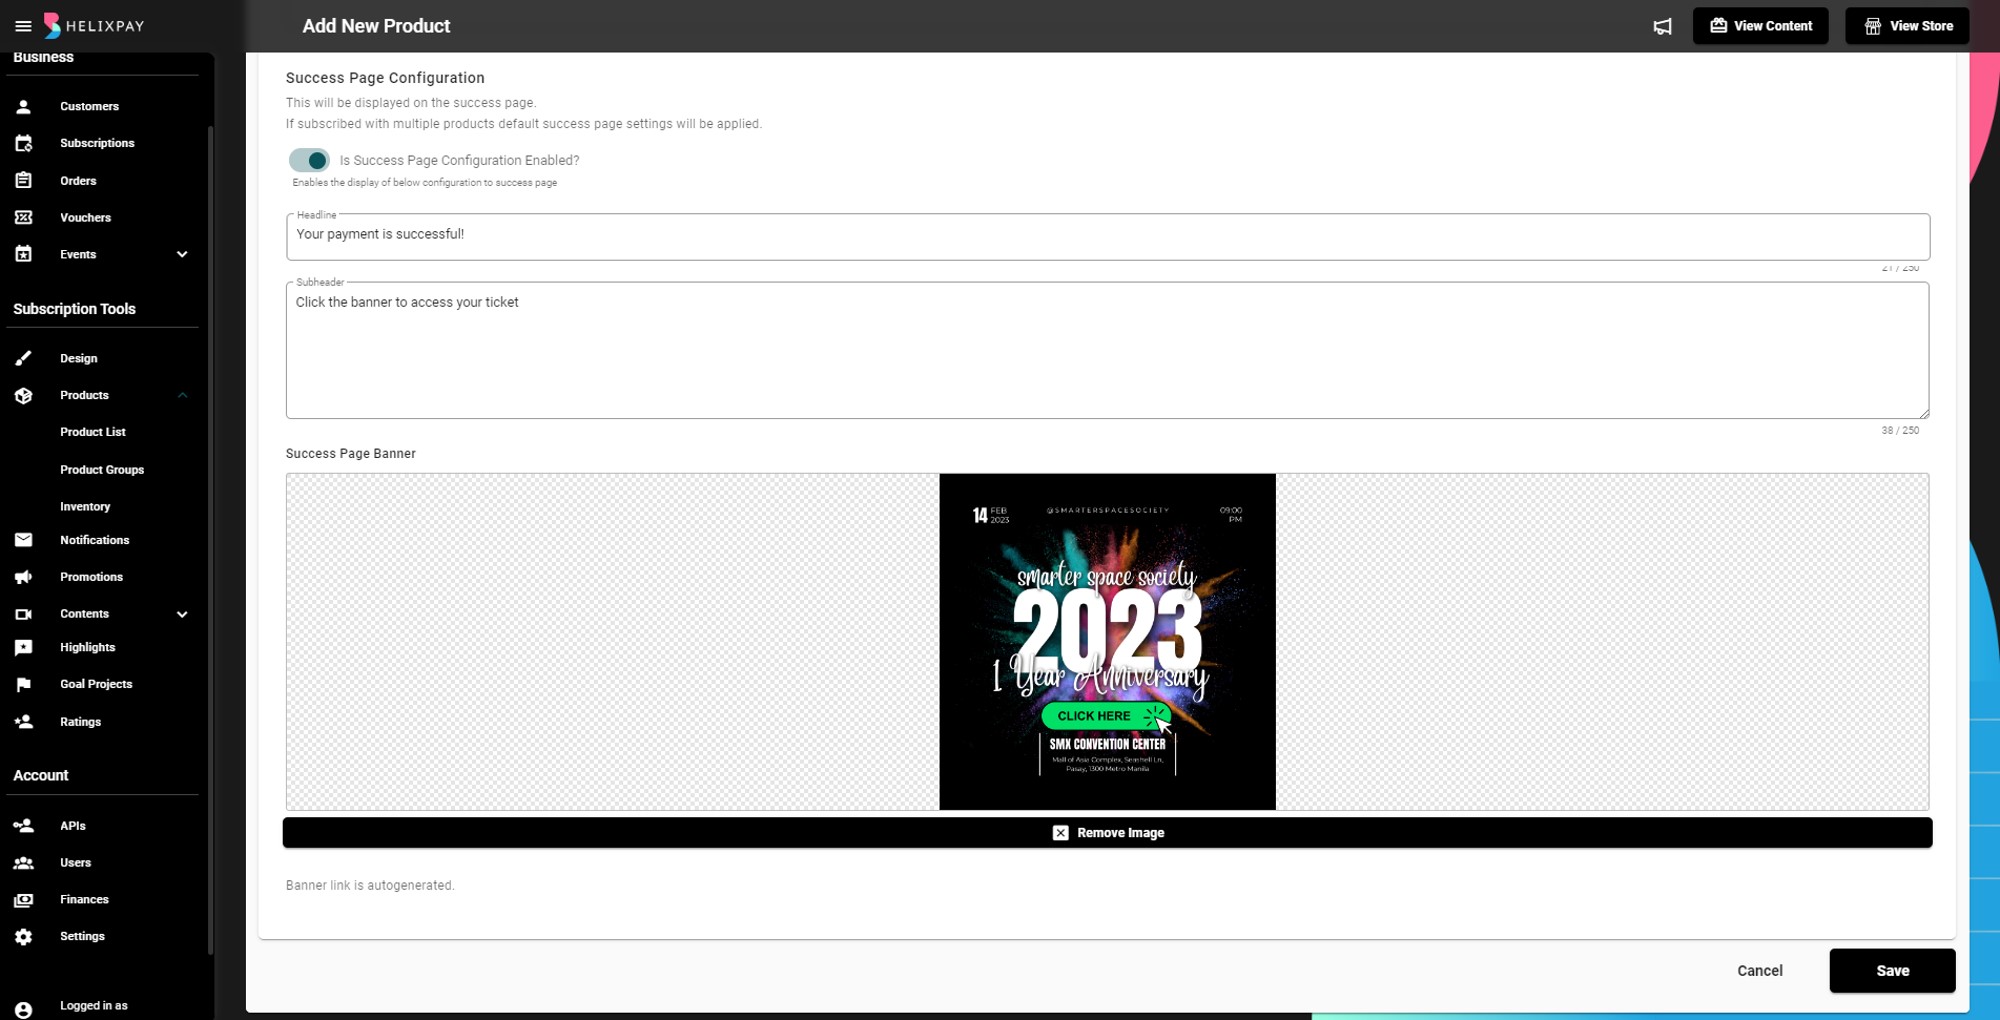
The success page banner will show after a successful payment where the customers can click it to get access to the QR code.
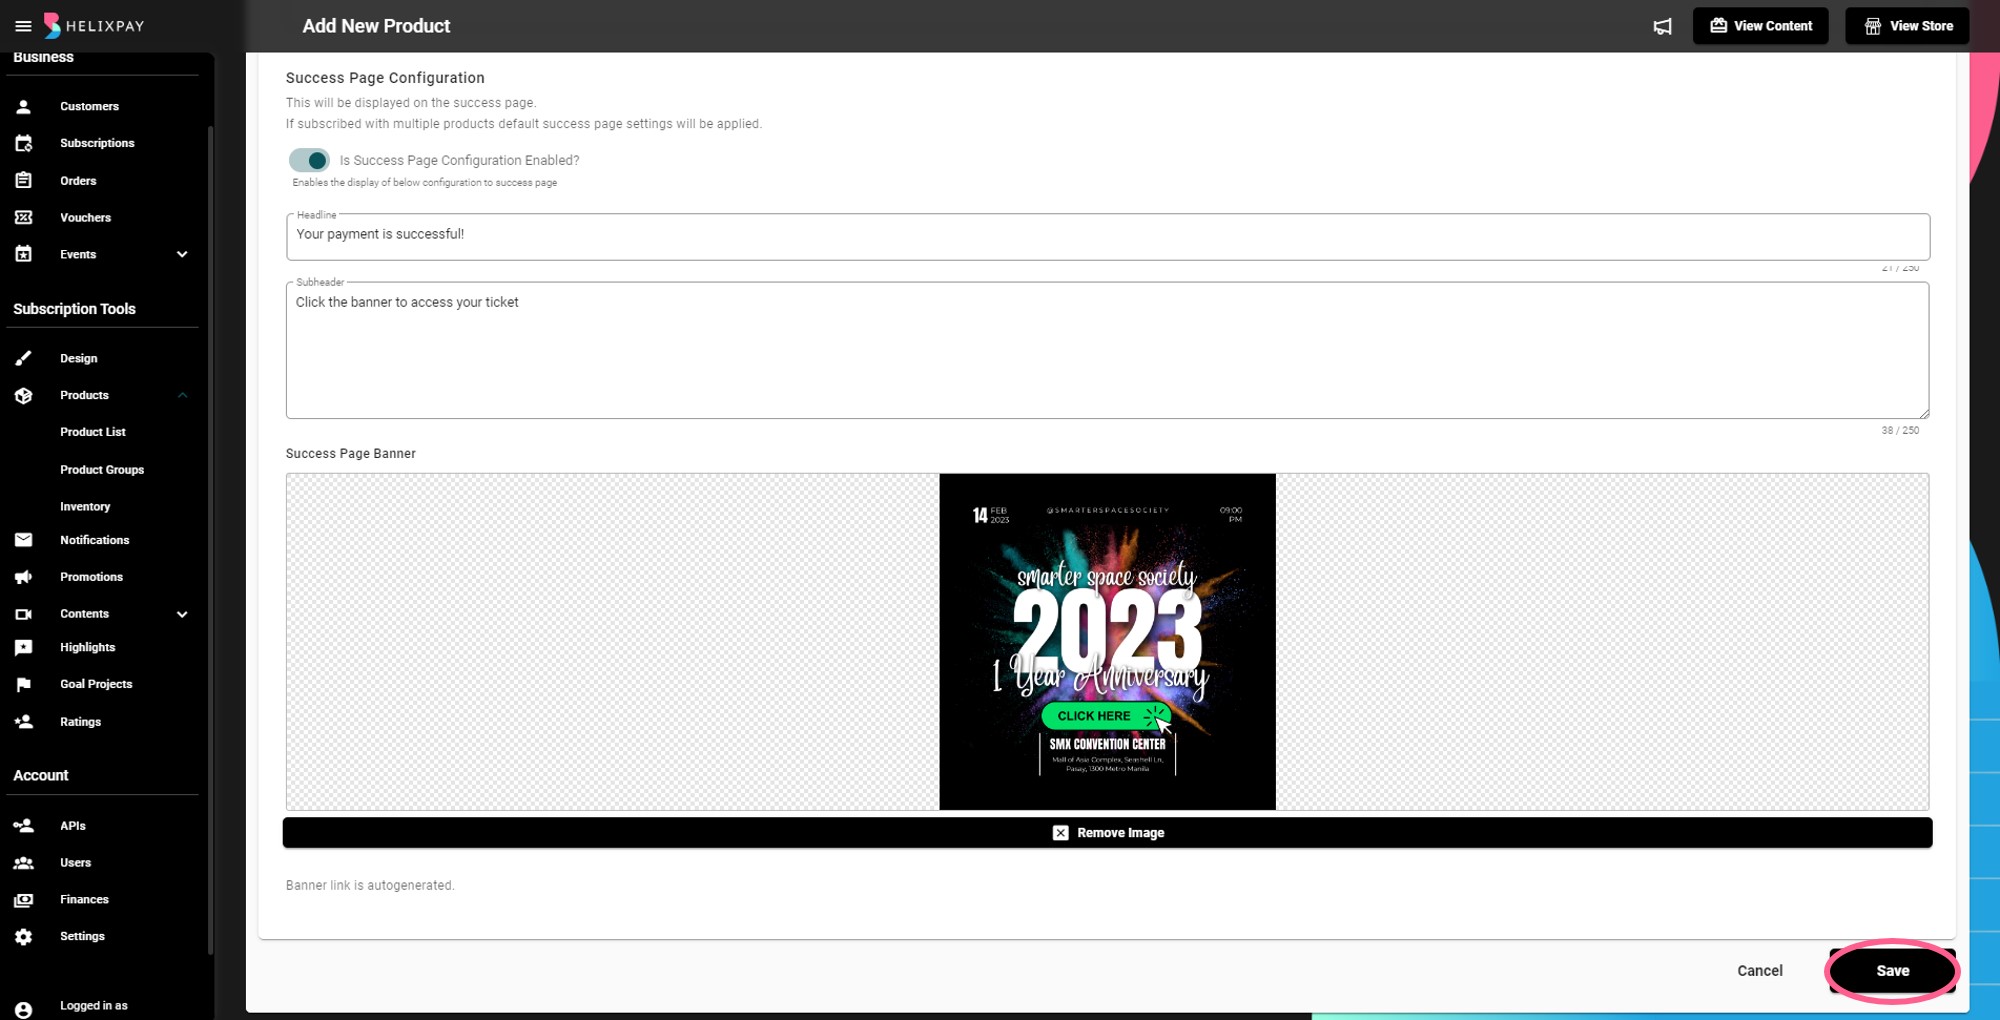
Step 9: Click Save!
QR Code Ticket
Ticket List
The Ticket List tab allows you to do the following:
- Search event ticket by Product (event name), Ticket ID, or Order ID;
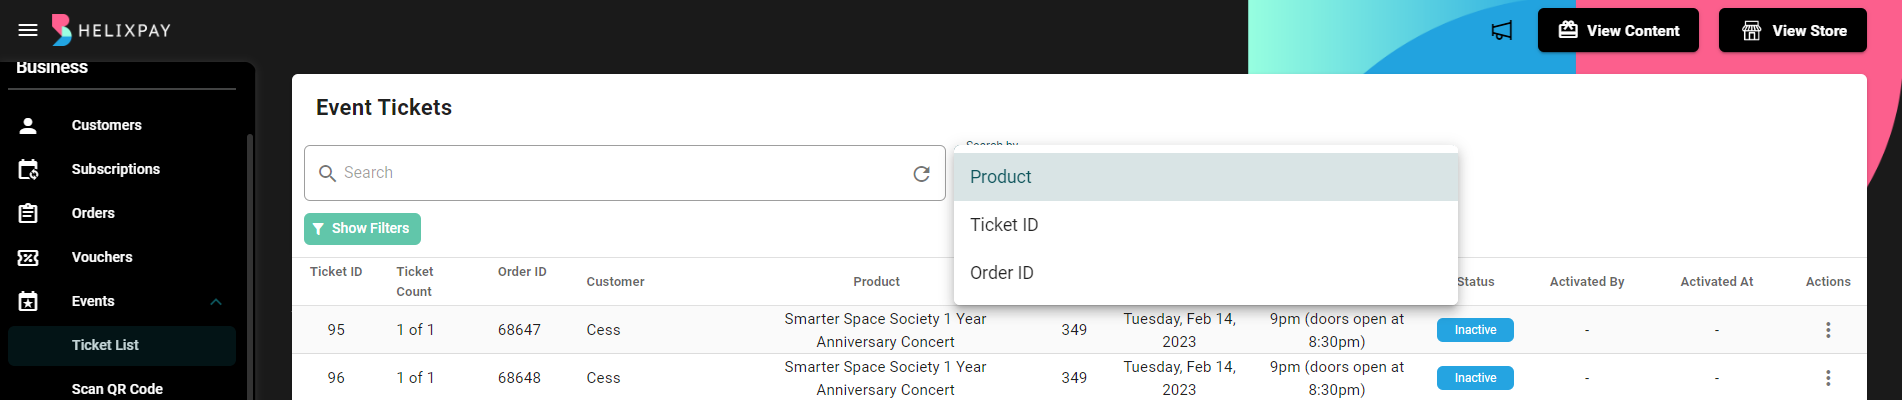
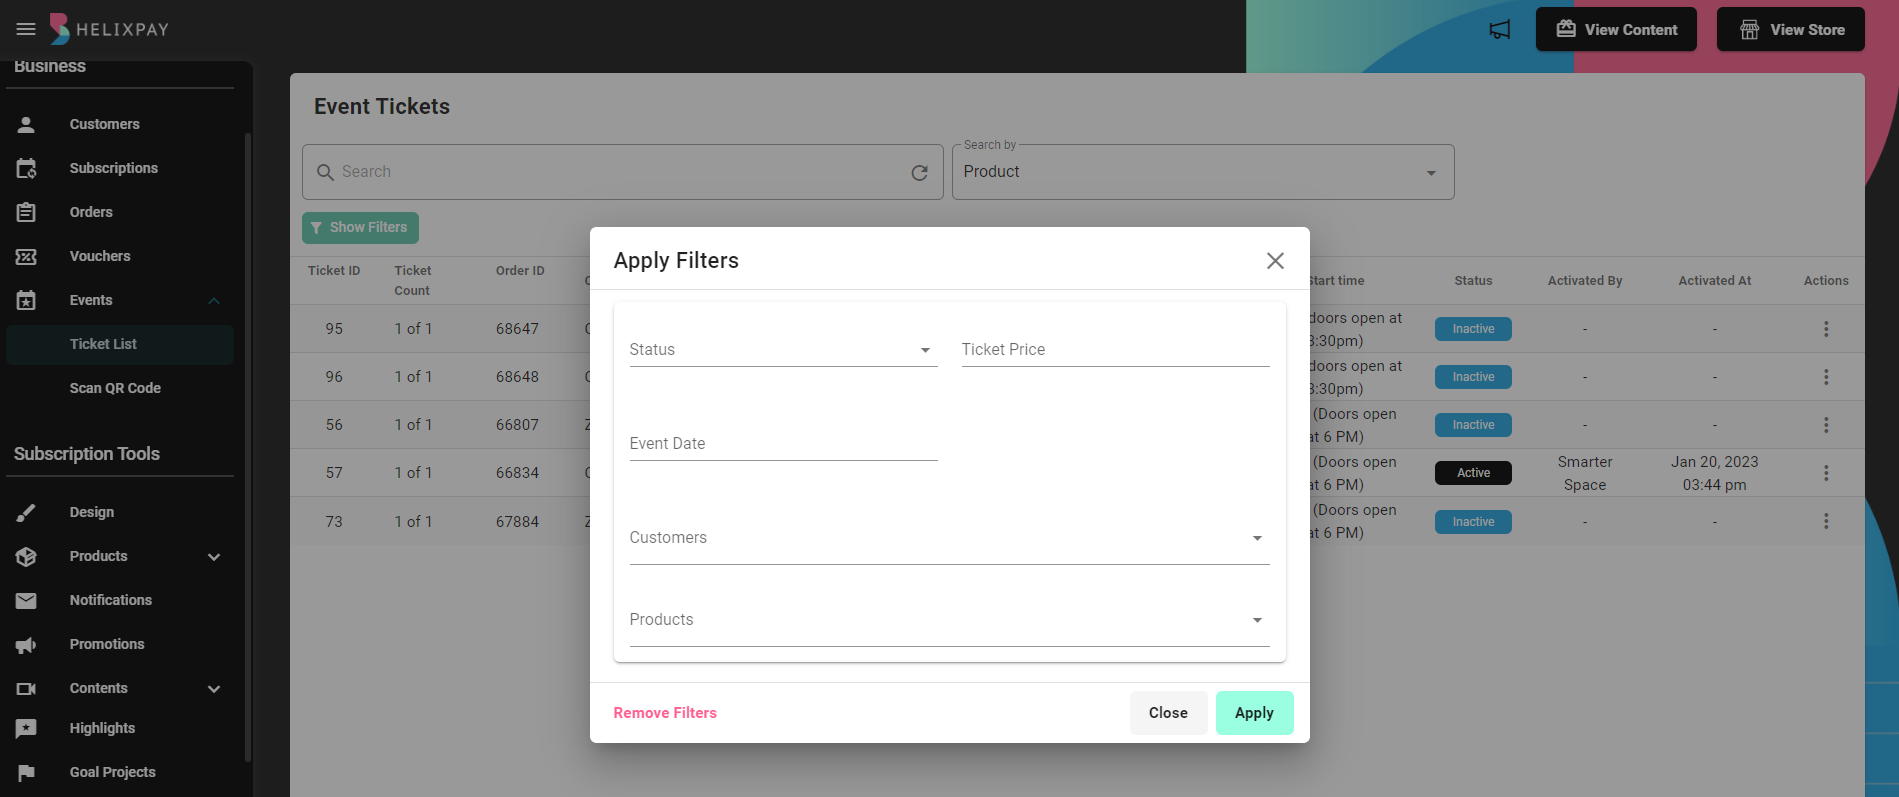
- Filter purchased tickets by Status, Ticket Price, Event Date, Customers, and/or Products; and
- Activate or Invalidate a ticket
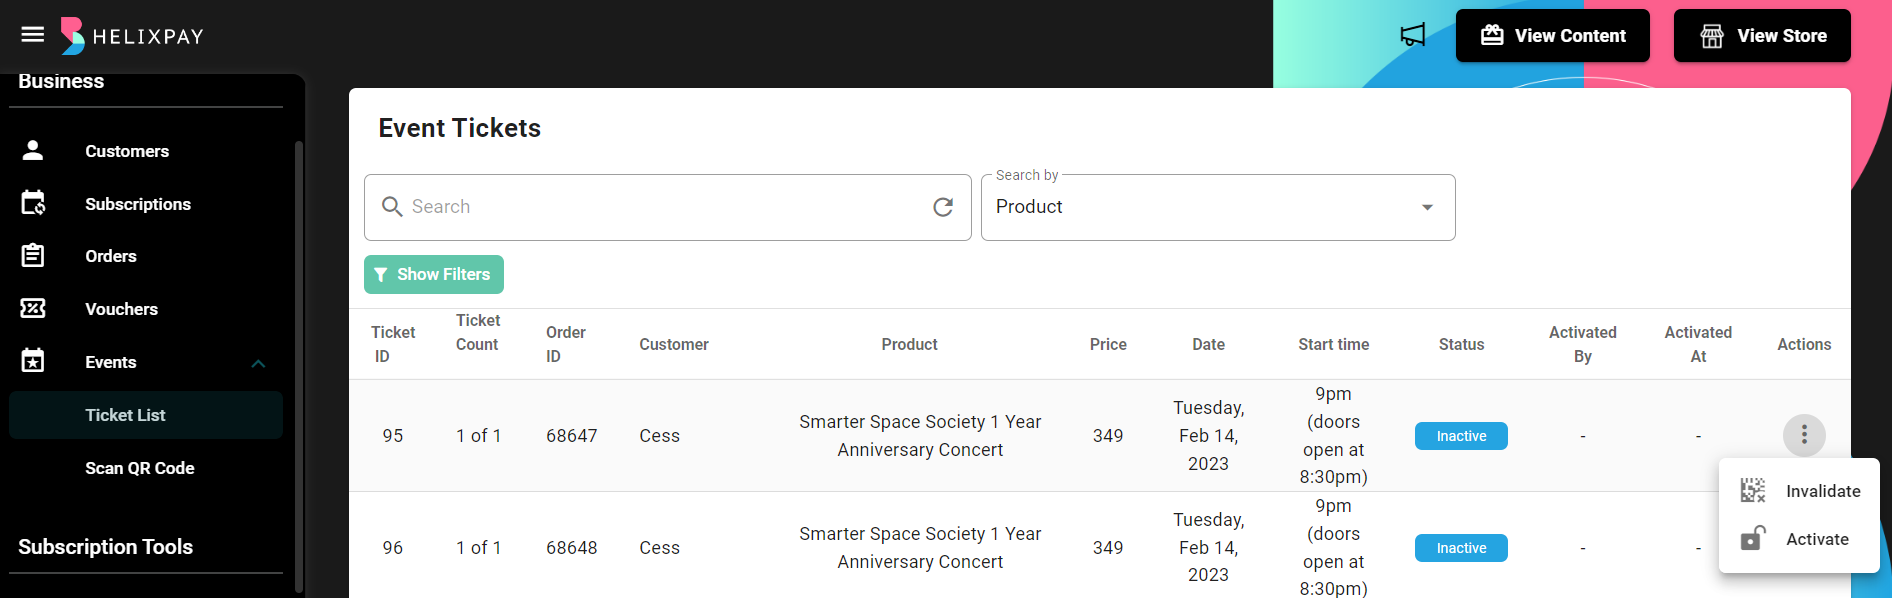
You cannot change the ticket status once it has been invalidated.
Ticket List Access
Only users with 'Manage Tickets' permission can make changes to the ticket list. Learn more about Users access here.
Scan QR Code
Below are the different use cases that may be encountered when scanning a ticket:
- Inactive Ticket
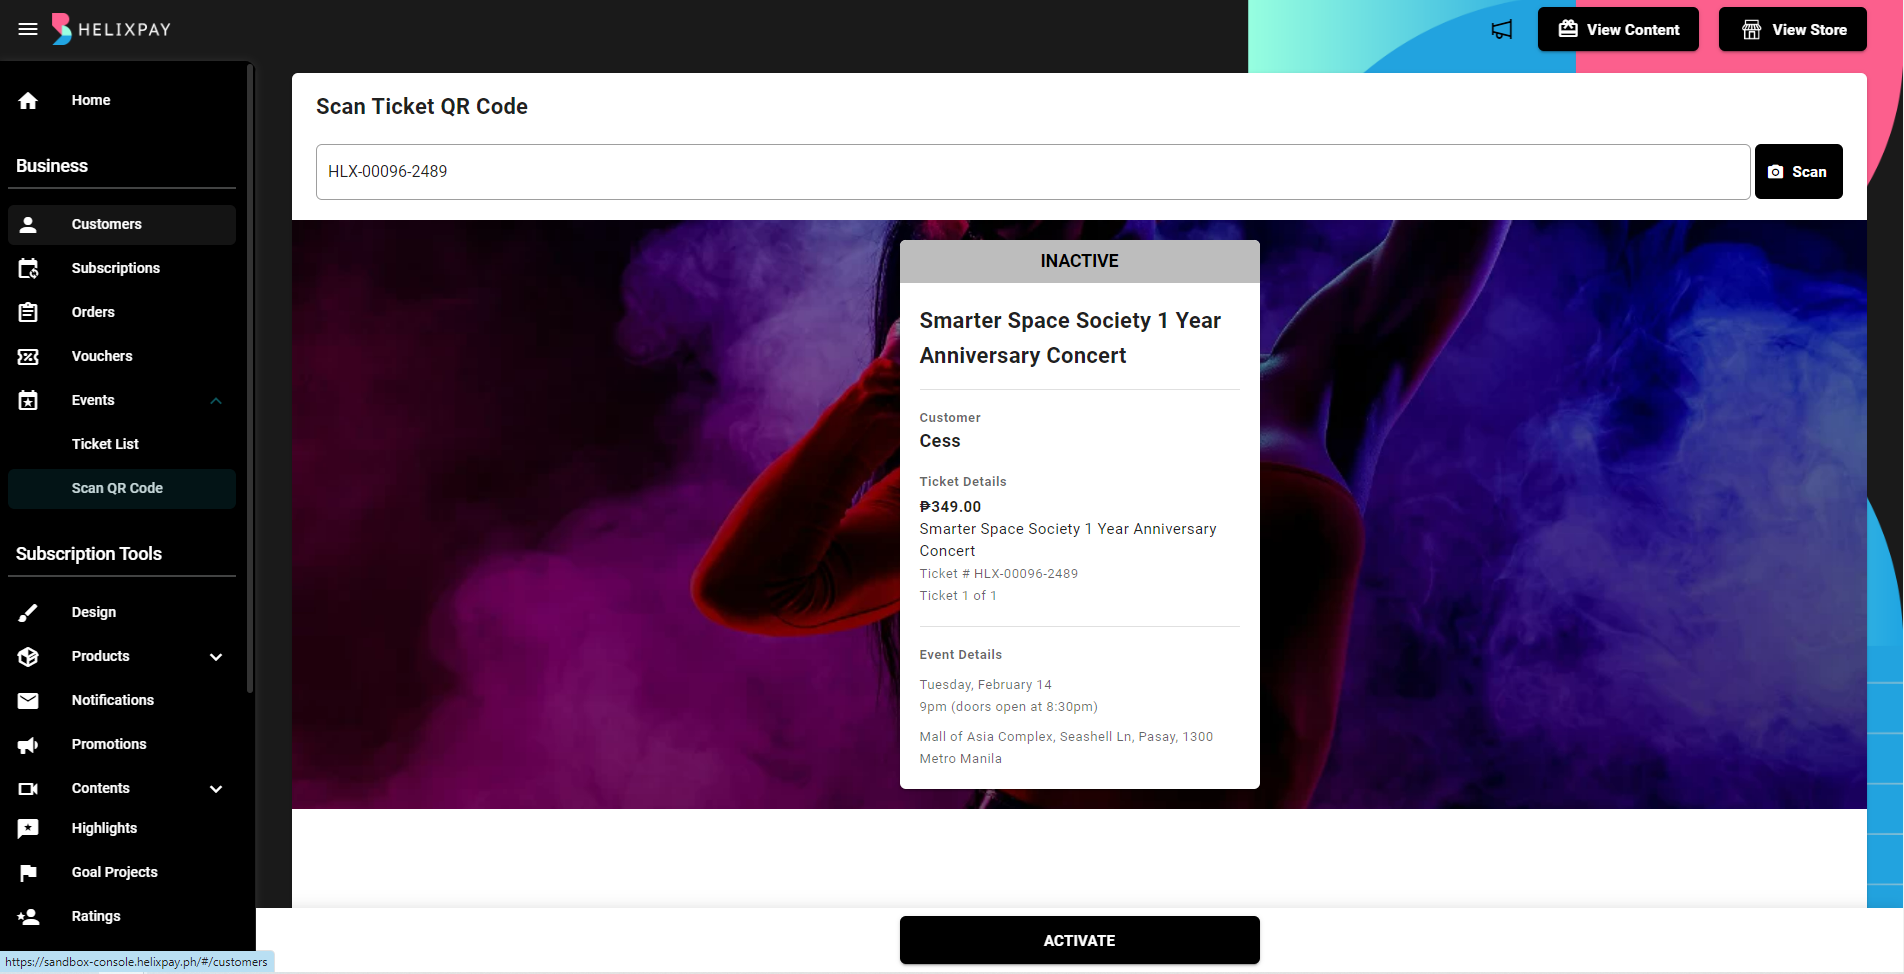
Update the ticket status by clicking 'Activate'
- Active Ticket
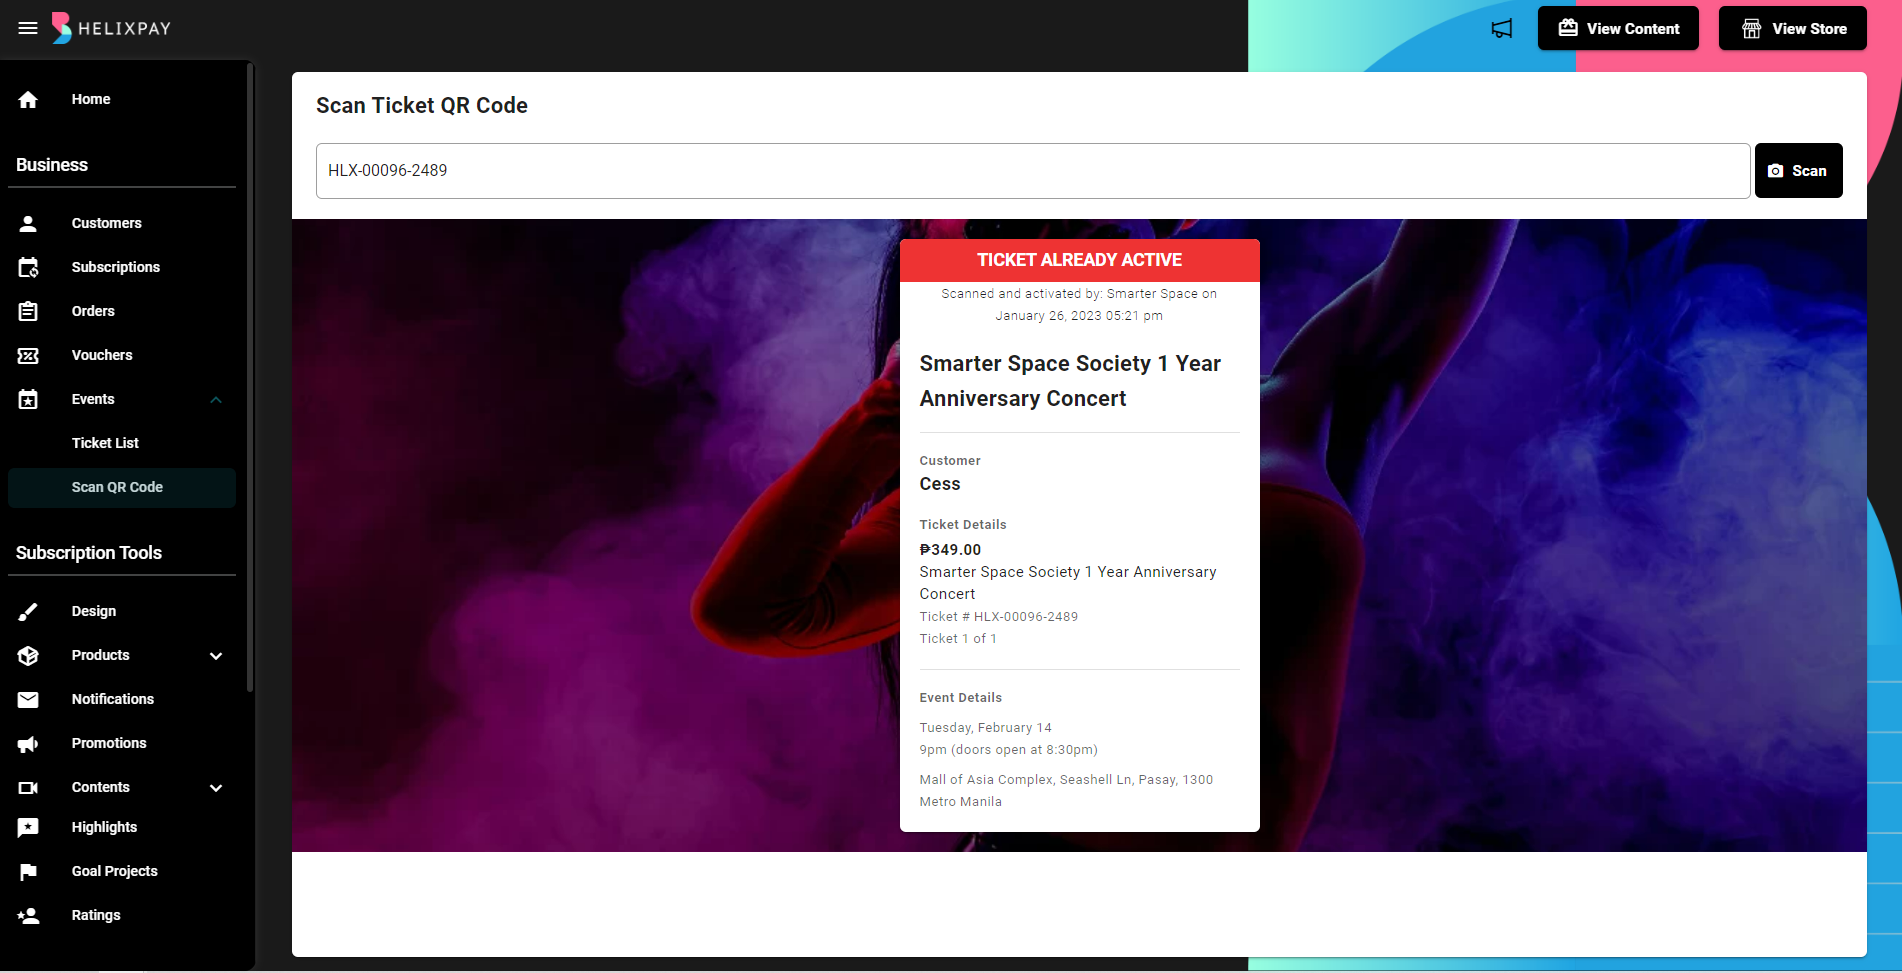
This will let the scanner know that the ticket has been activated already.
- Invalid Ticket
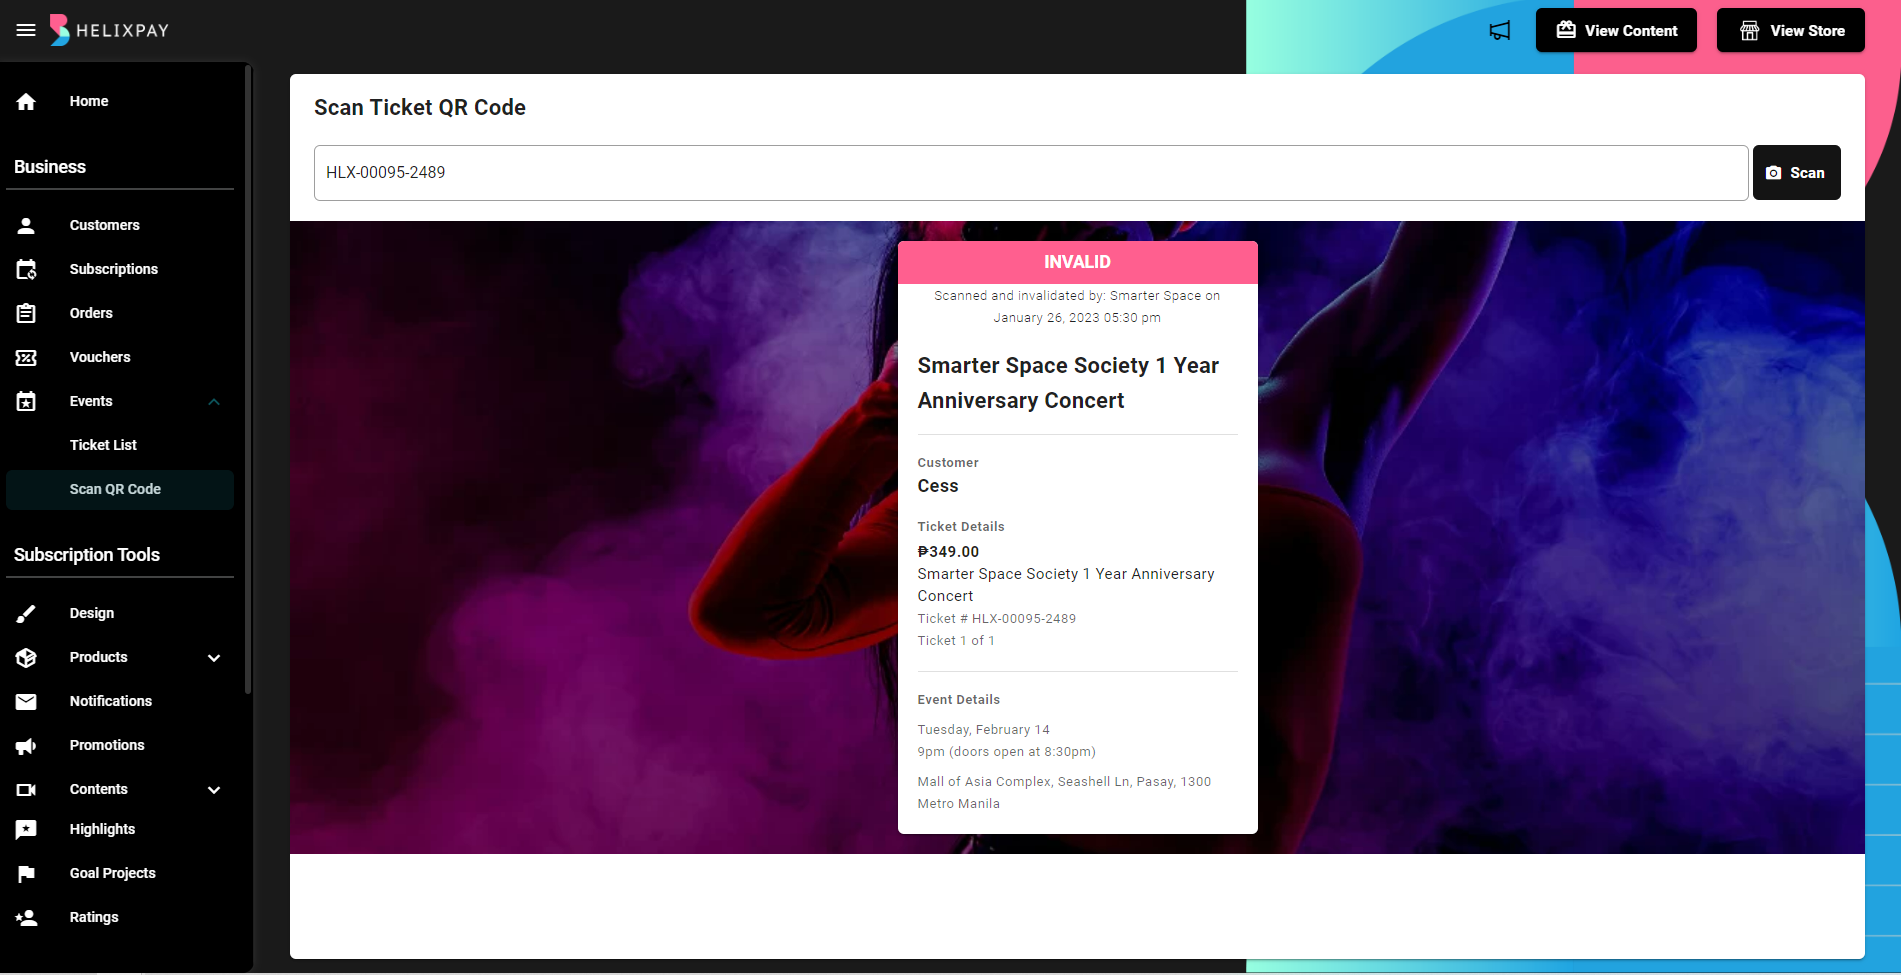
This will let the scanner know that the ticket is invalid. Only users with 'Manage Ticket' permission are allowed to invalidate a ticket
Scan QR Code Access
Only users with 'Activate Tickets Only' permission can scan the QR codes. Learn more about Users access here.
Share QR Code Ticket
Follow these steps to transfer QR Code access:
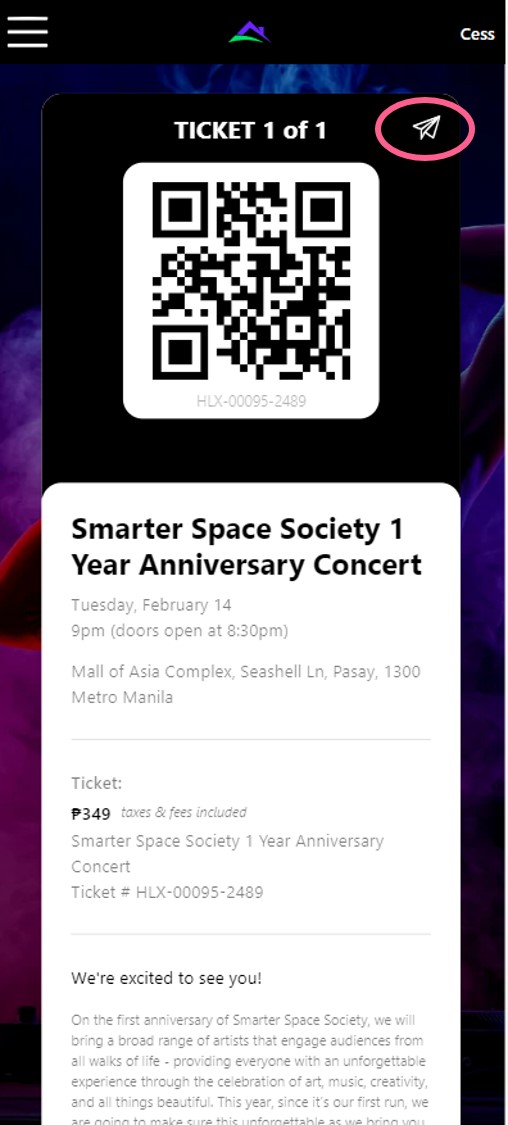
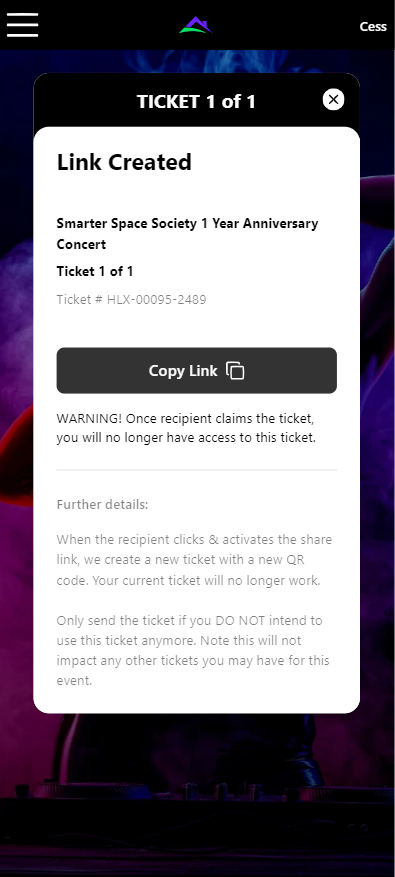
Step 1: Click the 'Share' button found on the upper right corner of the QR Code ticket
Step 2: Click 'Create Share Link' to generate the link for the QR Code access
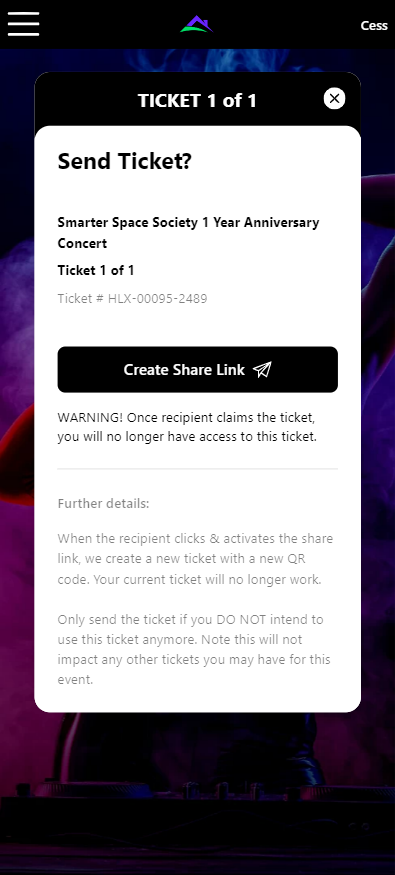
Step 3: Copy the link then share it to the new ticket owner
Claim Ticket
Follow these steps to claim the ticket:
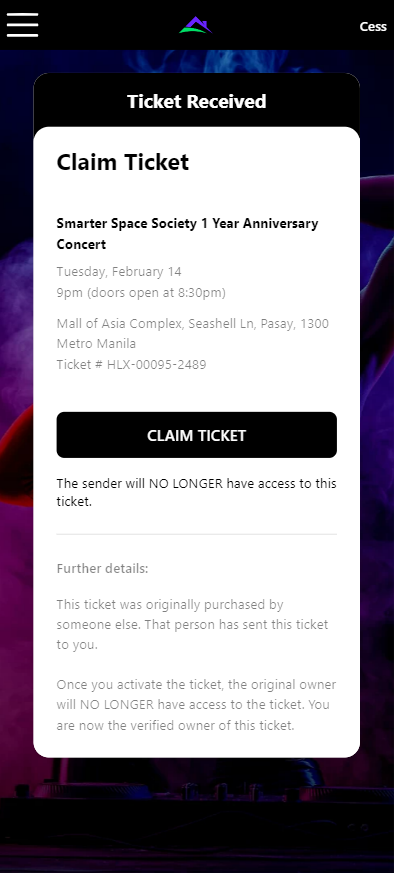
Step 1: Claim the ticket using the link from the ticket sender
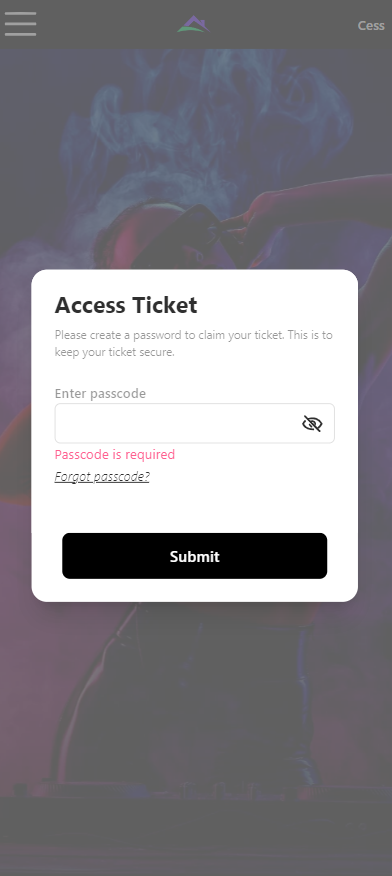
Step 2: Enter your desired passcode to secure the ticket and your email address which you can use in case you forgot your passcode then click 'Claim'
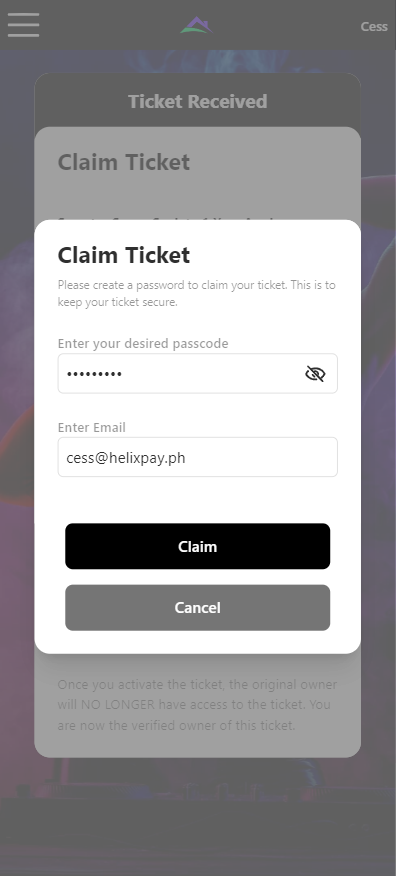
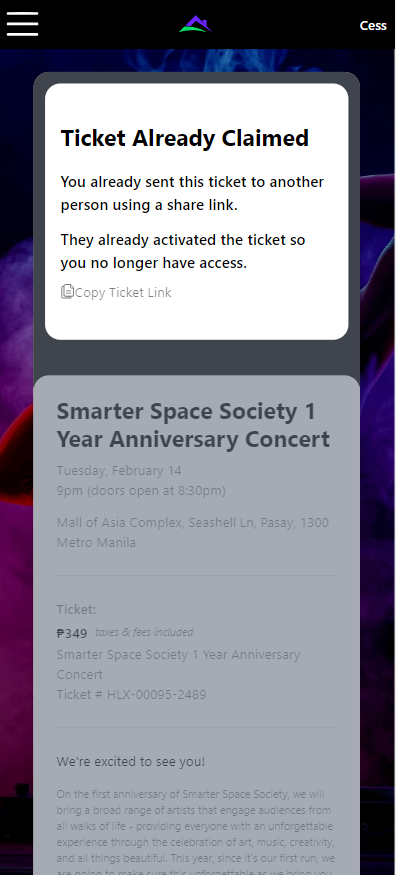
Once claimed, the ticket sender will no longer have access to the QR Code ticket
Anyone who will access the QR Code ticket using the shared link will be asked to enter the passcode.
Updated about 2 years ago