Settings
Control the customer experience by configuring the subscription settings.
Merchant Info
The following are what the merchants can control under the Merchant Info section:
Merchant Details
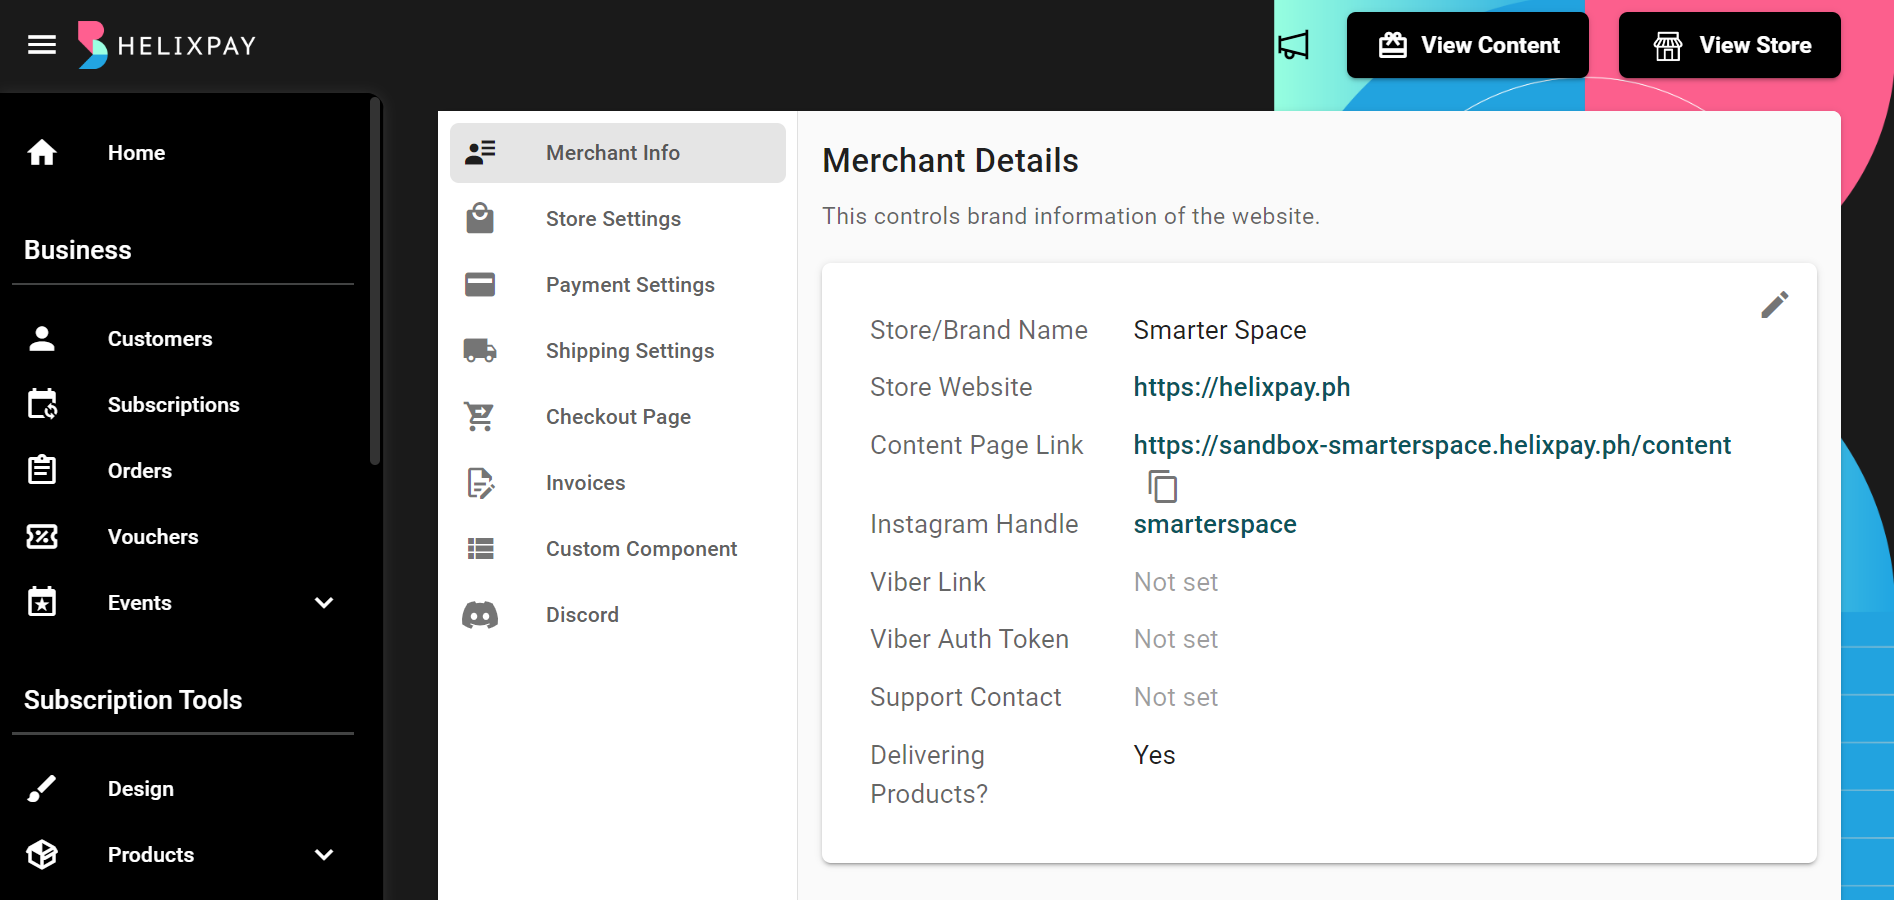
The links provided can be accessed on the storefront which can help you increase brand reach and awareness, and connect with your customers by making the linking of your online presence easier.
Email Settings
Receive email notification for every new subscriber by enabling the 'Email Notification'.

Viber Notifications for Merchants
By connecting to Viber notification, you will be given a code that you can copy on your Viber app to get real time updates on the following:
- New subscription
- Canceled subscriptions
- Skipped orders
- Paid Orders

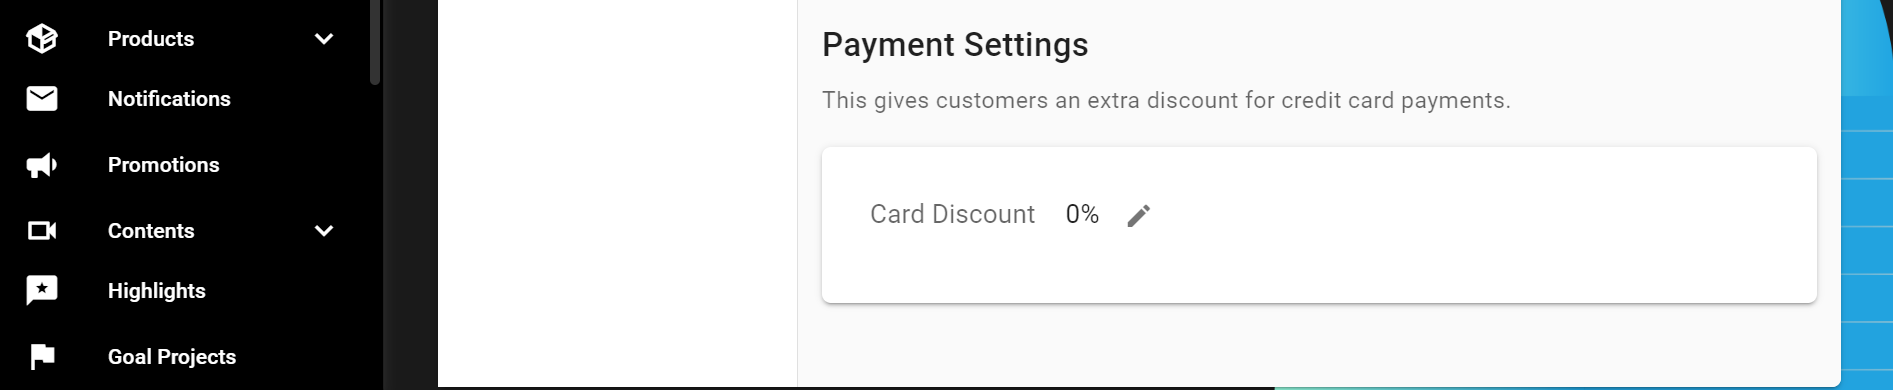
Payment Settings

The merchants can incentivize their customers by giving additional discount for using credit card for paying.
Store Settings
The following are what you can control under the Subscriptions section:
Term for Subscriptions
Terminology plays an important role in the merchant's business to give context to what they are offering to their customers. Some merchant's may be collecting recurring payments but it's not necessarily a subscription. With this, HelixPay allows you to set a different term for your "subscriptions" to something that will reflect what you offer to the customers like membership, fees, dues, or donation.

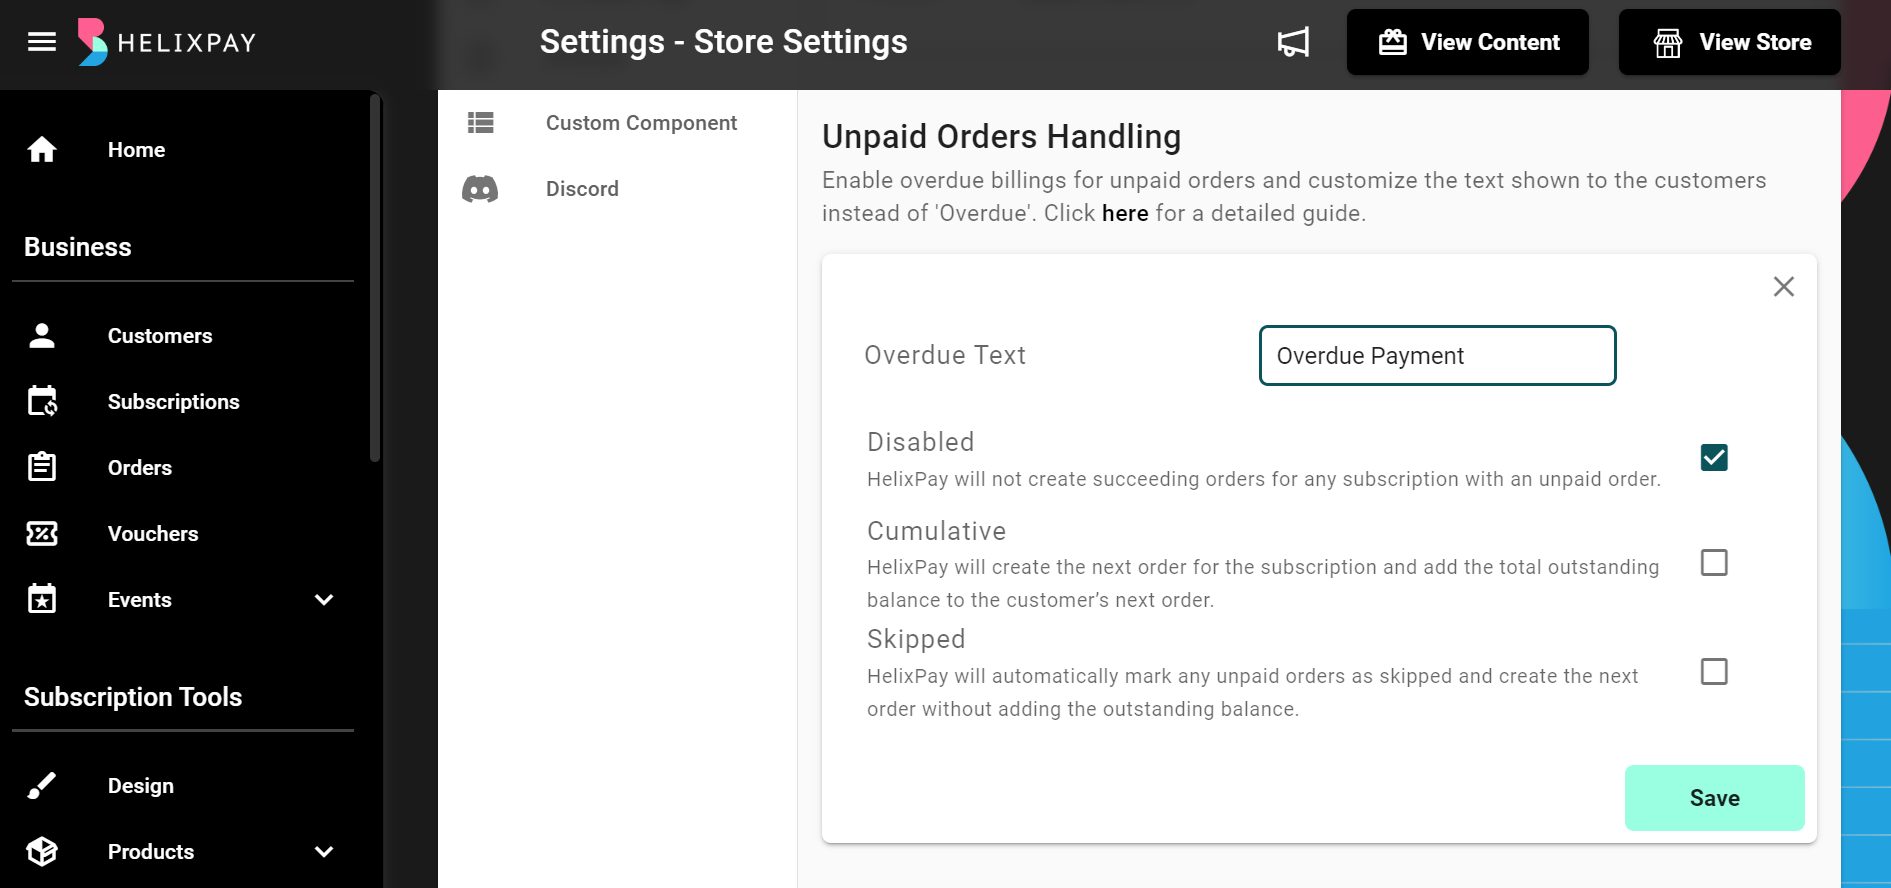
Unpaid Orders Handling
This section lets you configure the handling for unpaid orders and customize the text shown to the customers.
| Settings | Description |
|---|---|
| Disabled | This will not create succeeding orders for any subscription with an unpaid order. |
| Cumulative | This will create the next order for the subscription and add the total outstanding balance to the customer's next order. As an example: If a customer is paying for their monthly rent and they missed their 2nd month payment, on their 3rd month payment, HelixPay will charge them for both the 2nd month and the 3rd month. |
| Skipped | This will automatically mark any unpaid orders as skipped and create the next order without adding the outstanding balance. As an example: If a customer failed to pay for their 2nd month subscription, HelixPay will still try to charge them on the 3rd month with additional amount. |
Value Added Tax (VAT) Handling
By enabling the VAT Settings, a 12% VAT will be added to the total amount to be paid by the customer.

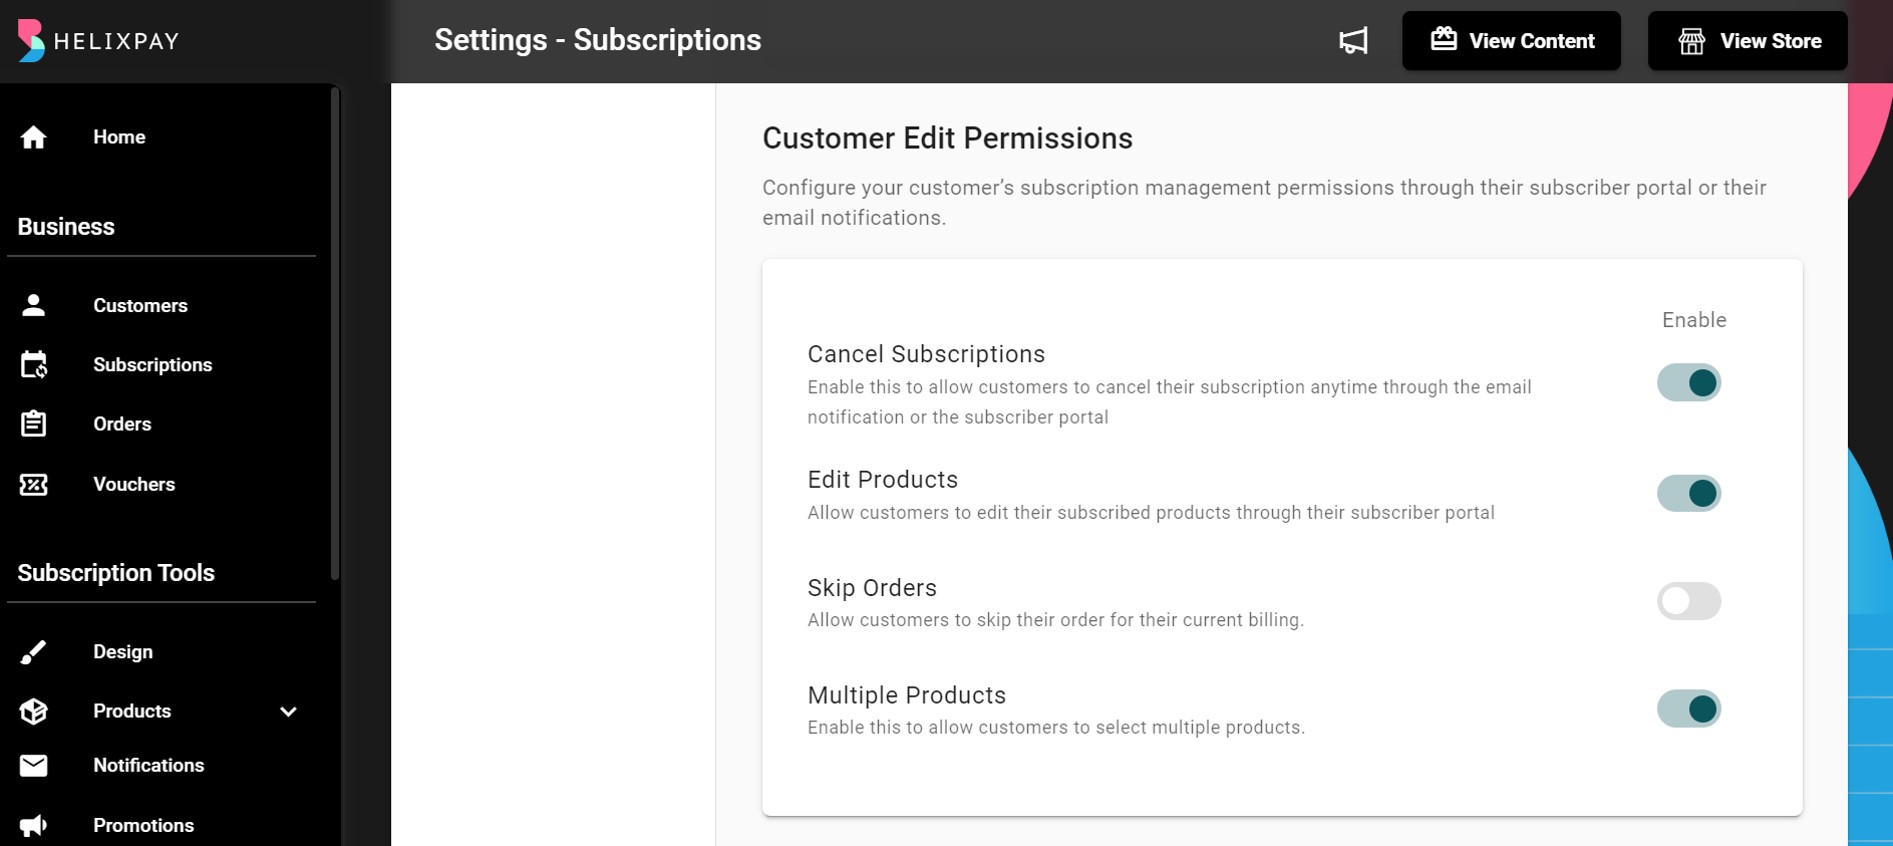
Customer Edit Permissions
This lets you control the customer's subscription management permissions. You can activate the buttons to allow the clients to:
- Cancel subscriptions;
- Edit products;
- Skip orders; and
- Order multiple products
Subscription Cancellation Settings
The subscription cancellation feature allows you to set a specific number of days before an unpaid subscription gets cancelled.

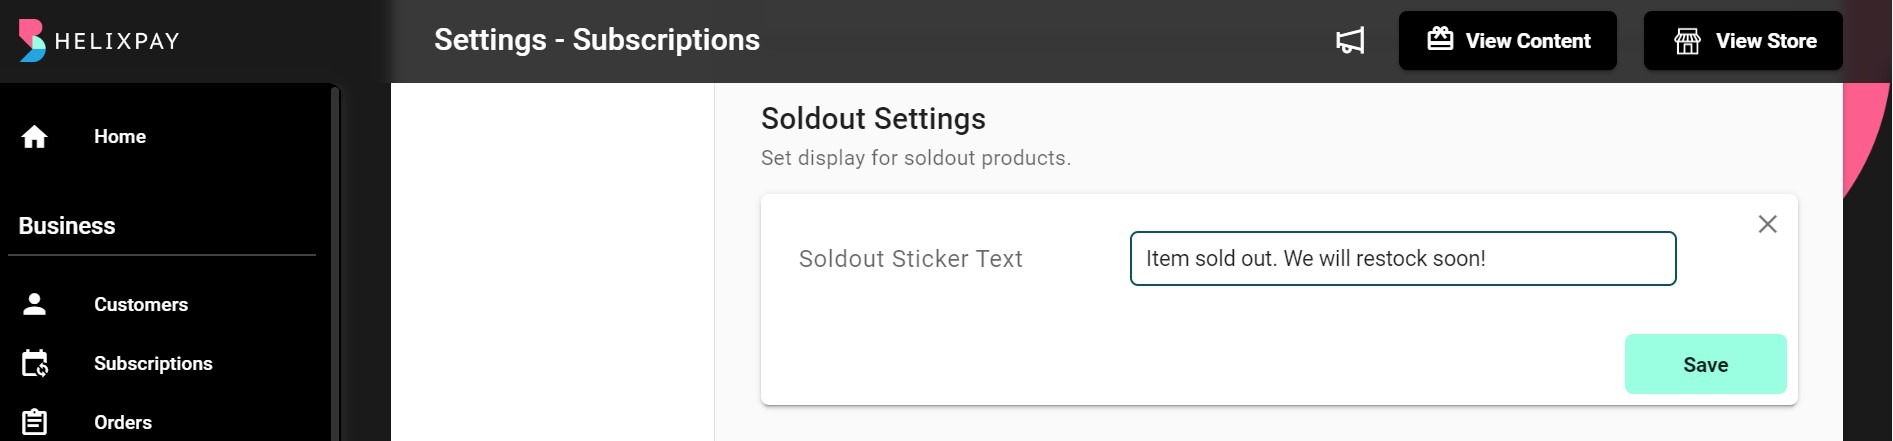
Sold Out Settings
Set the text displayed for sold out products.
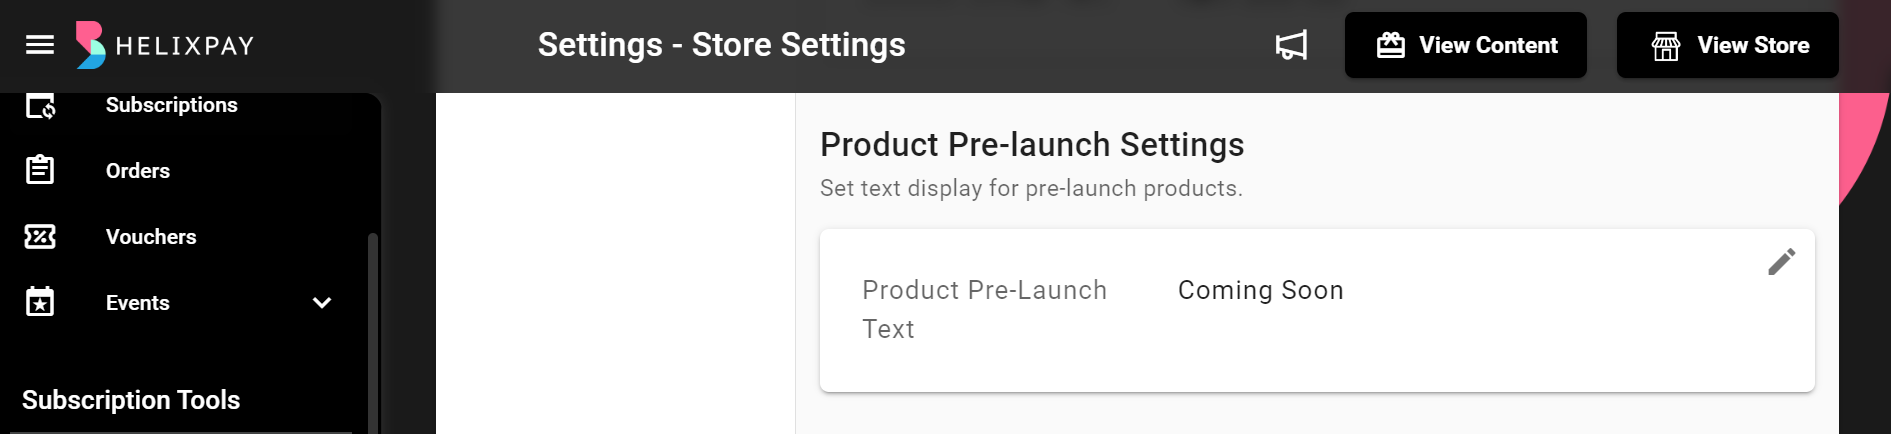
Product Pre-launch Settings
Set the text display for pre-launch products.
Redirect URL Setting
Set the link where customers will be redirected after attempting to pay.
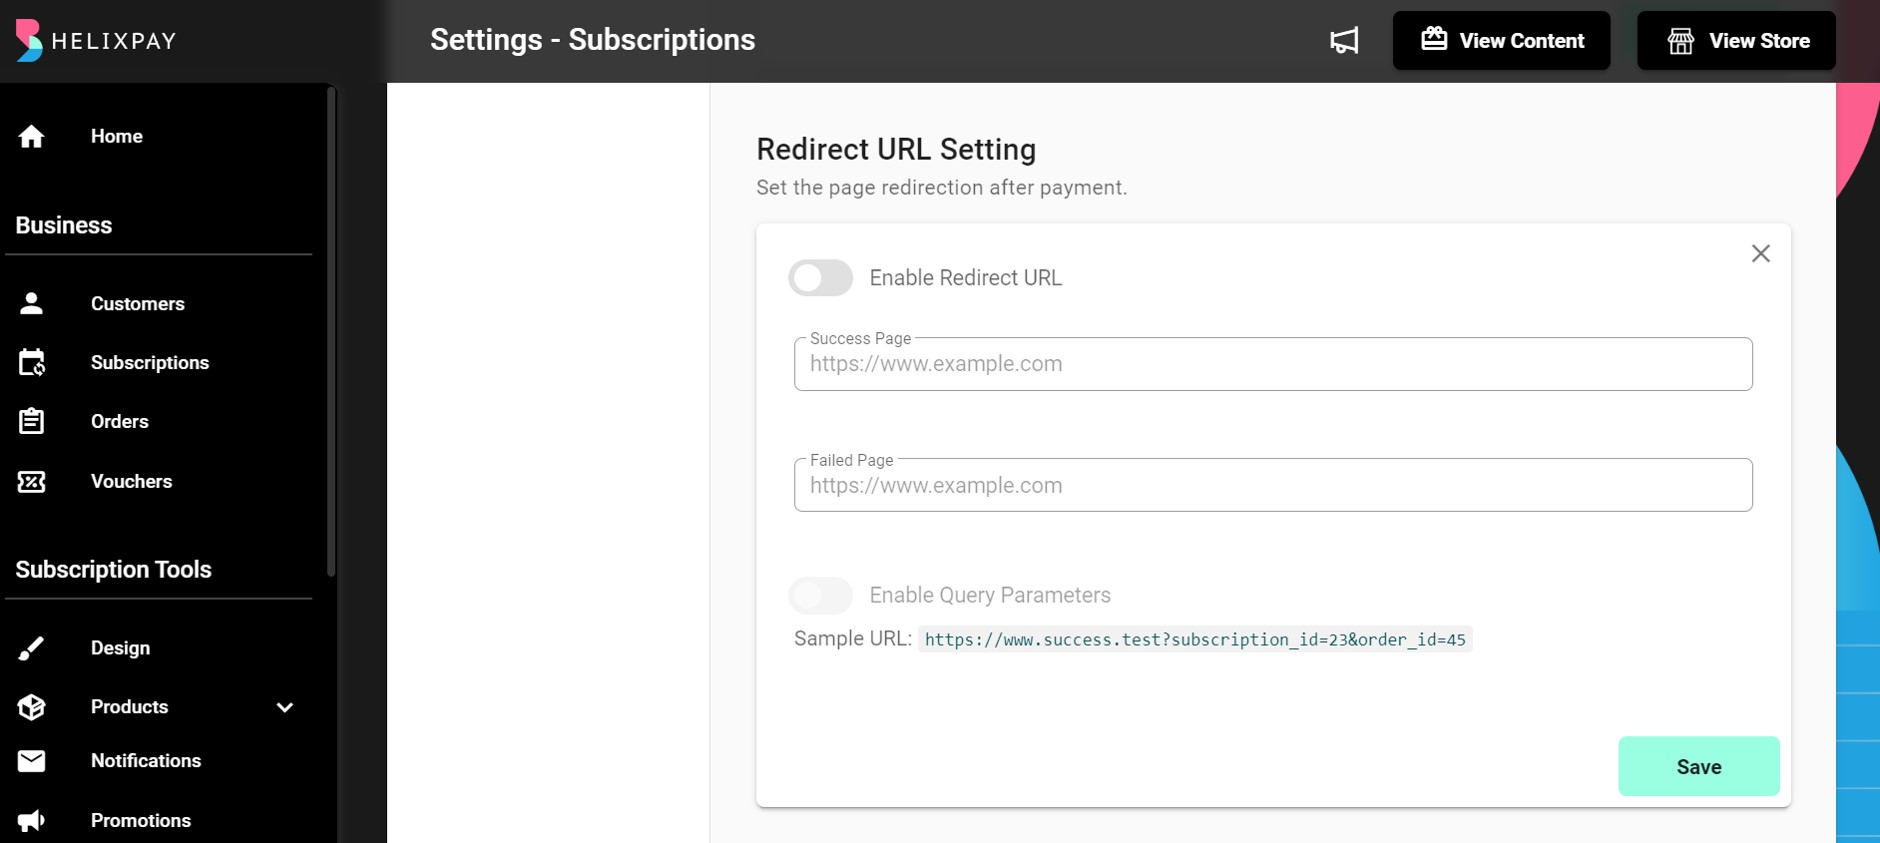
If this setting is disabled, the customers will be redirected to HelixPay's default payment success/failed page.
Recurrence Settings
You can enable subscriptions to be Single Order, Weekly, Every Other Week, Monthly, Bimonthly, Quarterly, Semiannually, or Annually by activating each recurrence.

Each payment recurrence is configurable where you can change the recurrence name, frequency header, as well as set the recurrence day for when the payment will be charged again. If no day is set, recurrence will be based on the day of first customer payment. Single Order is one time only and will not have a recurrence. You can also still collect payments from unpaid previous orders by setting up the number of days an order will be tagged as "Overdue". The overdue amount(s) will then be added on the next billing of the customer.

Outstanding Balance
Make sure that the Outstanding Balance feature is enabled here to be able to add the overdue amount on the next billing of the customer.
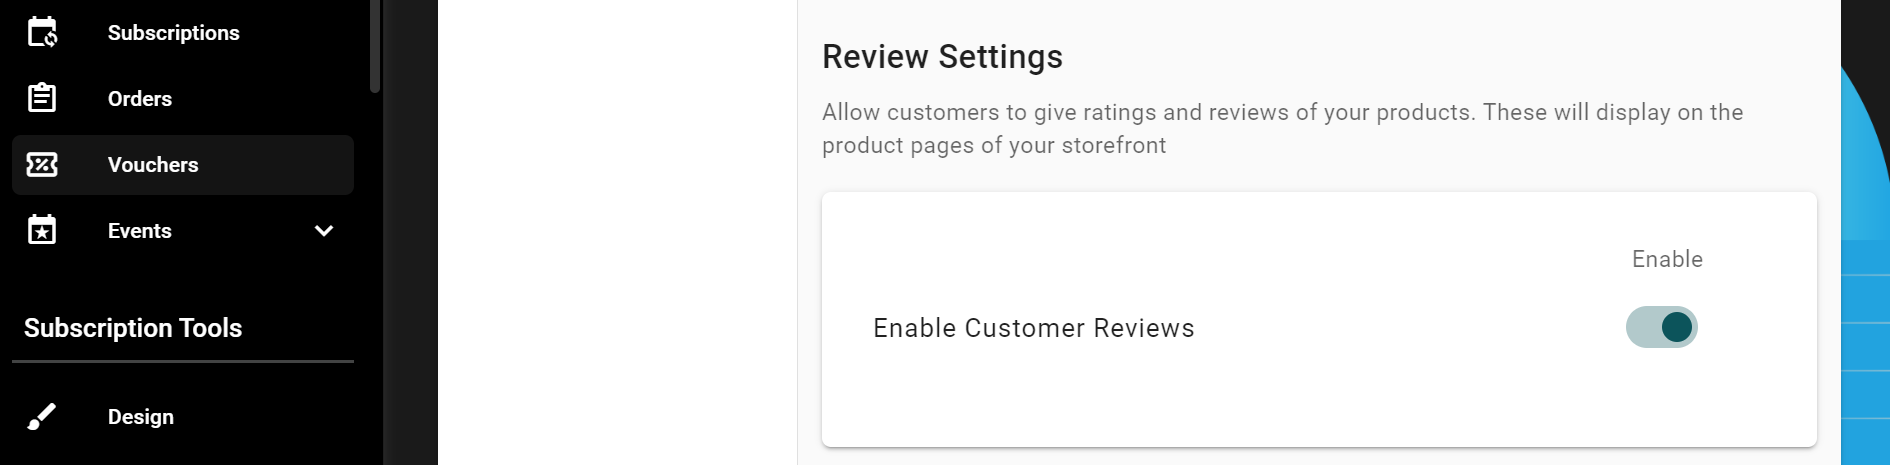
Review Settings
Allow the customers to give a rating and leave a review on your products. This will show on the product details page.
Payment Settings
The Payment Settings allow you configure each payment methods that clients can use in checking out. The available payment methods are Digital Wallet Payments such as GCash and GrabPay, Credit/Debit Card, Bank Transfer, and PayMaya Wallet. By enabling it, each payment methods will be displayed on the storefront checkout page.
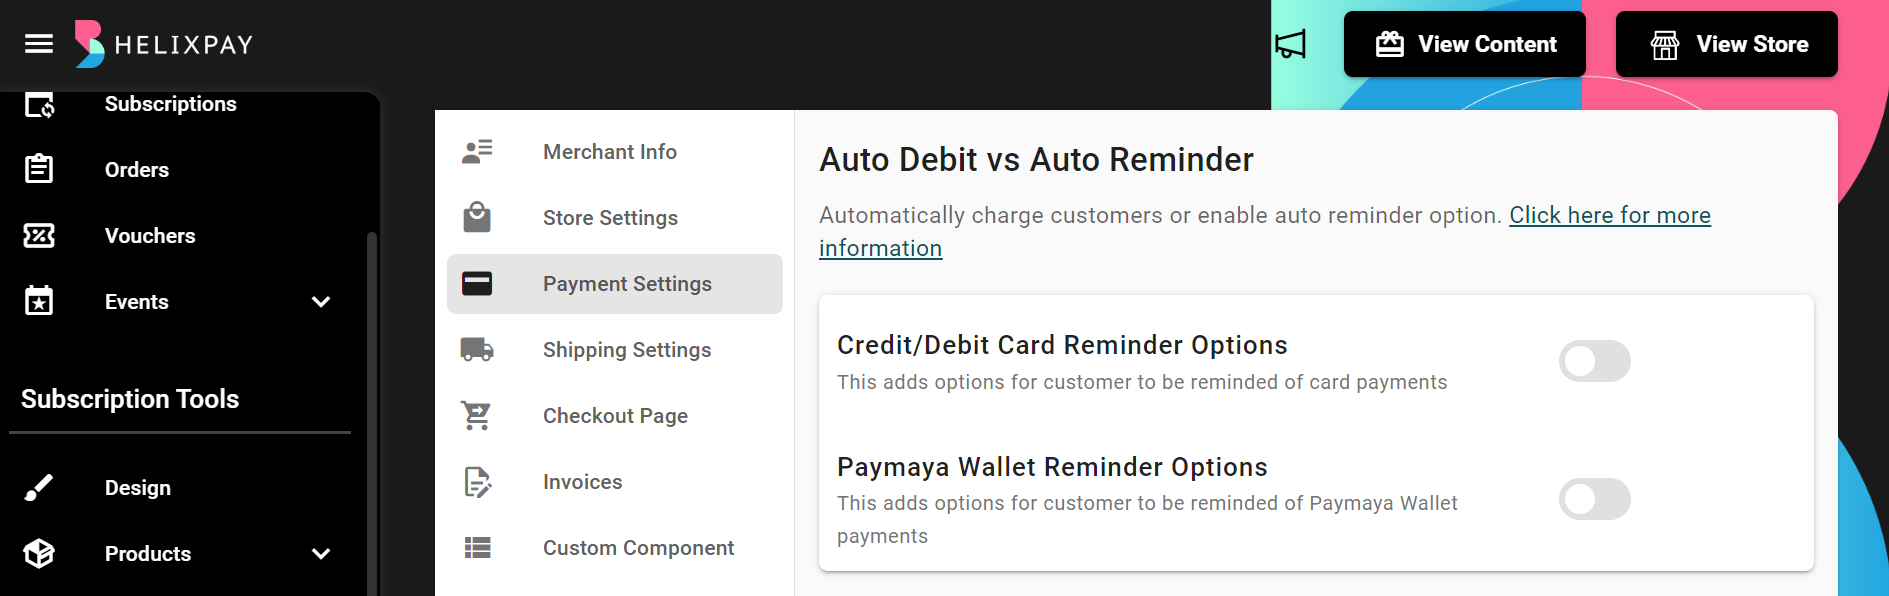
Auto Debit vs Auto Reminder
This section allows you to enable options for customers who are using Credit/Debit Card and PayMaya Wallet to choose if they want to be auto-charged or receive reminders only for their succeeding payments.

Overdue Order
An order needs to be tagged as "Overdue" to be added as an outstanding balance on the next billing of the customer. Follow this guide to set up overdue orders.
Payment Methods and Convenience Fee Settings
You can add convenience fee to the final amount of the transaction. You can set it to be a fixed amount or a percentage of the total transaction amount.

Card Discount
This allows you to enable discounts for customers who will use Credit/Debit card for payment.
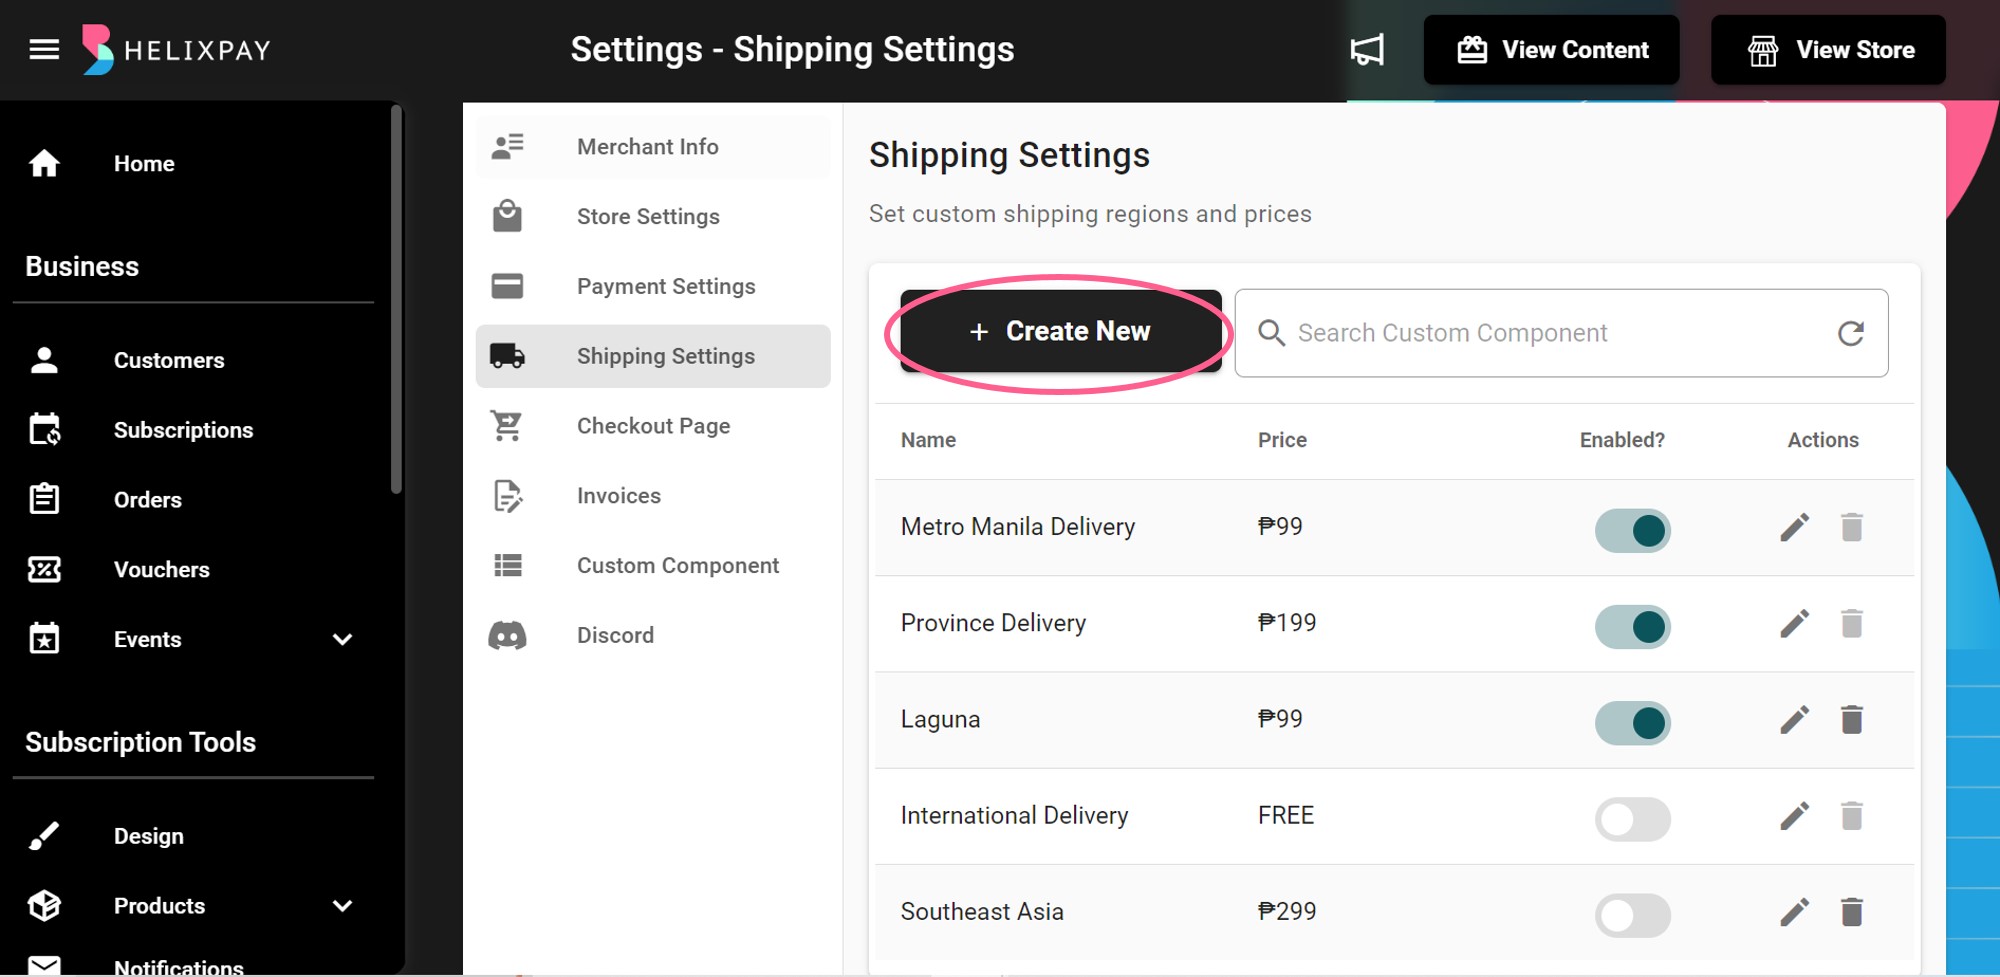
Shipping Settings
Shipping Settings is only available for shippable type of merchants. These are merchants who are shipping physical products to the customer.

Shipping Region
The shipping region allows you to group countries or provinces in the Philippines with similar shipping rates together. Follow these steps to configure the shipping regions:
Step 1: Click '+ Create New' button
Step 2: Fill out the required fields
Step 3: Add description
Step 4: Select the countries you want to group together
Step 5: Click 'Save'
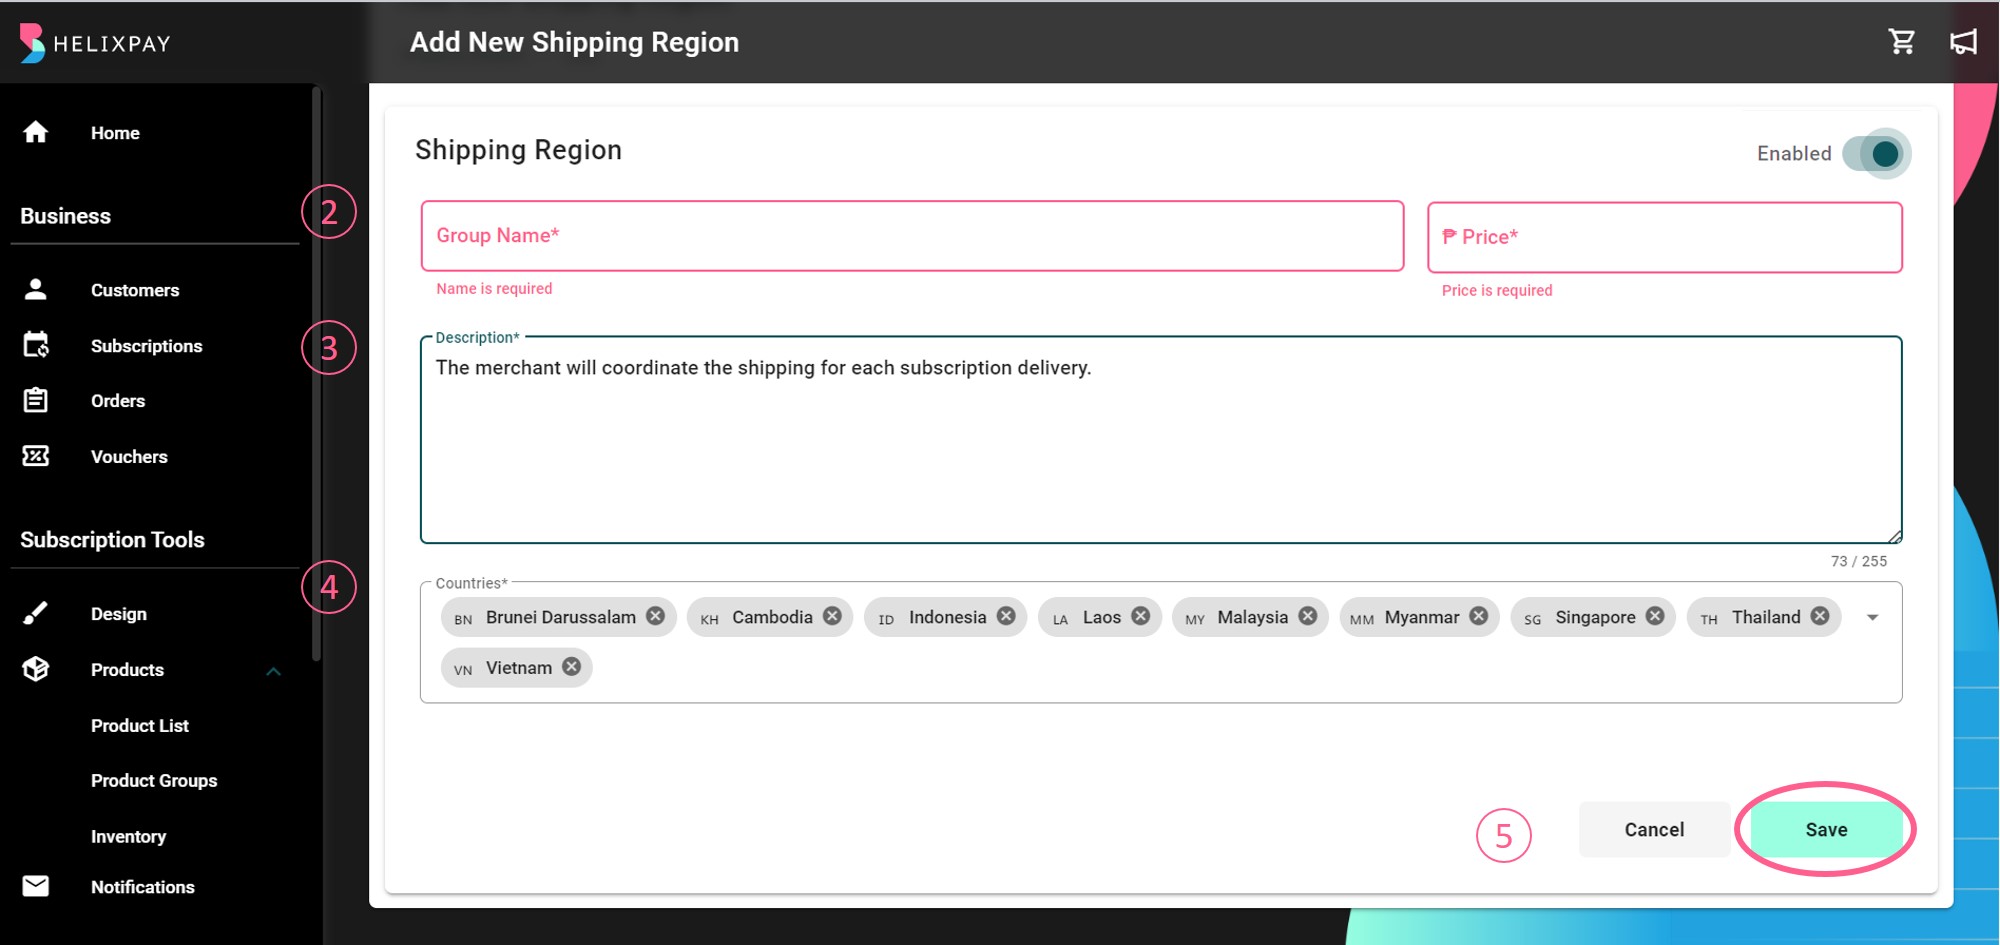
Make sure to enable the shipping region to apply the shipping fee to orders.
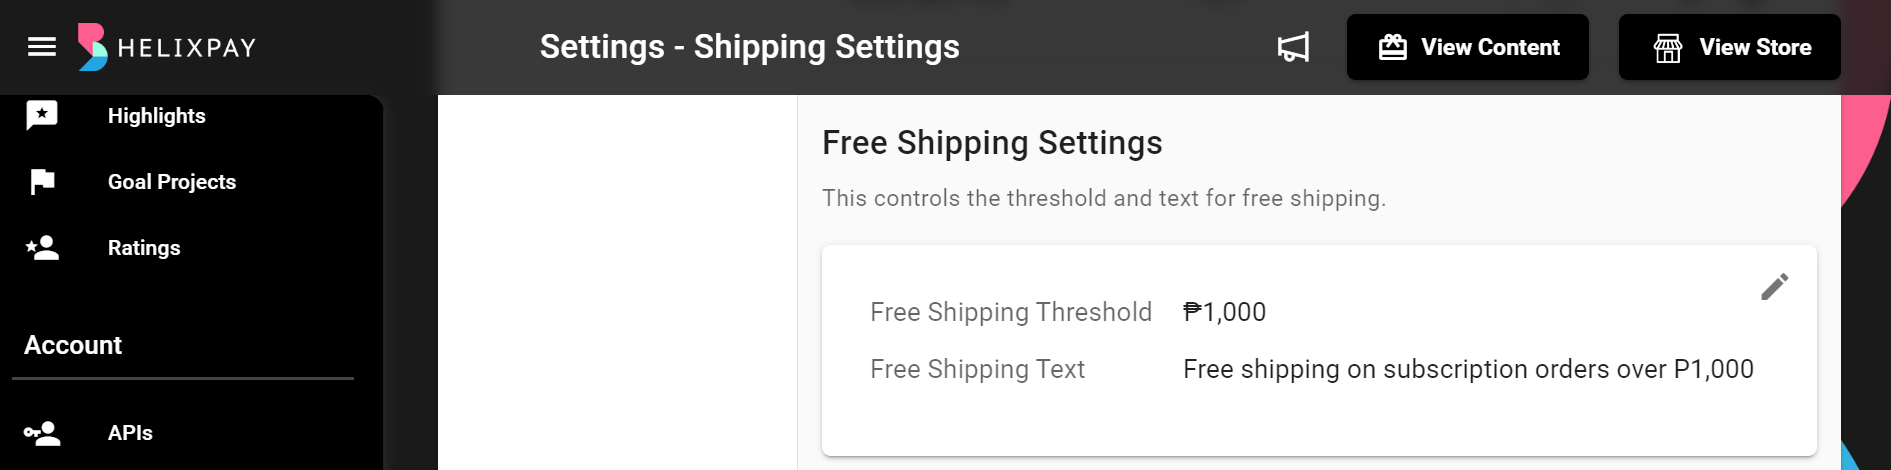
Free Shipping
Set the free shipping threshold for your products and customize the text to display.
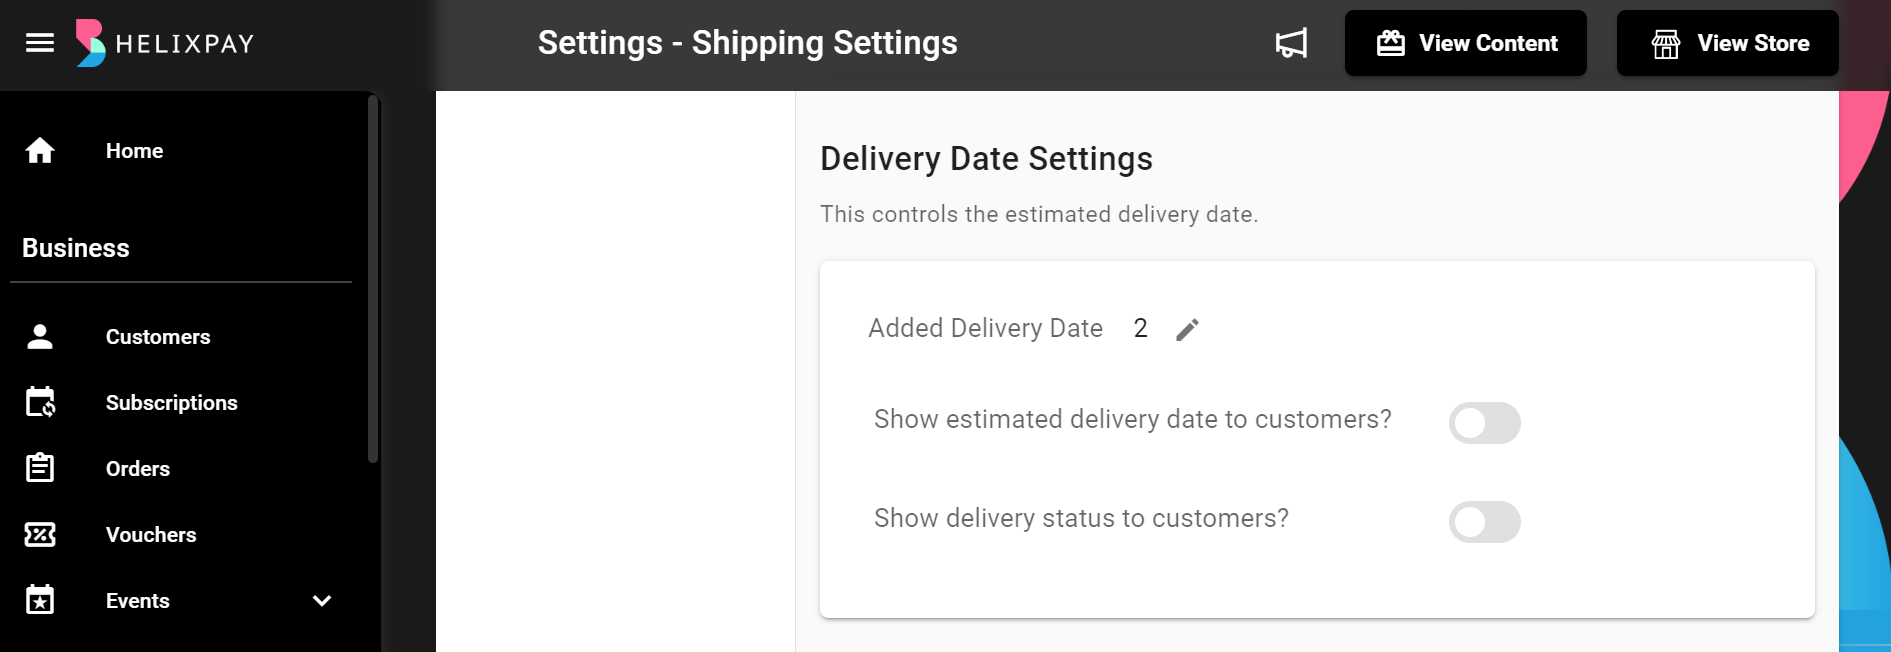
Delivery Date Settings
Configure the estimated delivery to be shown to the customers on the checkout page.
Shipping FAQs Settings
To add more information about the recurrence or other related information like when the customer should expect fulfillment of the order, you may use the Recurrence FAQs which will be shown on the customer details page on the storefront.

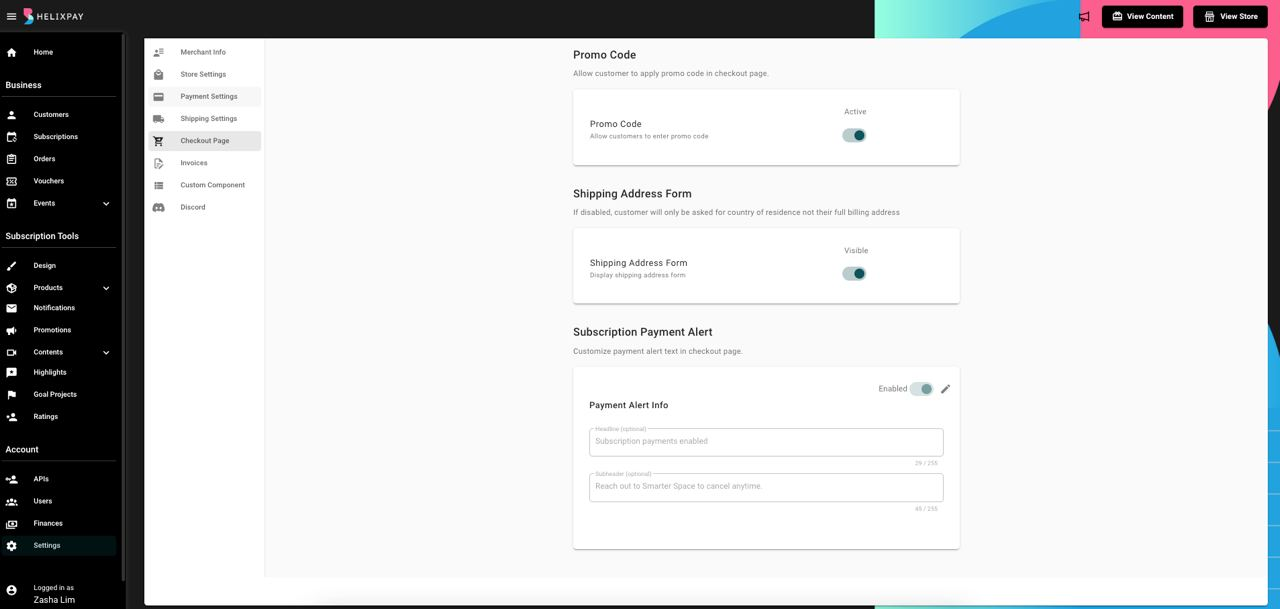
Checkout Page
The checkout page is where the customer chooses the payment method in order to proceed with the subscription. This is also the page where you can allow the customer to apply a promo code by enabling the promo code’s visibility, disable shipping address form, as well as alert the customer that they will be paying for a subscription order that will trigger a recurring payment based on the subscription frequency they selected.
Invoices
This automated invoice helps the customers to keep track of their payments and due amount. The invoice will include the subscription summary and customer information such as name, contact number, and address. You can input your preferred business information to be included in the invoice by editing the Corporate Info.

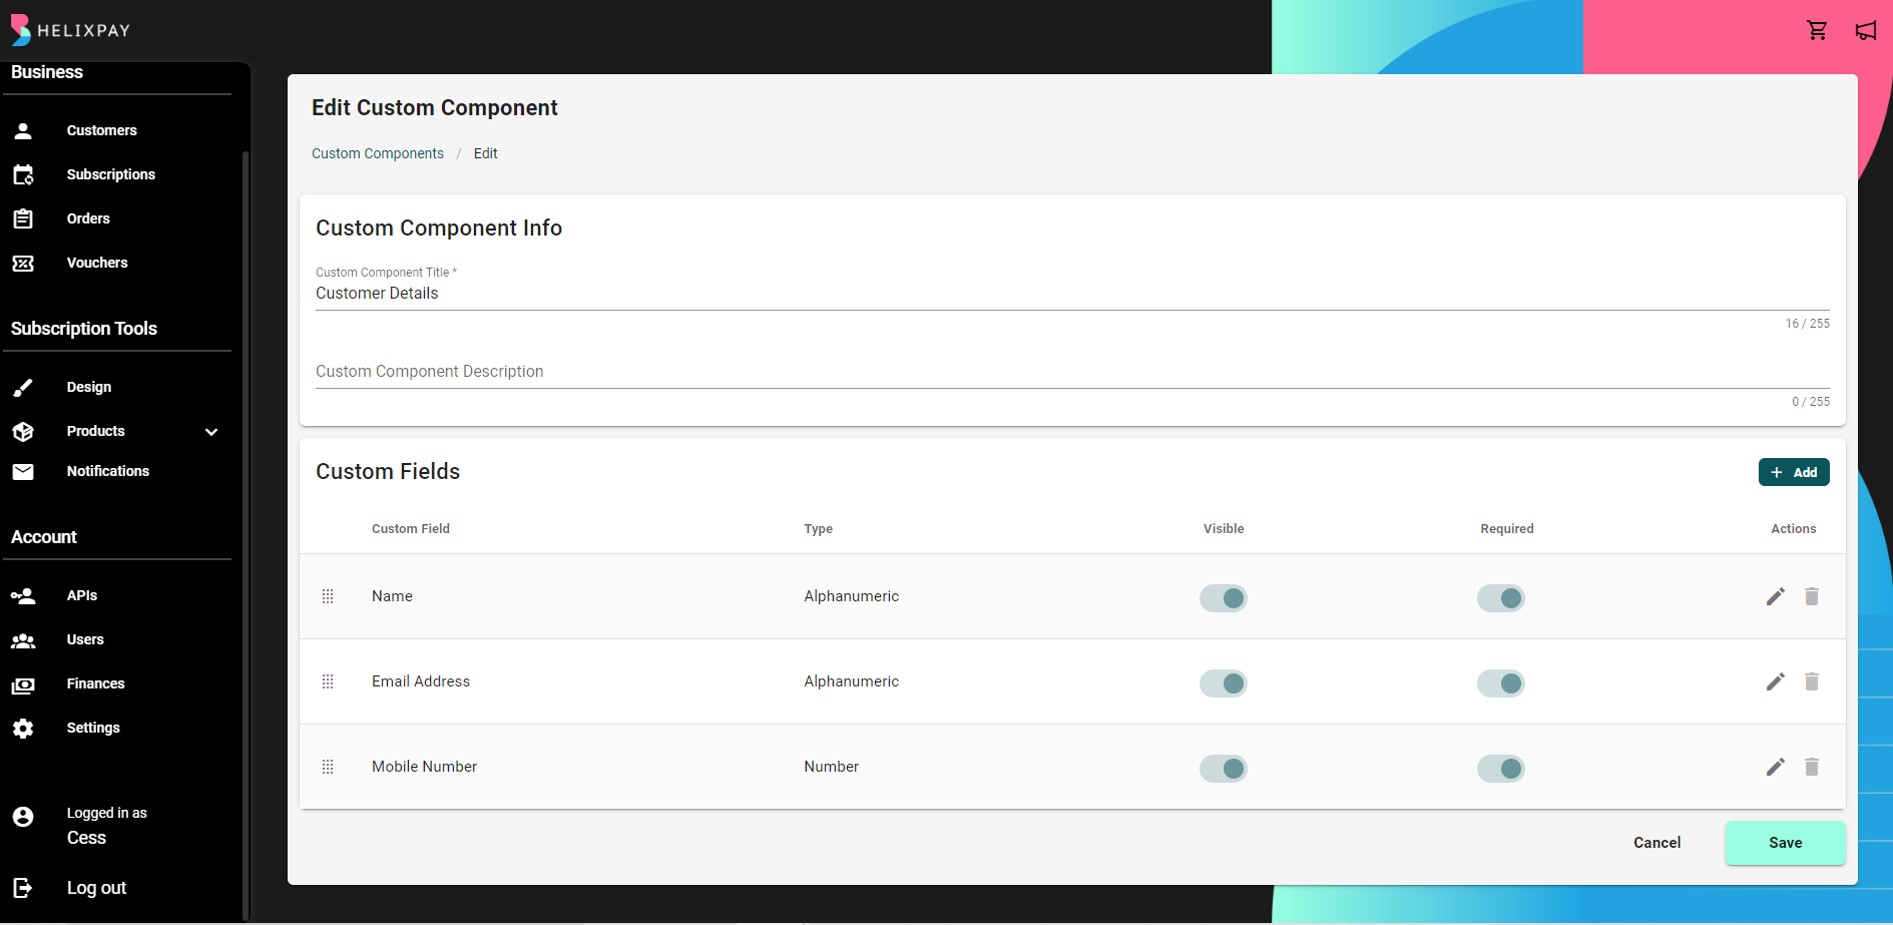
Custom Component
The Custom Components allow you to customize the information displayed on the checkout page. This can help you collect information from your customers that is specific to your business. You can do the following under the Custom Component setting:
- Add Custom Component. By default, checkout page have Customer Details and Shipping Details, with this setting you can add more components like Recipient Details or Gift Details;
- Add custom fields to the default components or reorder the fields based on your preference;
- Rename default custom components. For instance, instead of Customer Details you can rename it as Member Details; and
- Add custom component description.
Discord
Connect more with your subscribers by creating a Discord community. You can set it up to be exclusive for subscribers that are paying for a membership product.

Updated about 2 years ago