Products
The Products tab enables you to upload your products on the console. Product Information, Description, Pricing, and Frequency of Recurrences can be edited here. Similar products can be grouped together so the customers can view it easily.
Managing the products
Create new product
The following are the steps in creating new product:
Step 1: Click the '+ Create New' button.

Step 2: Fill in Product Info
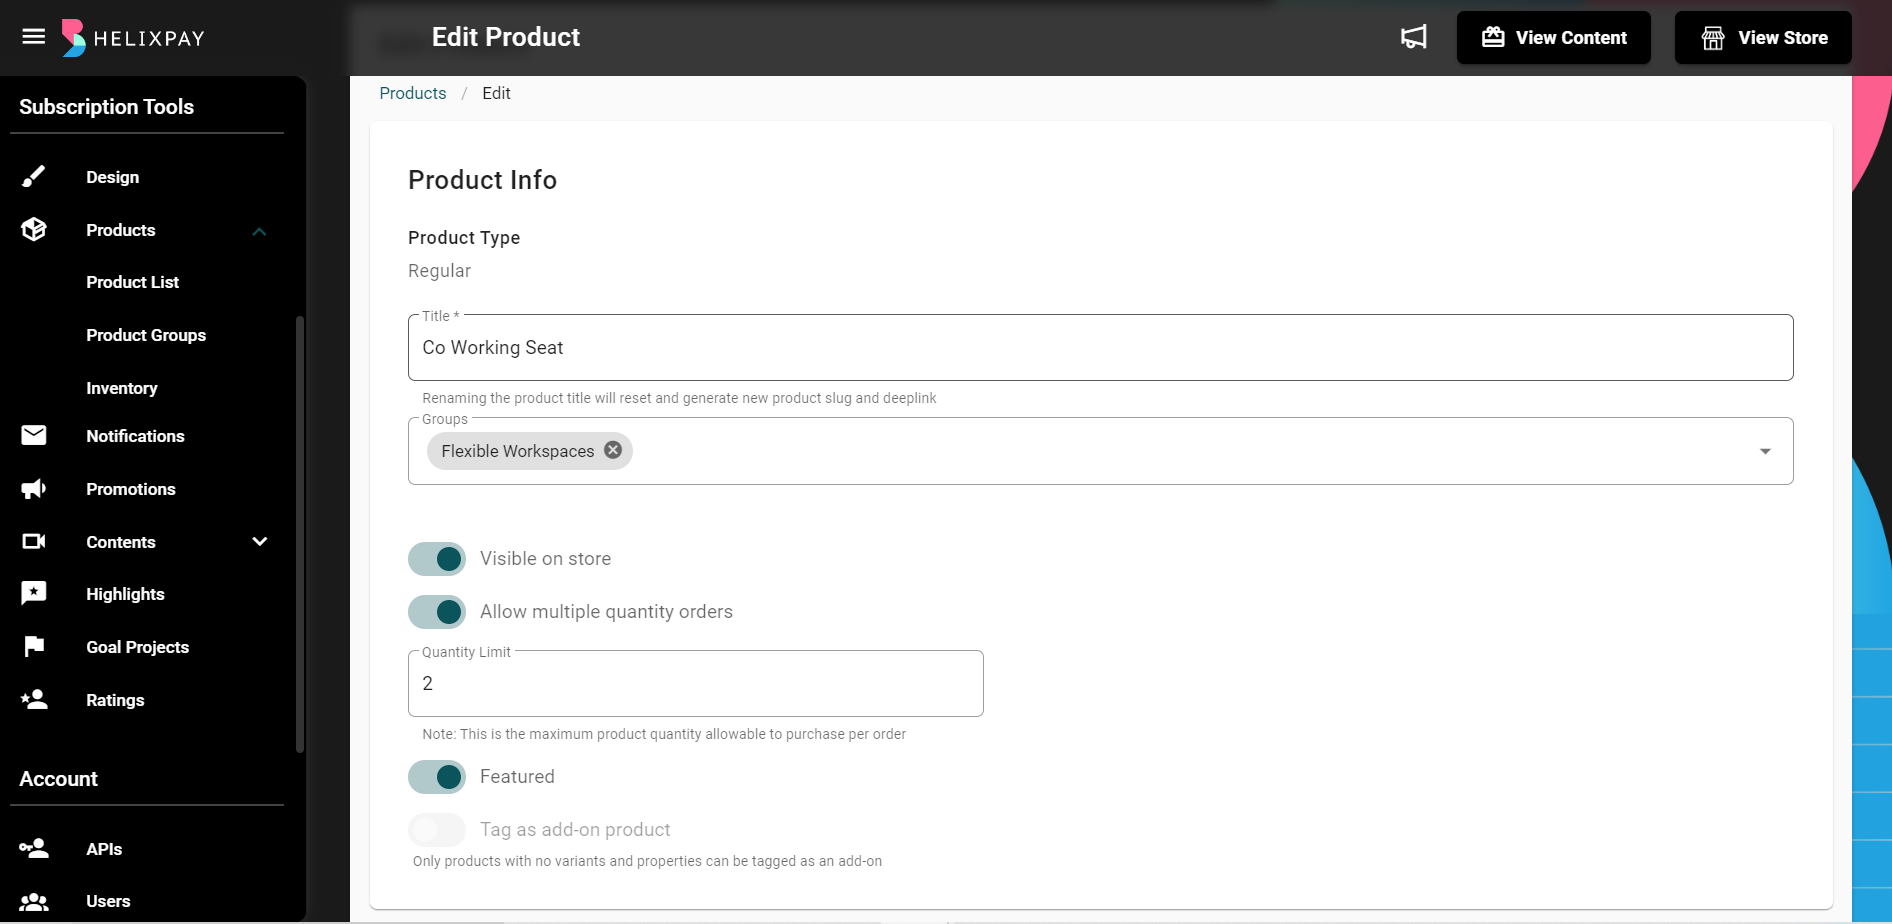
Enabling ‘Allow multiple quantity orders’ will let the customer order more than one quantity of the product.
Additional Settings
Featured Product
Let customers see first your best-selling, brand new, or promotional products when you enabled 'Featured'. Products that are featured will be displayed on the top part of your storefront.Add-on Product
Products tagged as add-on cannot be bought alone. Customers can only add add-on products to their orders if they are also buying the main product the add-on belongs to.
Step 3: Add product variants.
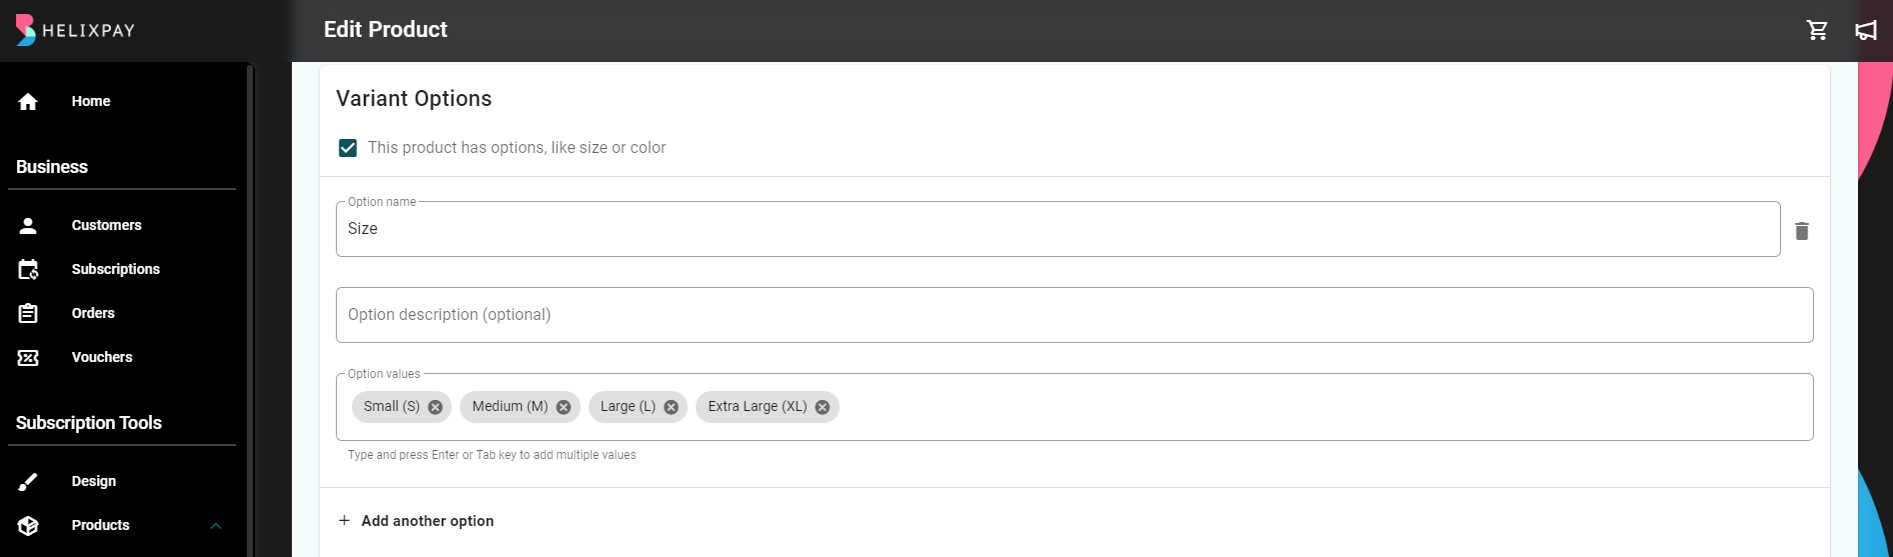
Product Variants will let your customers choose from different options available on your product.
Step 4: Add product properties.
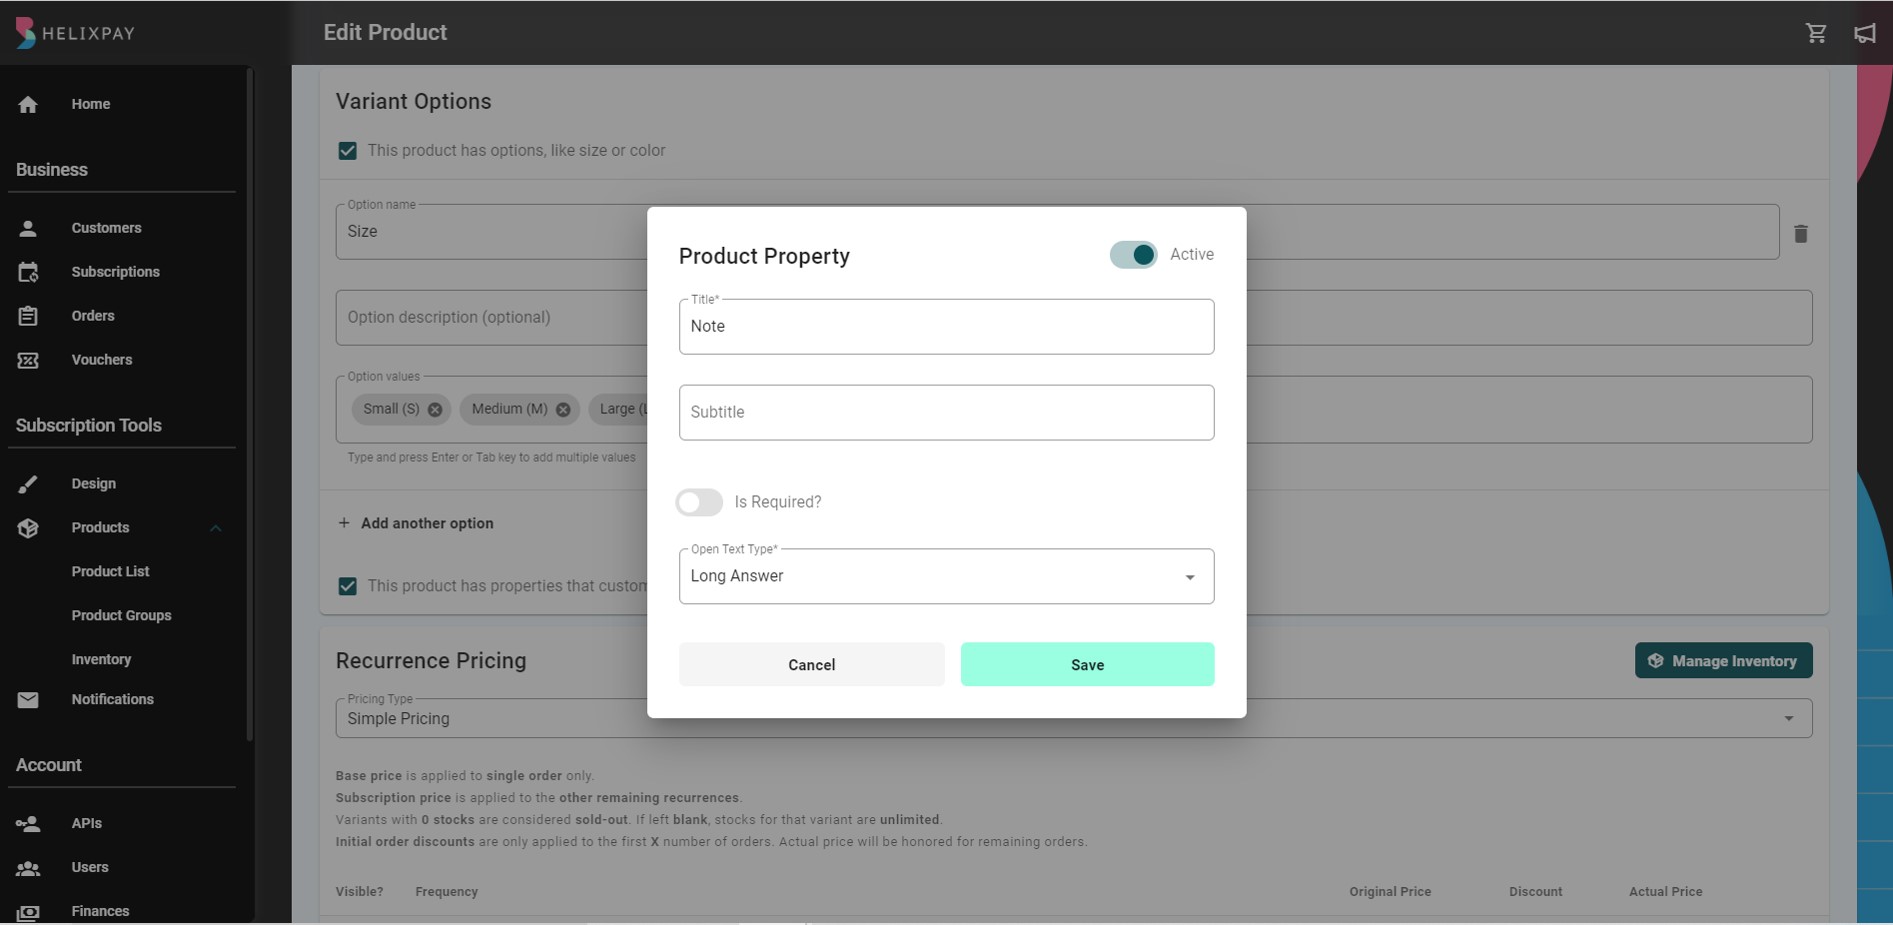
The Product Properties allow your customers to add a note to their order.
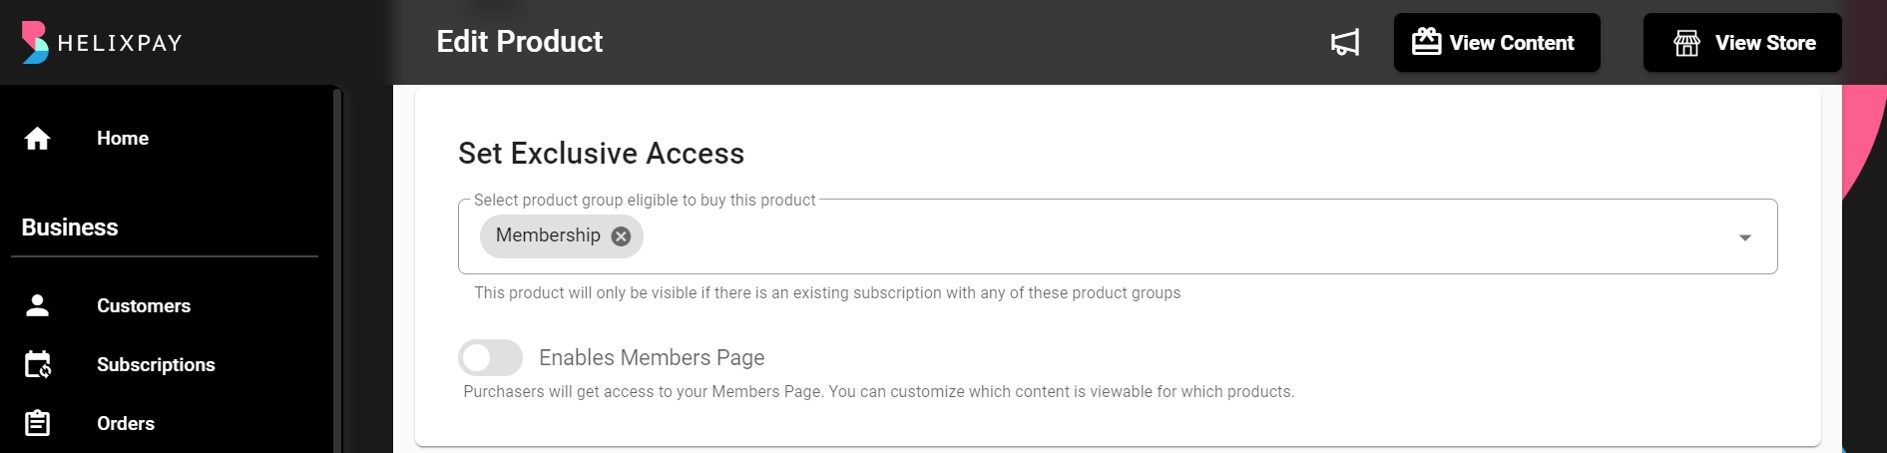
Set 5: Set exclusive access.
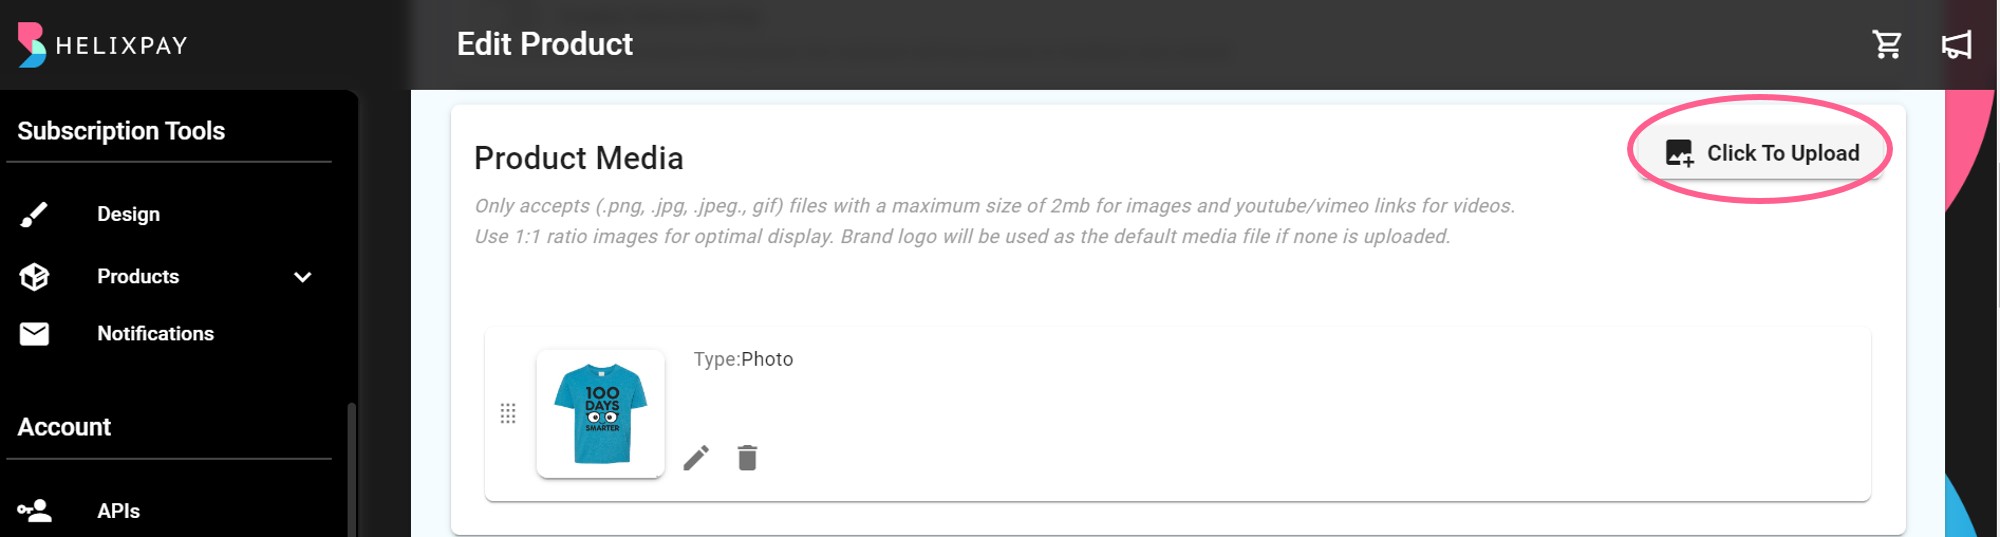
Step 6: Upload product media.
Step 7: Configure stock settings. This will show stock counter on the storefront.

Step 8: Discord Settings
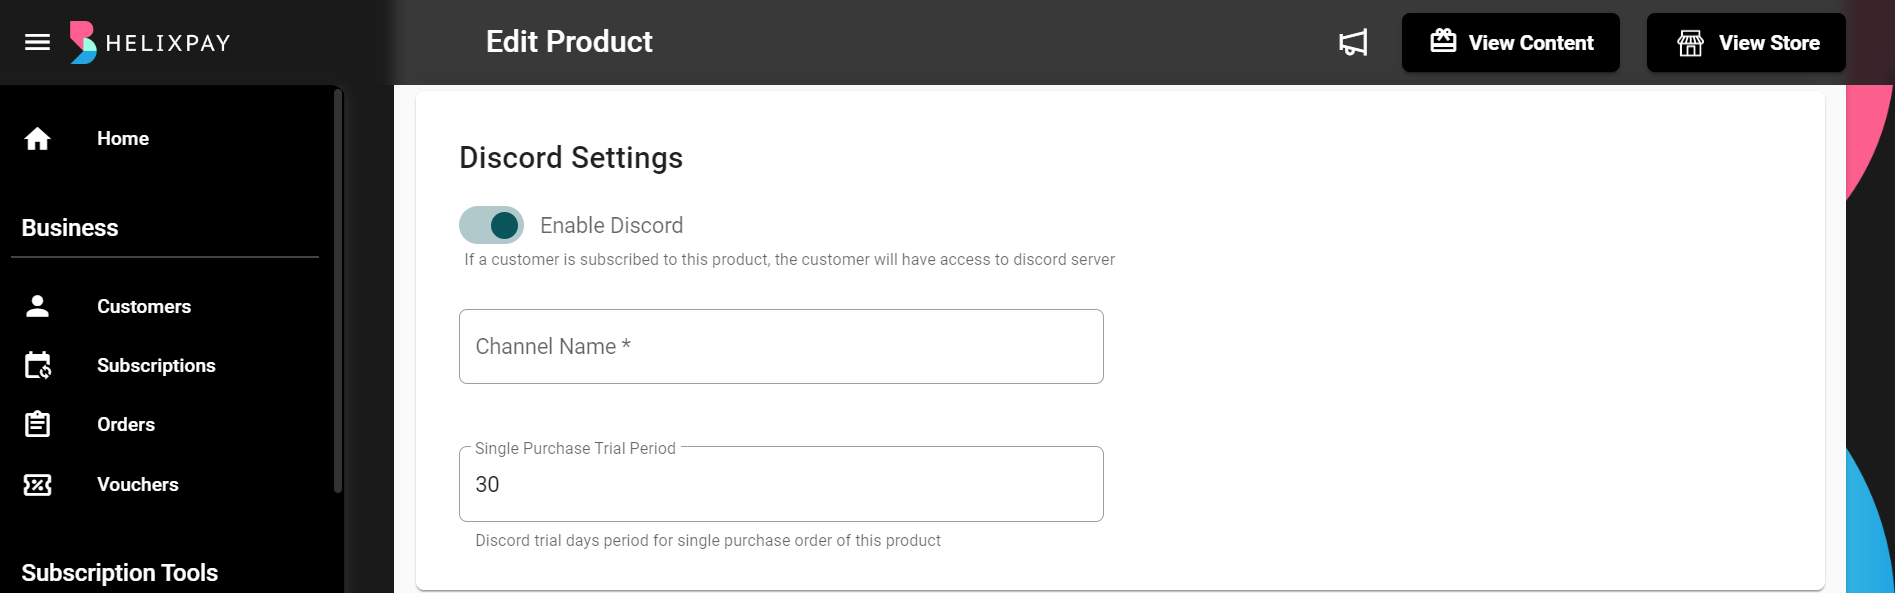
Set the number of days the customers can access Discord if they only purchase single order.
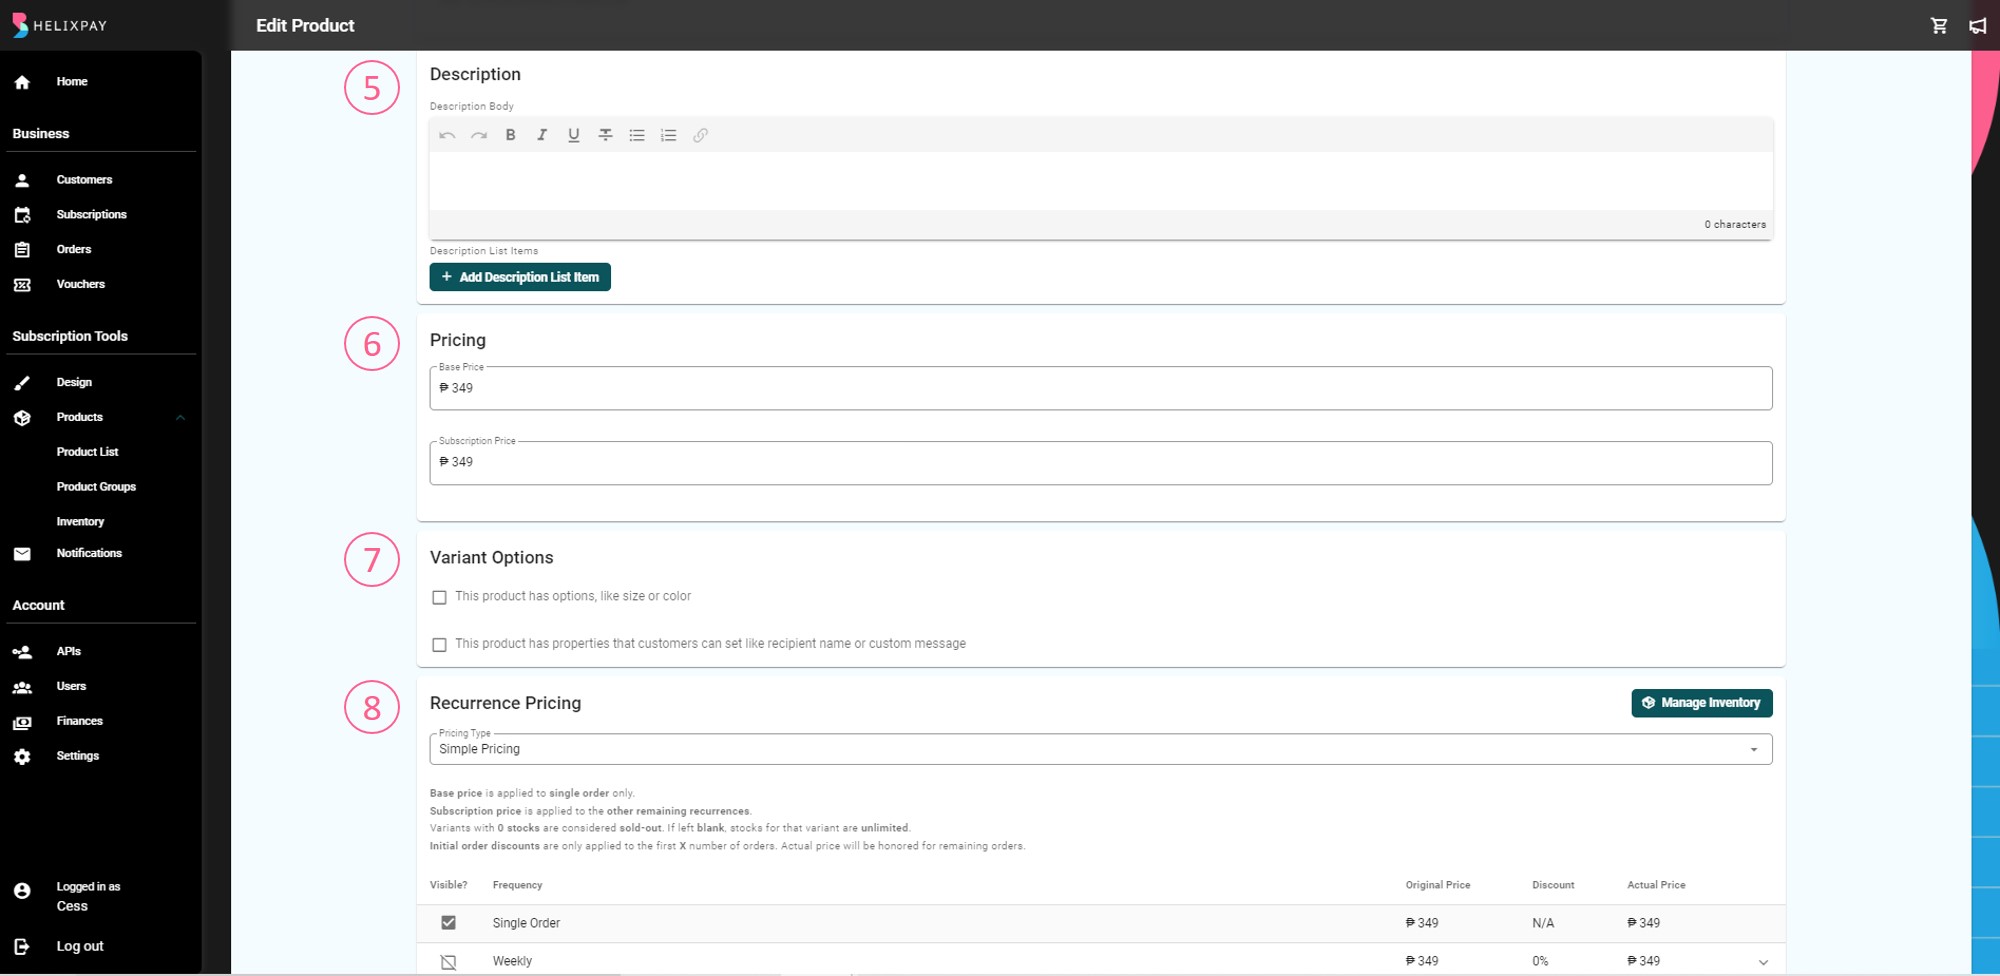
Step 9: Add the Description of the product. List items by clicking on the '+ Add Description List Item', type in the Item Text then click 'Save'.

Step 10: Set up Product Details Page
.](https://files.readme.io/ade1407-pdp.jpg)
Learn more about Product Details Page here.
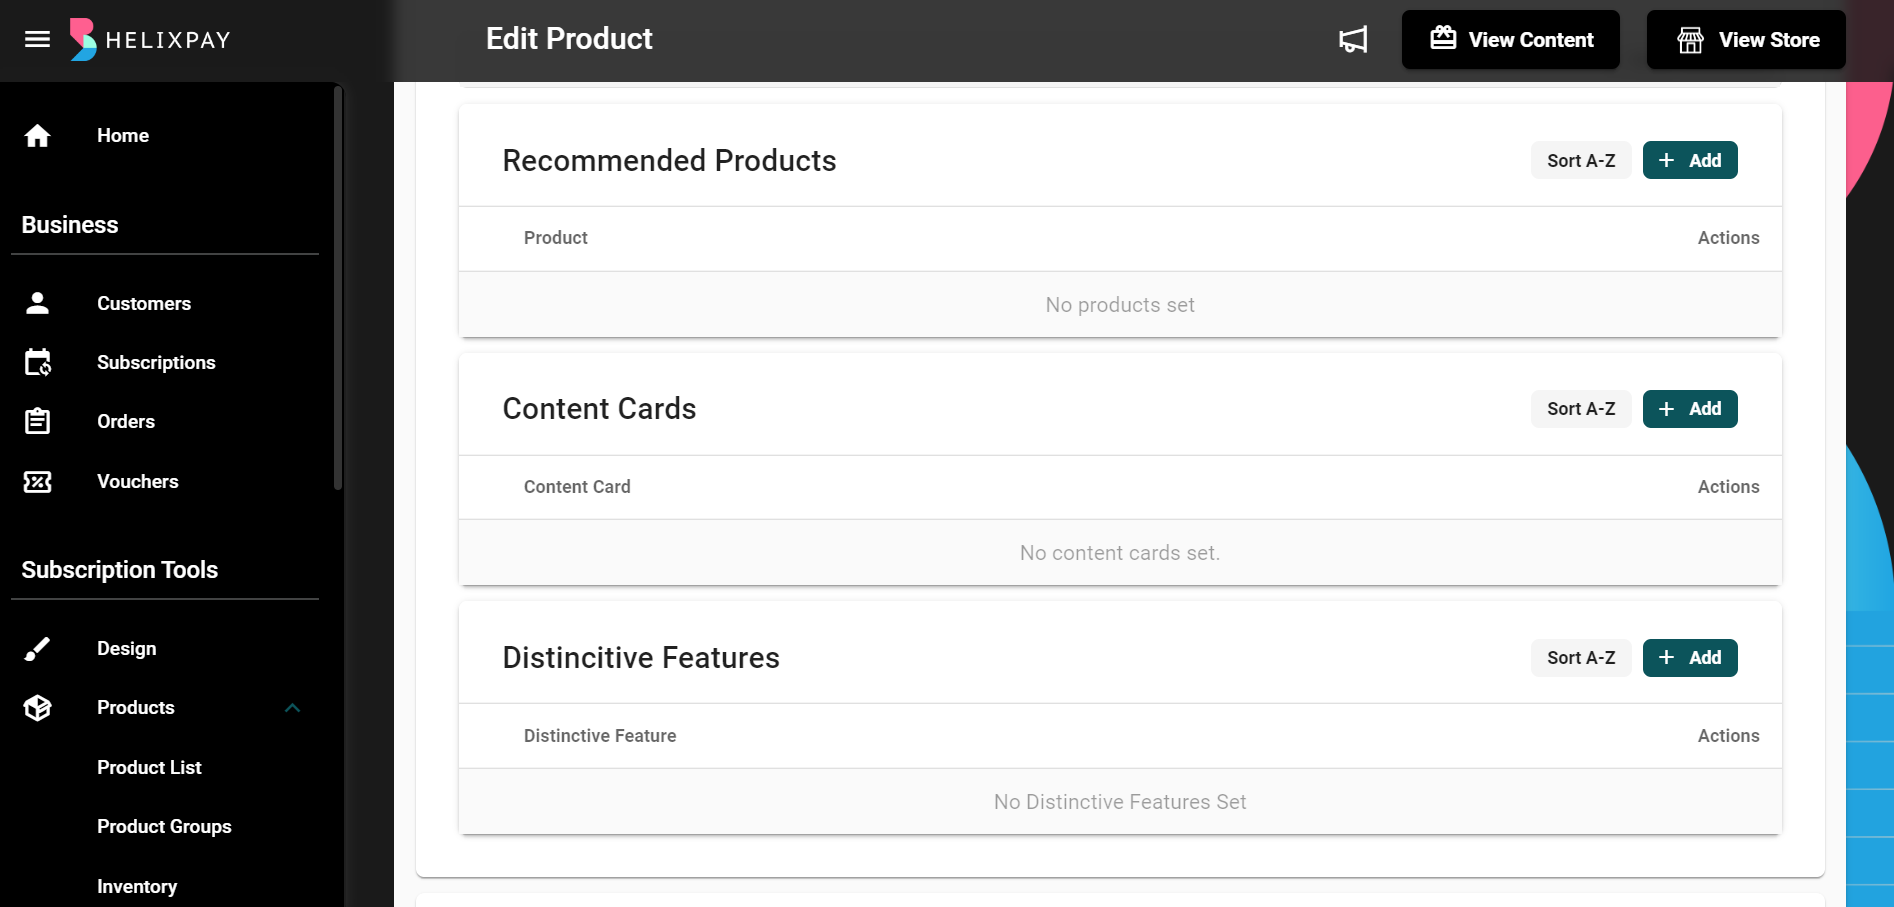
Step 11: Add recommended product

If no recommended products set, products from the same group will be added.
Step 12: Add content cards
.](https://files.readme.io/c65620b-image.png)
Learn more about Content Cards here.
Step 13: Add distinctive features
.](https://files.readme.io/ac74117-image.png)
Learn more about Distinctive Features here.
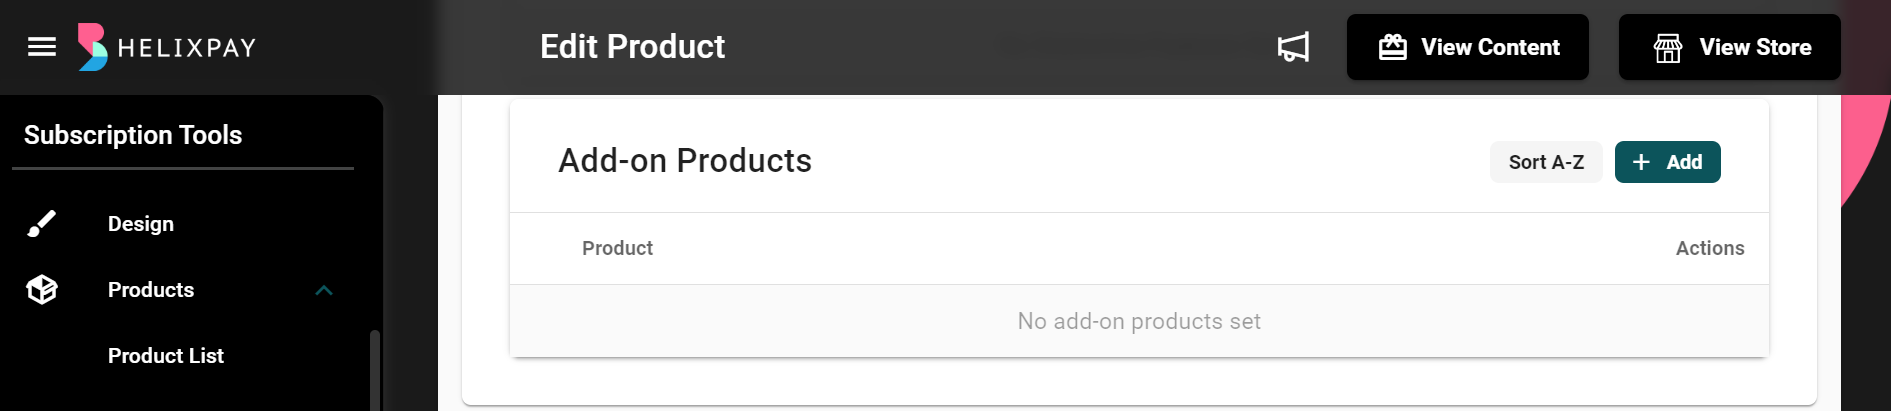
Step 14: Add add-on products
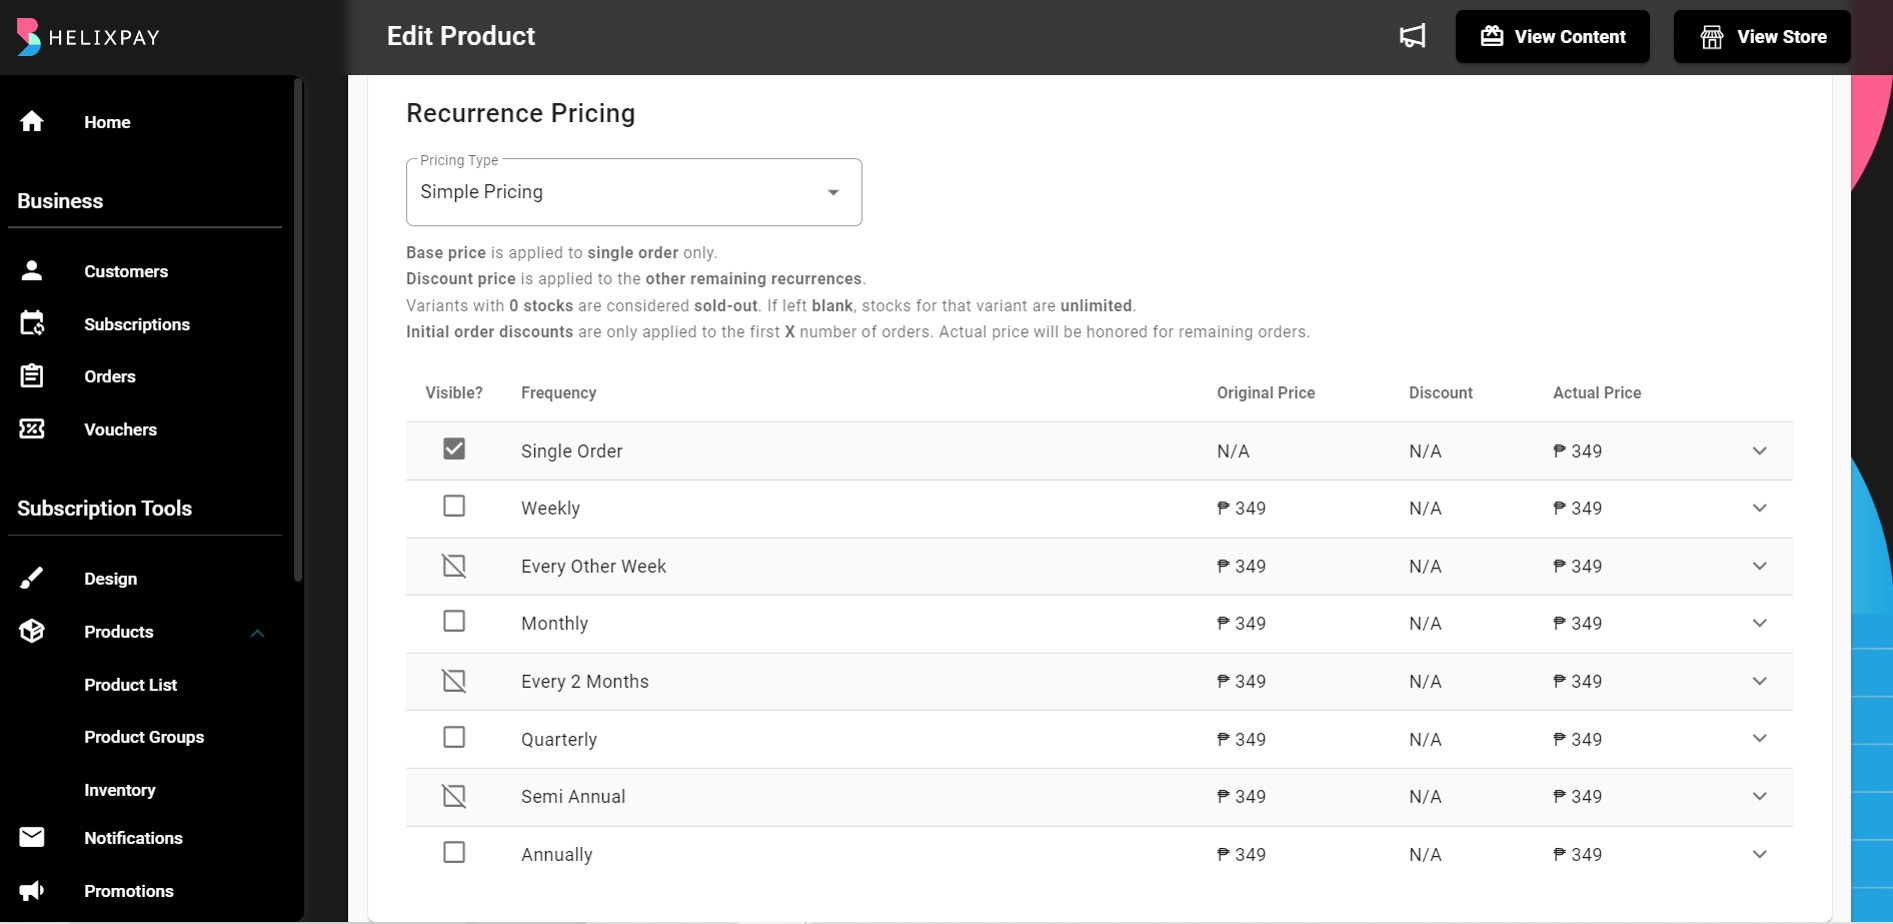
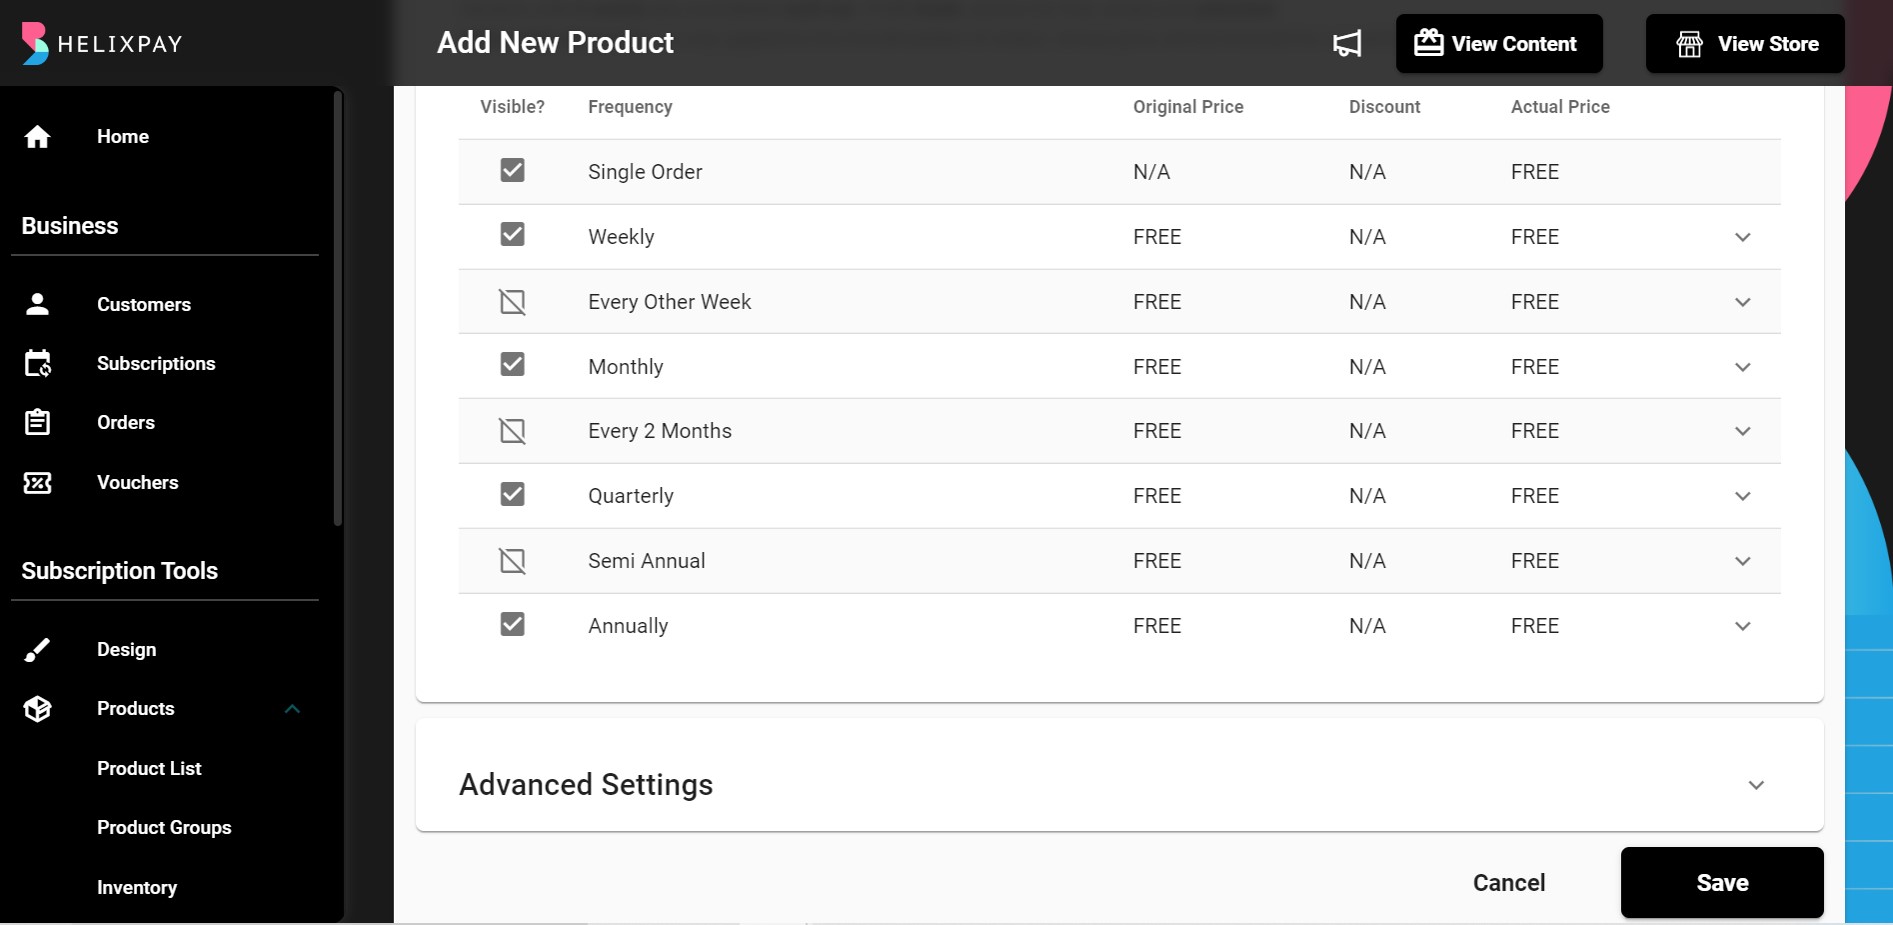
Step 15: Set the price of the product
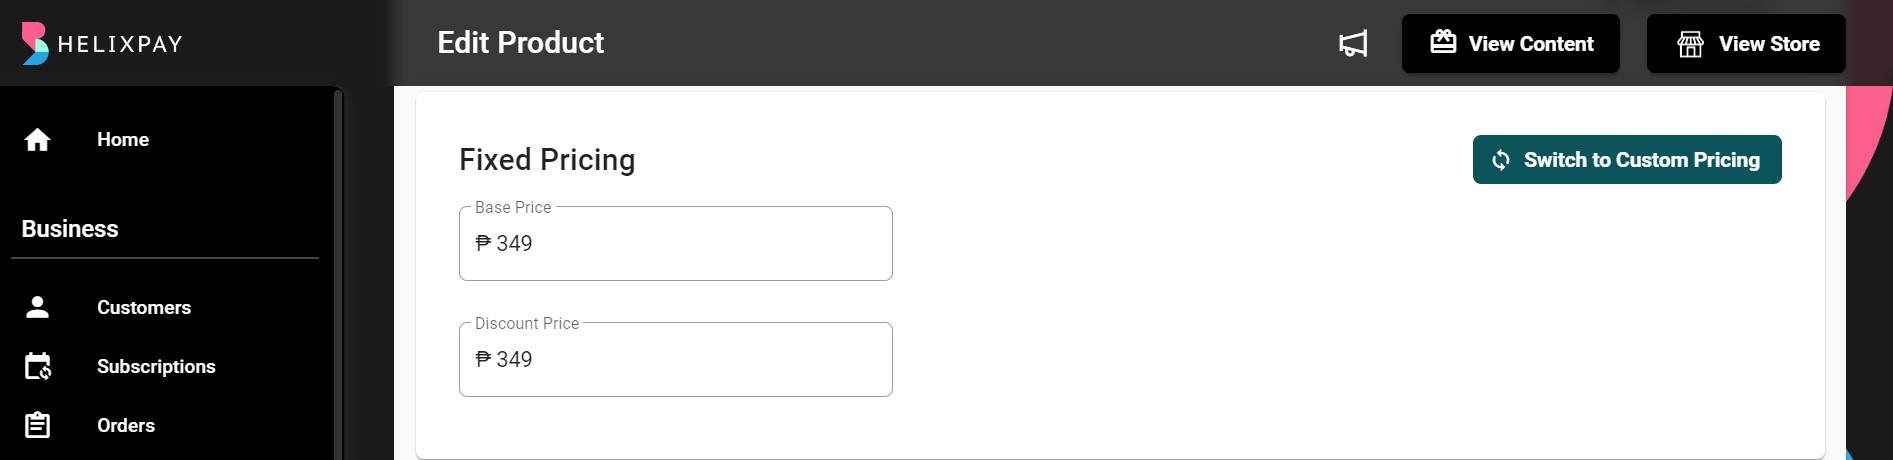
Custom Pricing
You can let your customers decide the amount to pay when you switch to custom pricing. This is applicable to products like Support Jar, Sponsorship, or Donation where you can also set the minimum value.
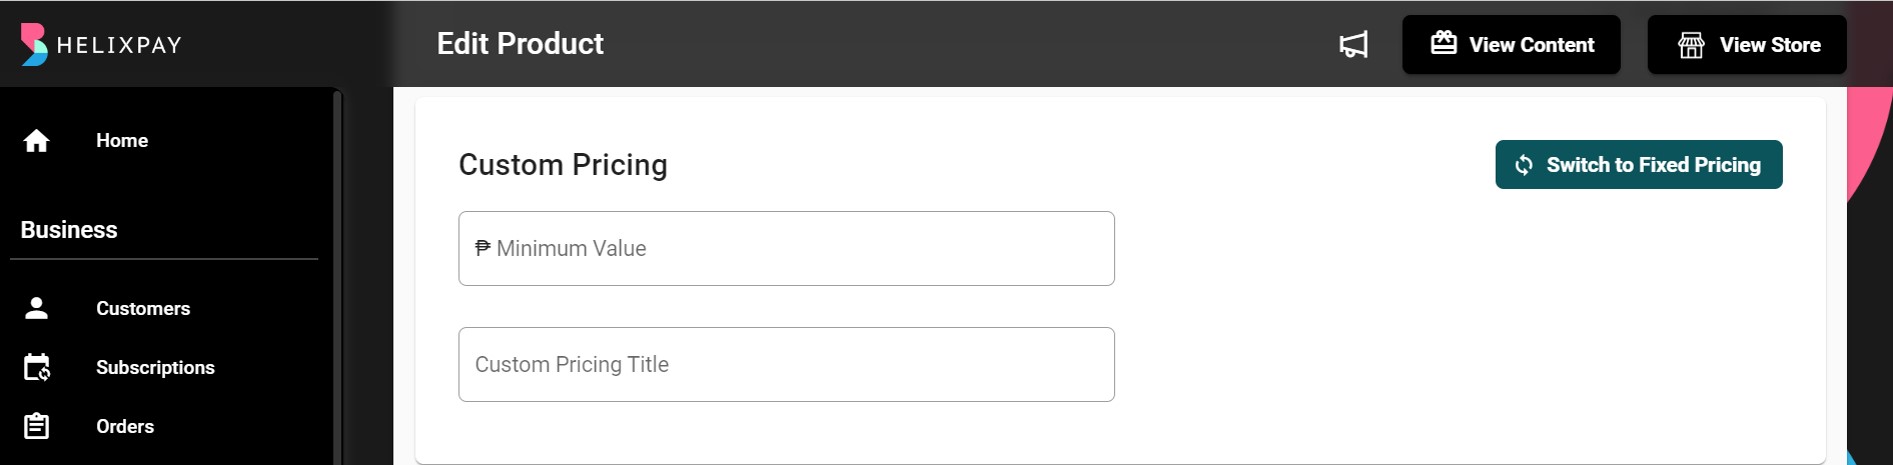
Step 12: Select which recurrence(s) the price will be applied to.
Step 13: Click Save!
Search the product
Products can be searched by Product Name or Product ID.

Edit products
To edit a product, the merchant can click on the 'ellipsis button' found under the Actions column then click 'Edit'.

The merchant can edit the following product information:
- Title
- Store visibility
- Allowed order quantity
- Product photos

- Description
- Pricing
- Product Variants and Properties
- Recurrence Pricing
Delete a product
The 'Delete' button allows the merchants to delete a product from their listing. In deleting a product, the merchant will be asked to confirm the action and this cannot be undone once confirmed.

Product Groups
Products that share common attributes can be grouped together. This will help the customers to browse the products easily by category or grouping.
Quick guide on creating product groups
Step 1: From the Product Groups tab, click the '+Create New' button

Step 2: Set the 'Group Name'. Enabling the button will make the group name visible on the storefront.
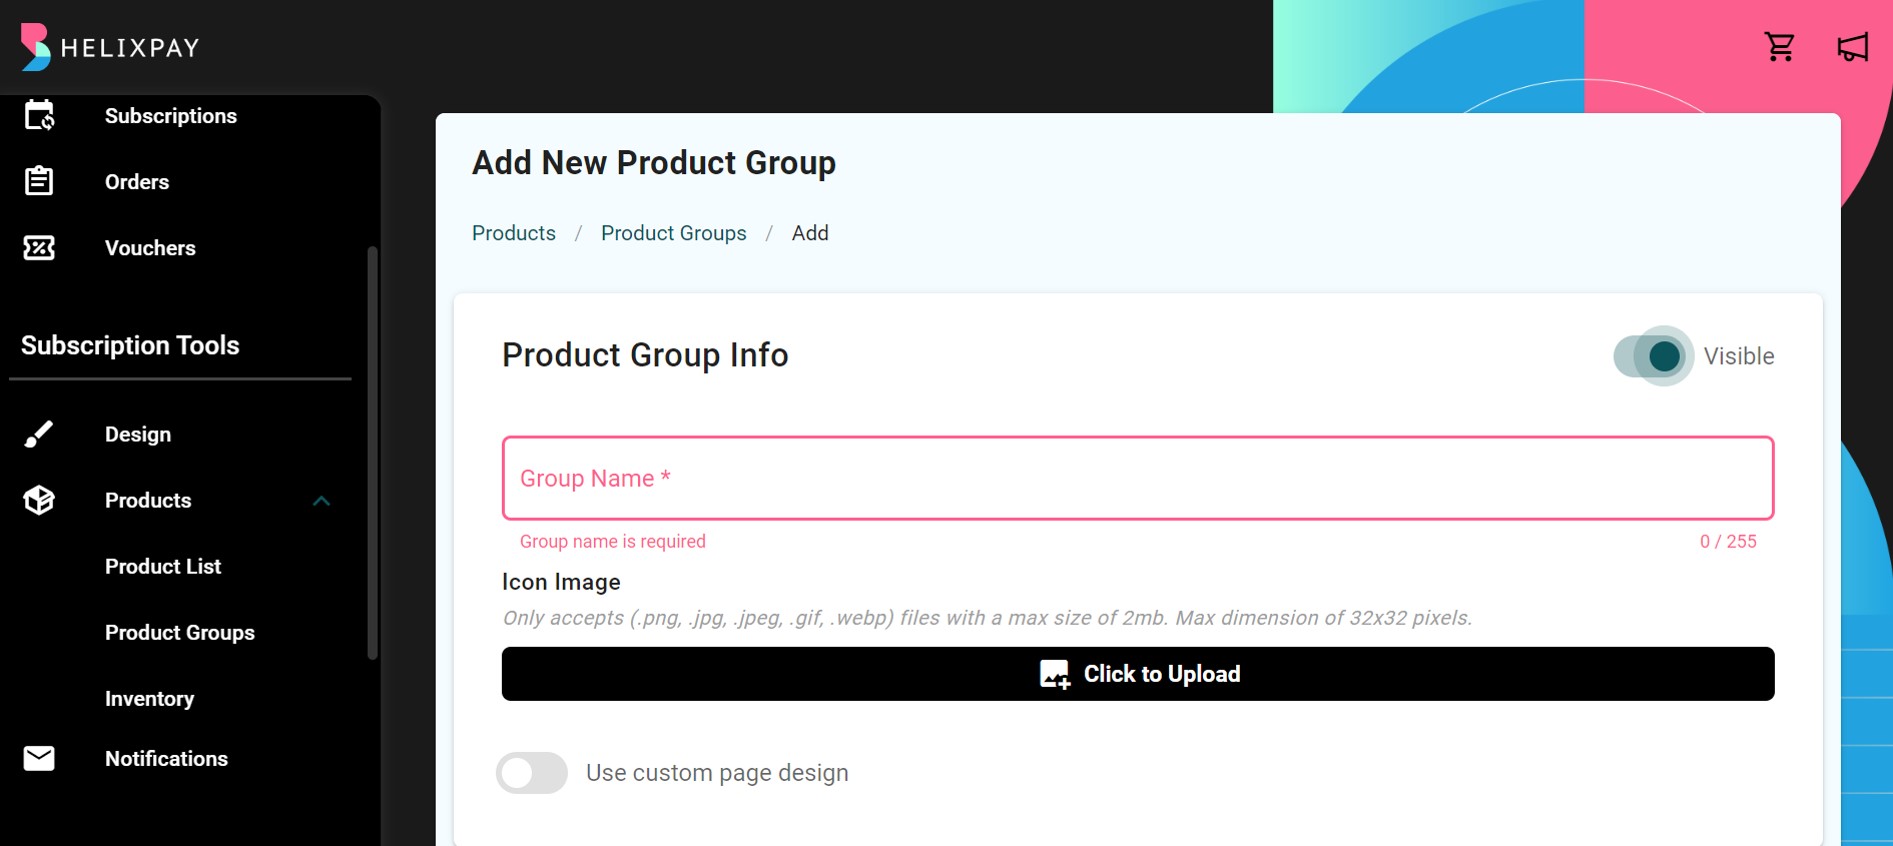
Step 3: Upload Group Icon
![]()
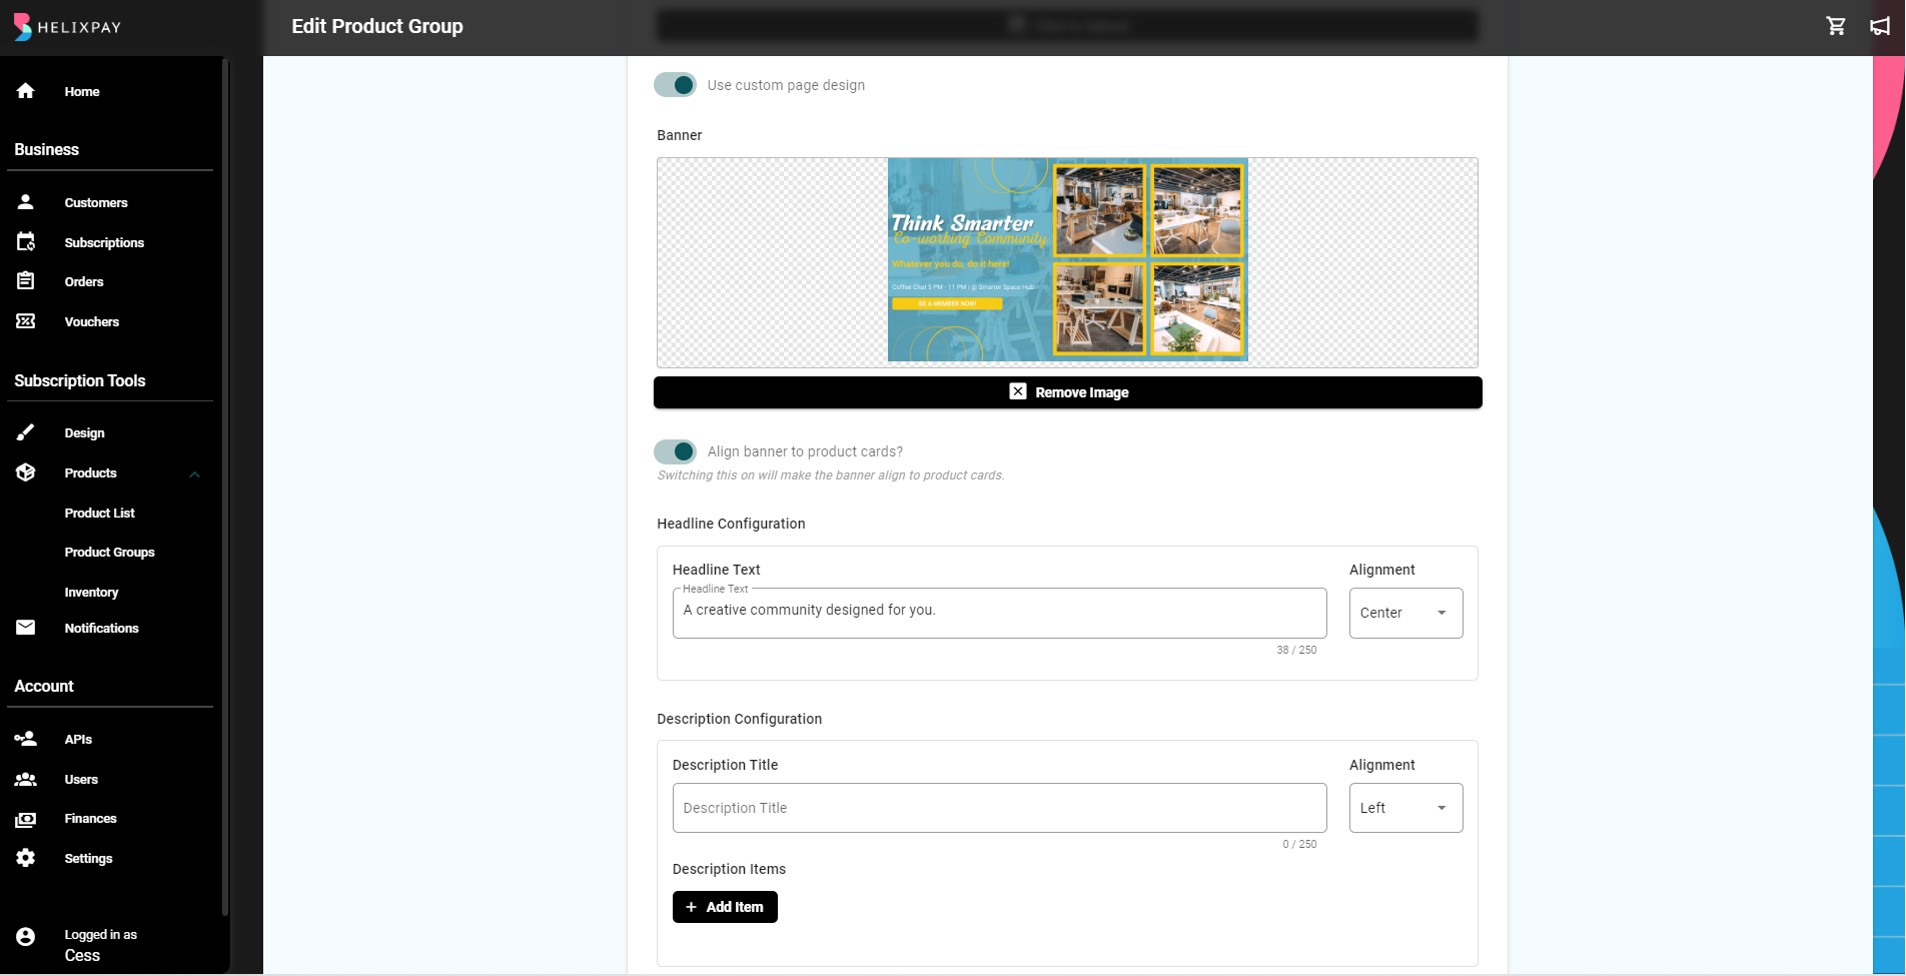
Step 4: Enable custom page design to add banner and description to the product group page
Step 5: Add products by clicking the '+ Add' button

Step 6: A pop up menu will appear showing all the products listed. Select the products to be included in the group then click 'Save'.

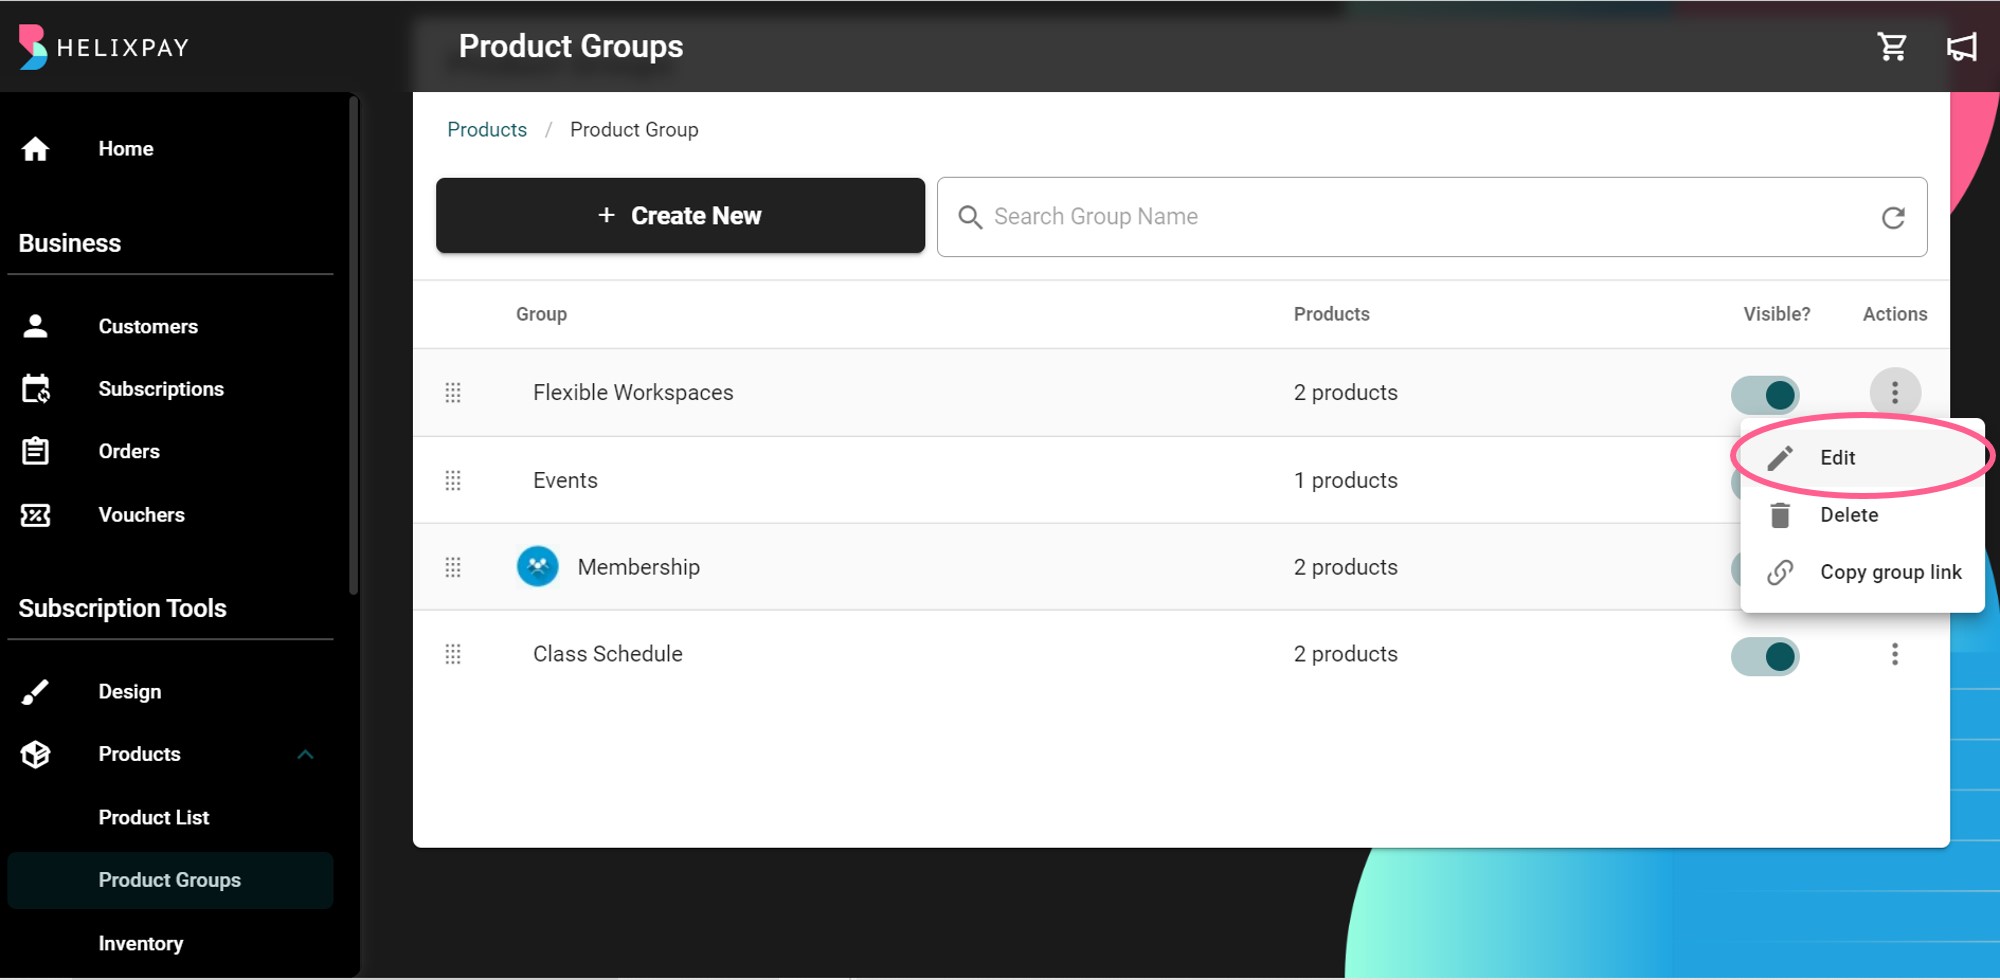
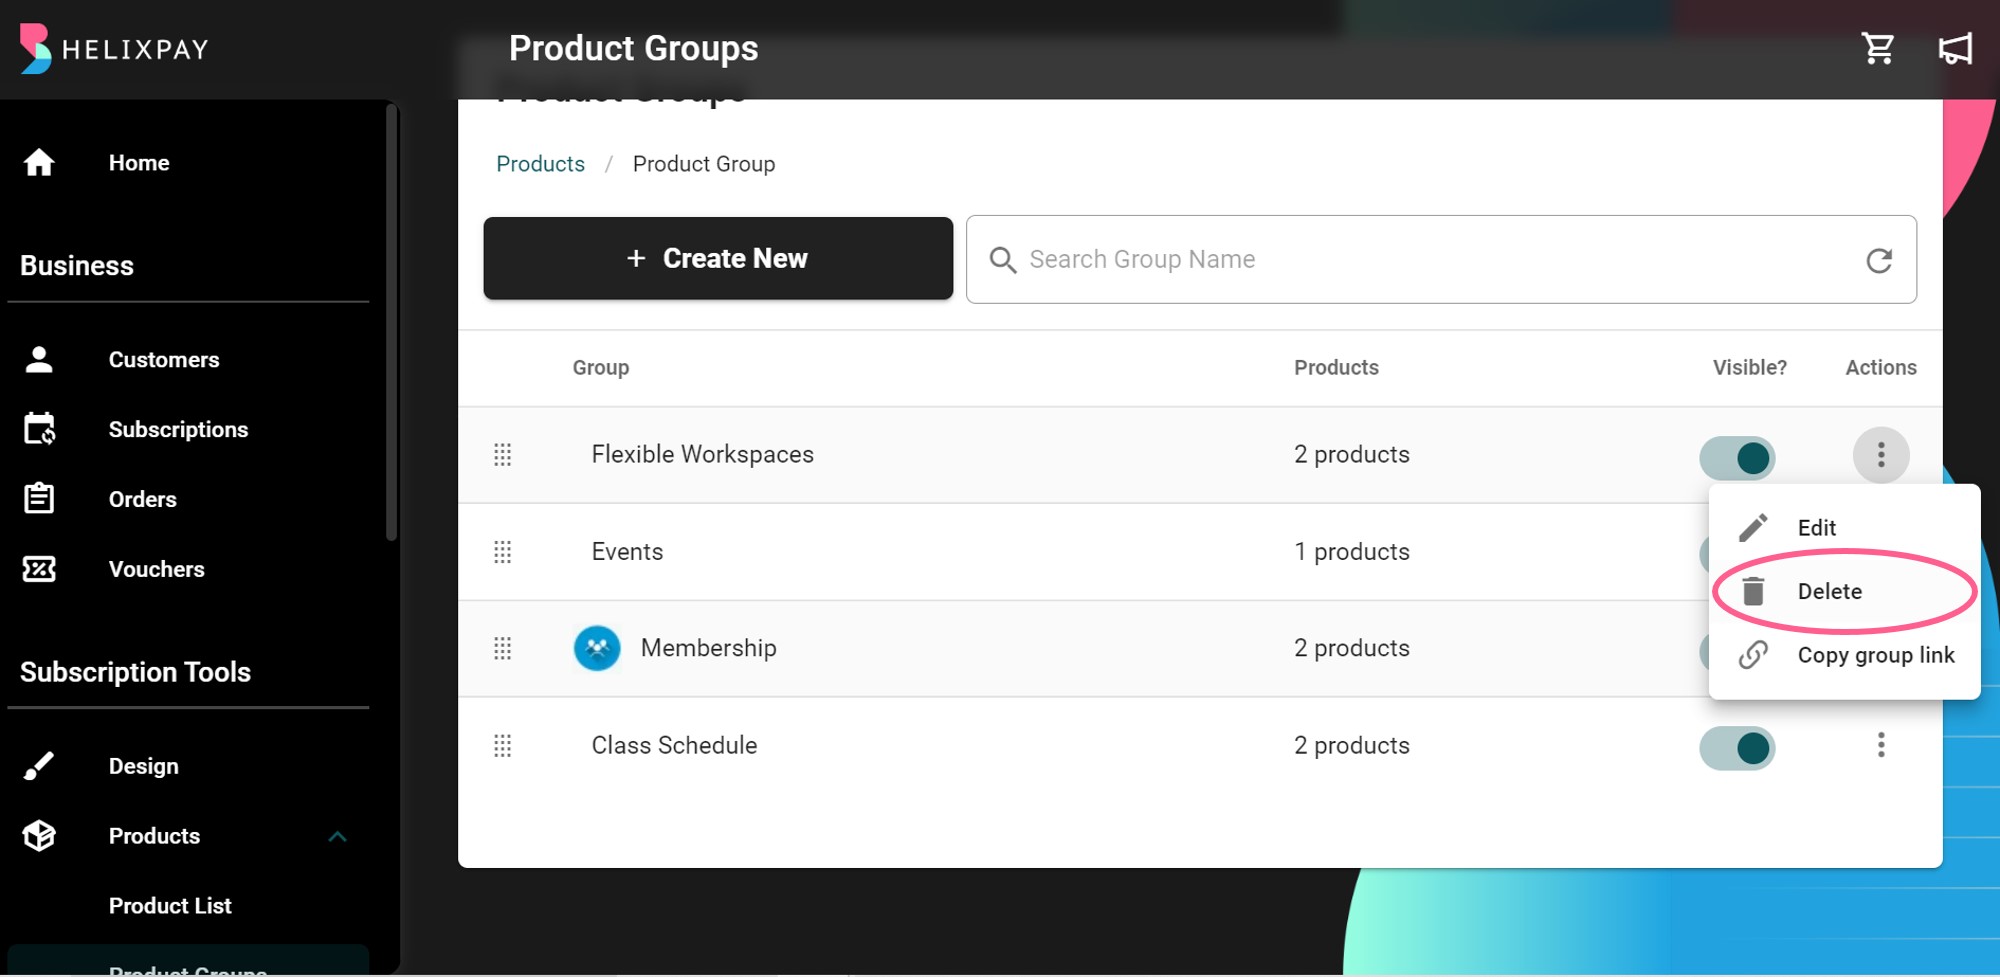
Edit product groups
To edit a product group, the merchant can click on the 'pencil icon' found under the Actions column.
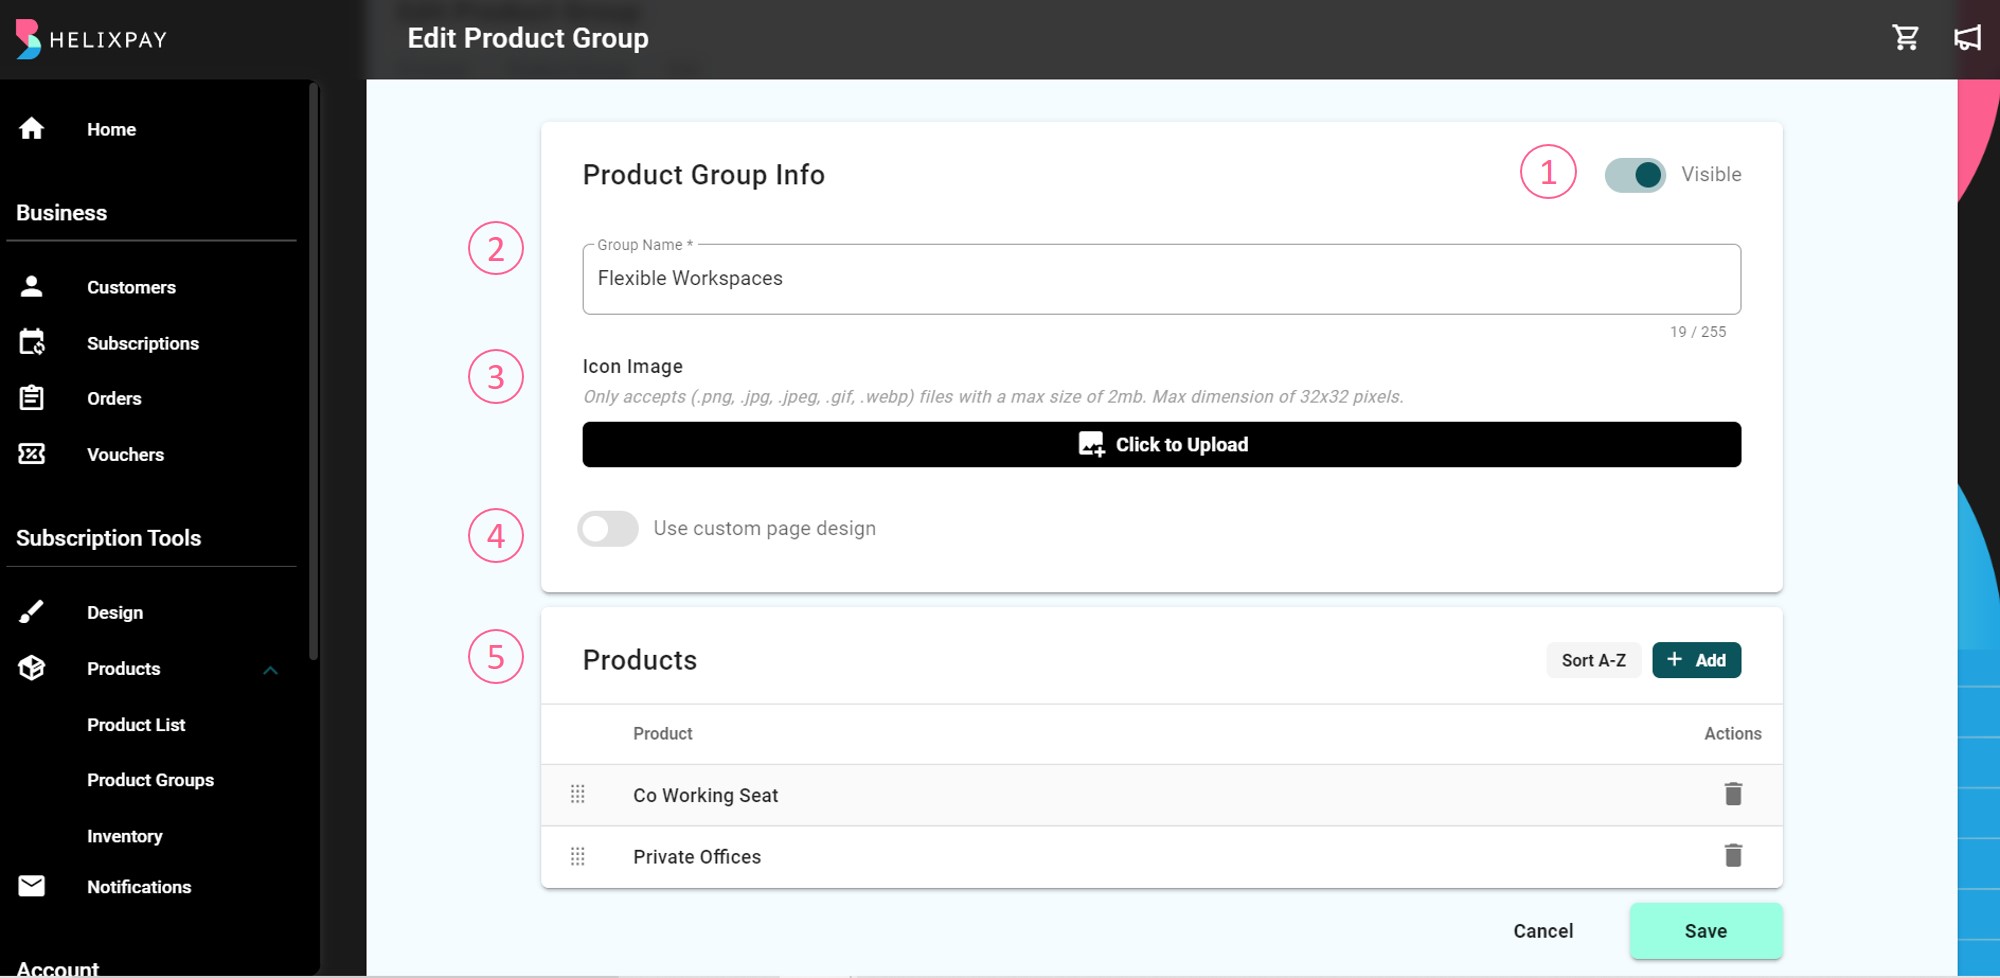
You can edit the following product group information:
- Group visibility
- Group name
- Icon image
- Custom page design
- Add and/or remove products
Delete a product group
The 'Delete' button allows you to delete a product group. In deleting a product group, you will be asked to confirm the action and this cannot be undone once confirmed.
Set Trial Payment Value
The trial payment value allows you to start a customer’s subscription with a discounted amount. You can set the discount amount and the first number of payments before the customer gets charged with the normal subscription price. To do this:
Step 1: Select the product to be set into trial payment. Click the 'ellipsis button' found under the Actions column then click 'Edit'.

Step 2: Under the Variants section, choose the subscription frequency to be edited then click the 'drop-down arrow'.

Step 3: Set the number of orders the trial payment value will be applied, input the discounted price, and add the discount promo label.

Step 4: Click 'Update'.

Product Details Page
The product details page is another web page from the storefront that provides more information about a specific product. This page can help you tell your customers everything they need to know about the product such as key features, benefits, product guidelines, and more so they have a better understanding of what they are paying for.
Key Features of Product Details Page:
- Add up to 5 SKU Photos;
- Add video link;
- Allow customers to add in their order; and
- Each product details page has its own URL so you can have a particular product page linked to your social media post, email announcement, or to your existing website.
A well-designed product details page is one of the most important pages to your storefront that can lead directly to a sale as customers make informed decisions from knowing more of what you are offering. Start creating your product details page by following these steps:
Step 1: From the console, click ‘Products’ then select ‘Products List’

Step 2: Choose the product to be updated then select ‘Edit’ under Actions column

You can customize the Product Details Page further by adding recommended products, content cards, and distinctive features.
Create New Products
If you don't have any products yet, you can follow this guide in creating new products.
Step 3: Go to Product Details Page section and start customizing the following fields:
- Description List Items
- Video Banner
- Product Details
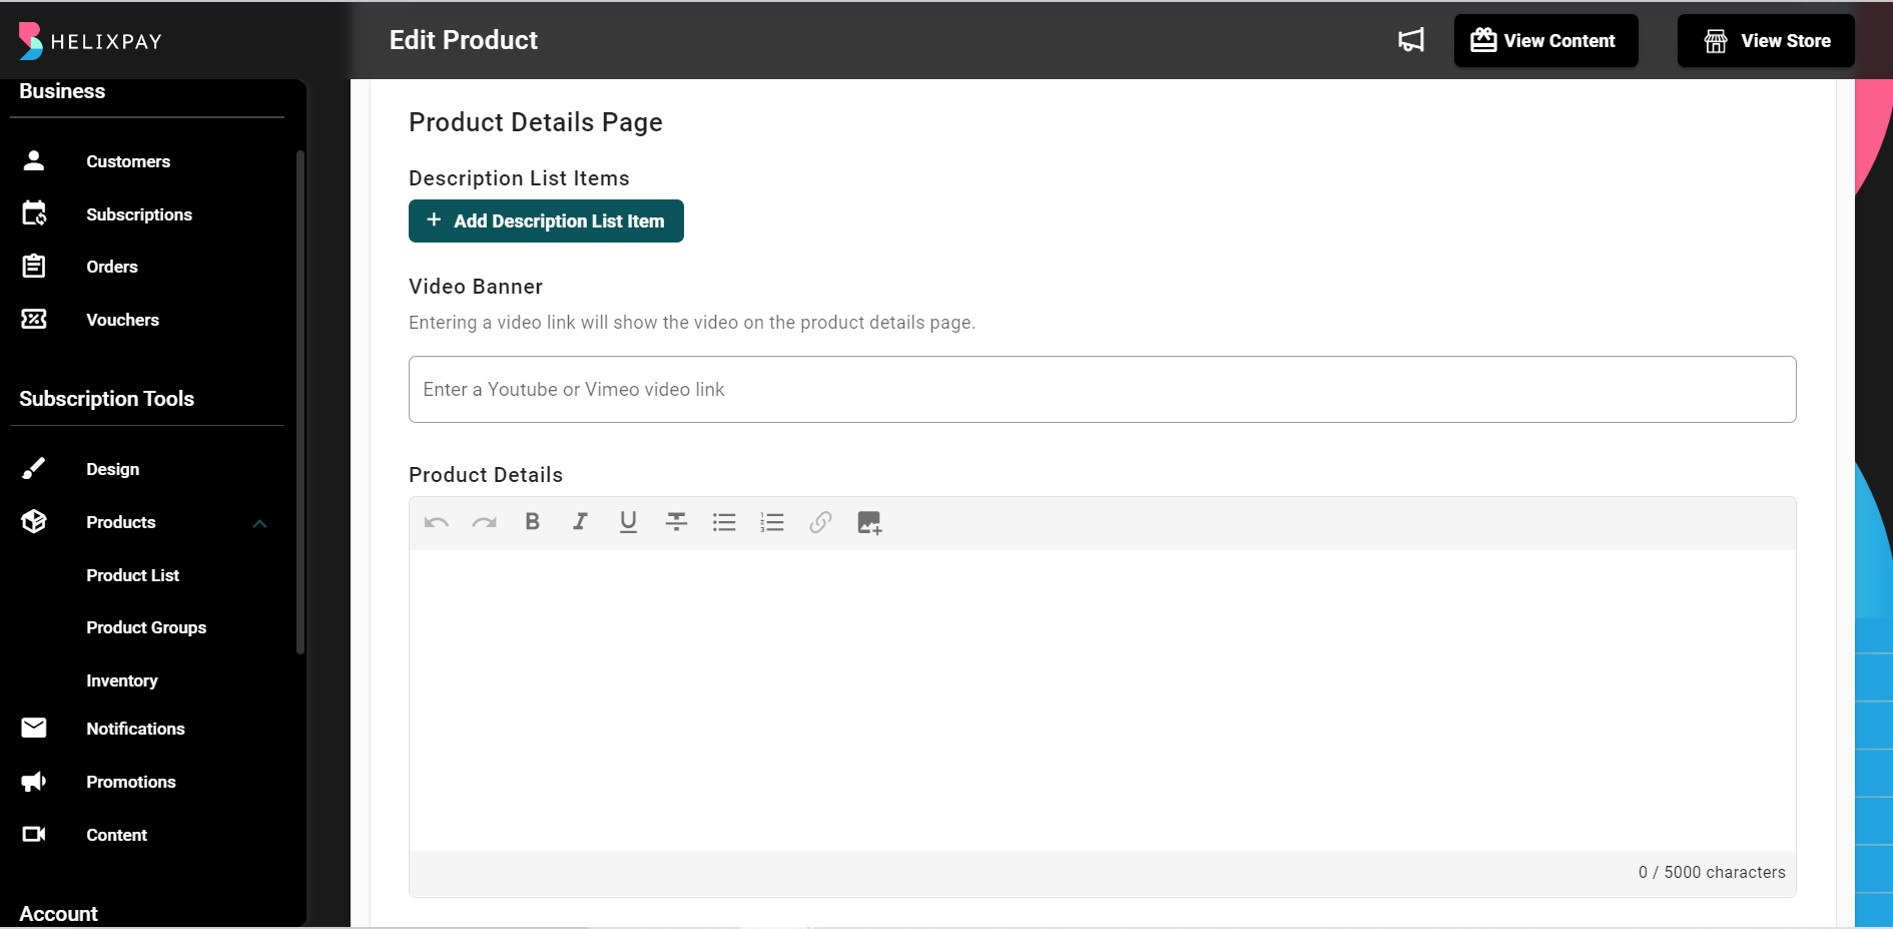
Step 4: Click ‘Update’ on the bottom part of the Edit Product page.

Teaser Cards
The Teaser Cards feature lets you create exclusive “members only” content “teaser” to highlight content that can only be seen by members or customers that subscribed to a membership product.
For each product, you can create an "exclusive content" teaser that is going to be a card component on the bottom part of the Product Details Page. This teaser card has a call to action button that will auto-scroll up to the “purchase button” at the top of the Product Details Page when clicked by the customer.
Start creating your teaser cards by following these steps:
Step 1: Select the product where you want to add the Teaser Card(s). Click the 'ellipsis button' found under the Actions column then click 'Teaser Cards'.
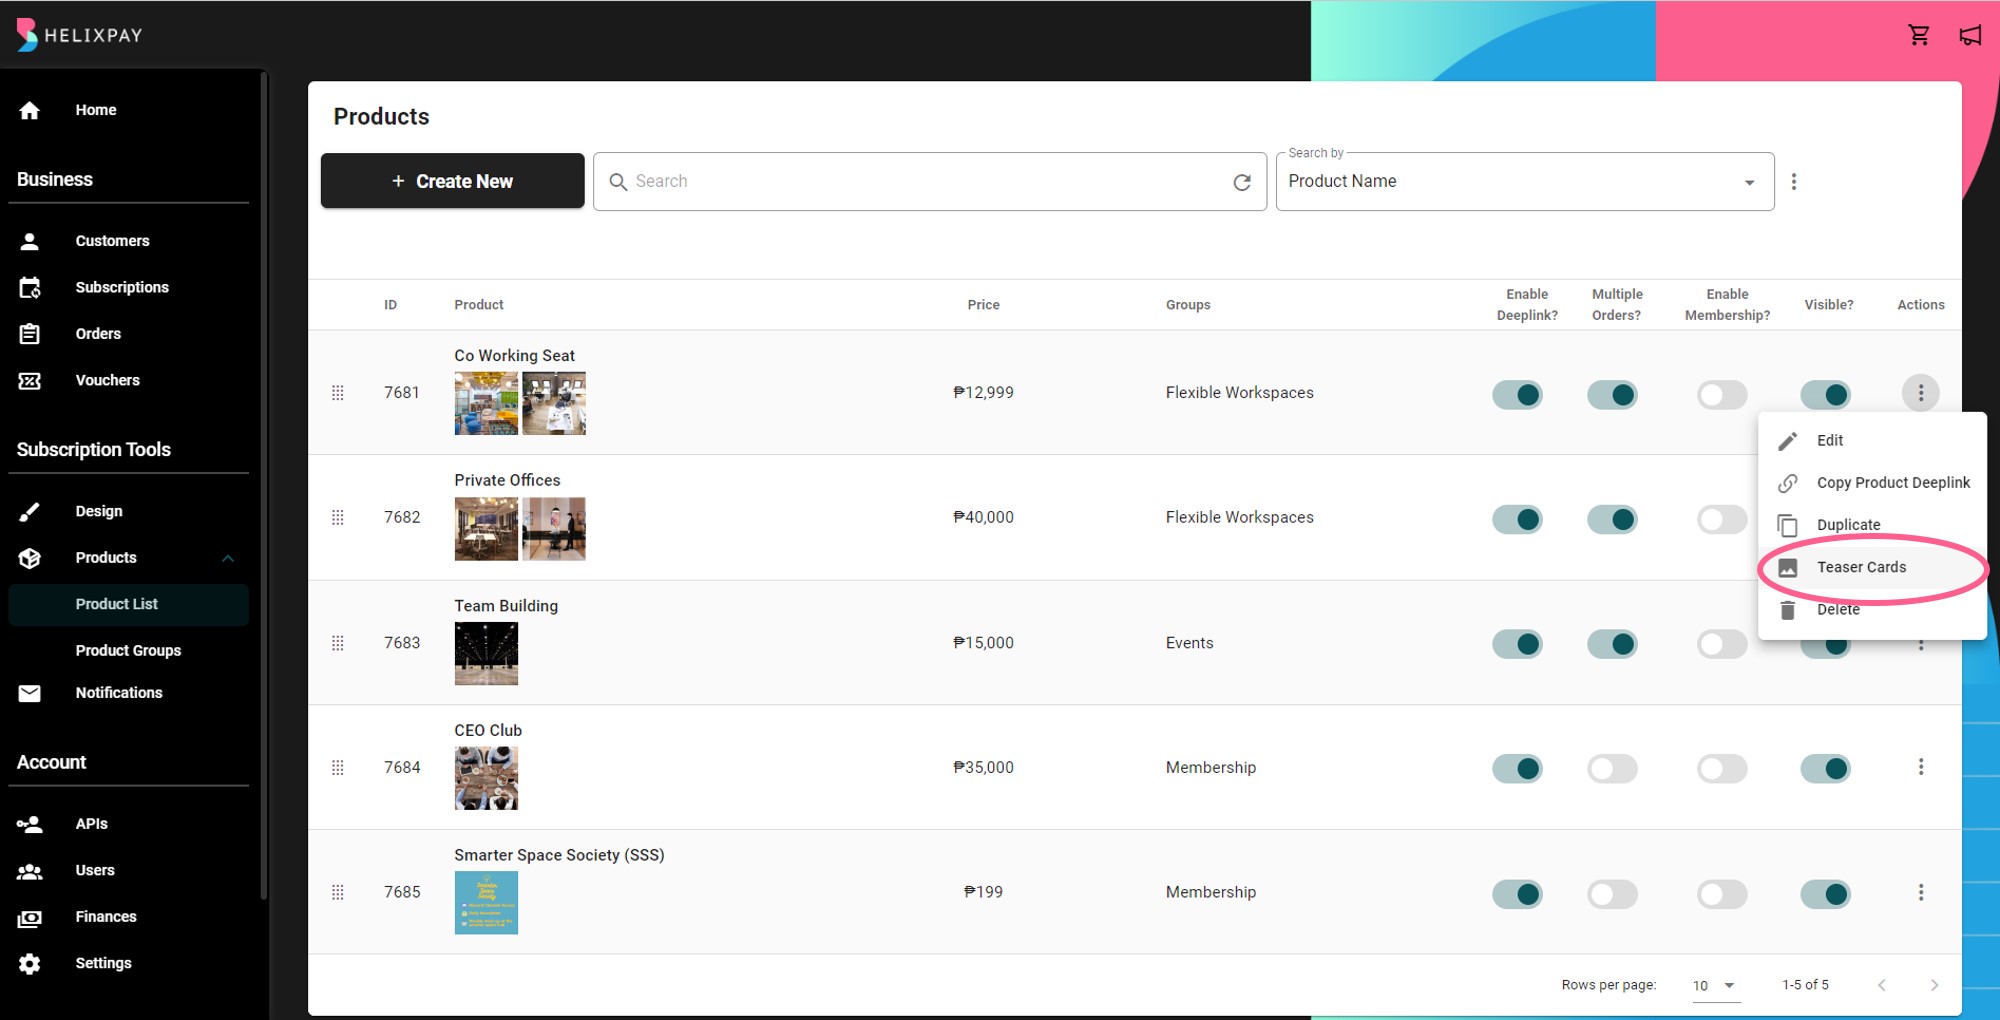
Step 2: Click '+ Add New Card'
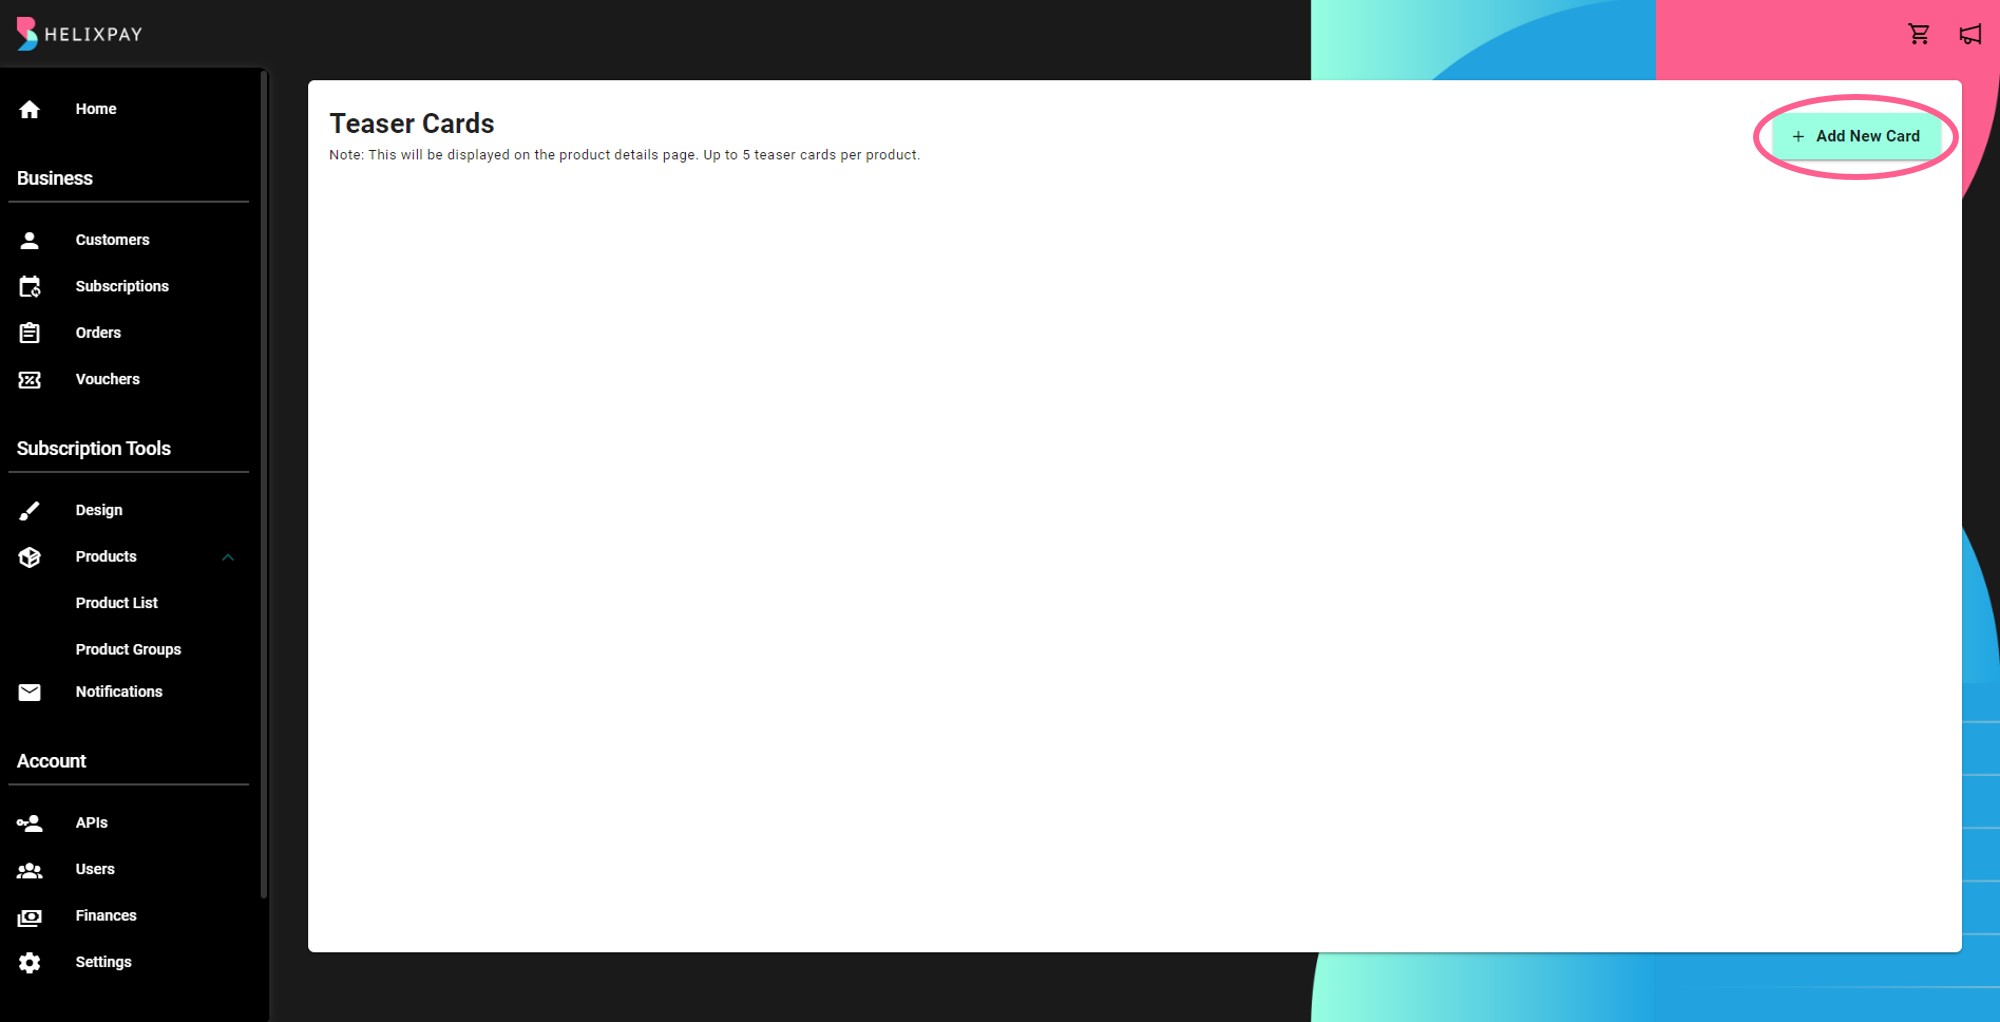
You can add up to 5 teaser cards per product.
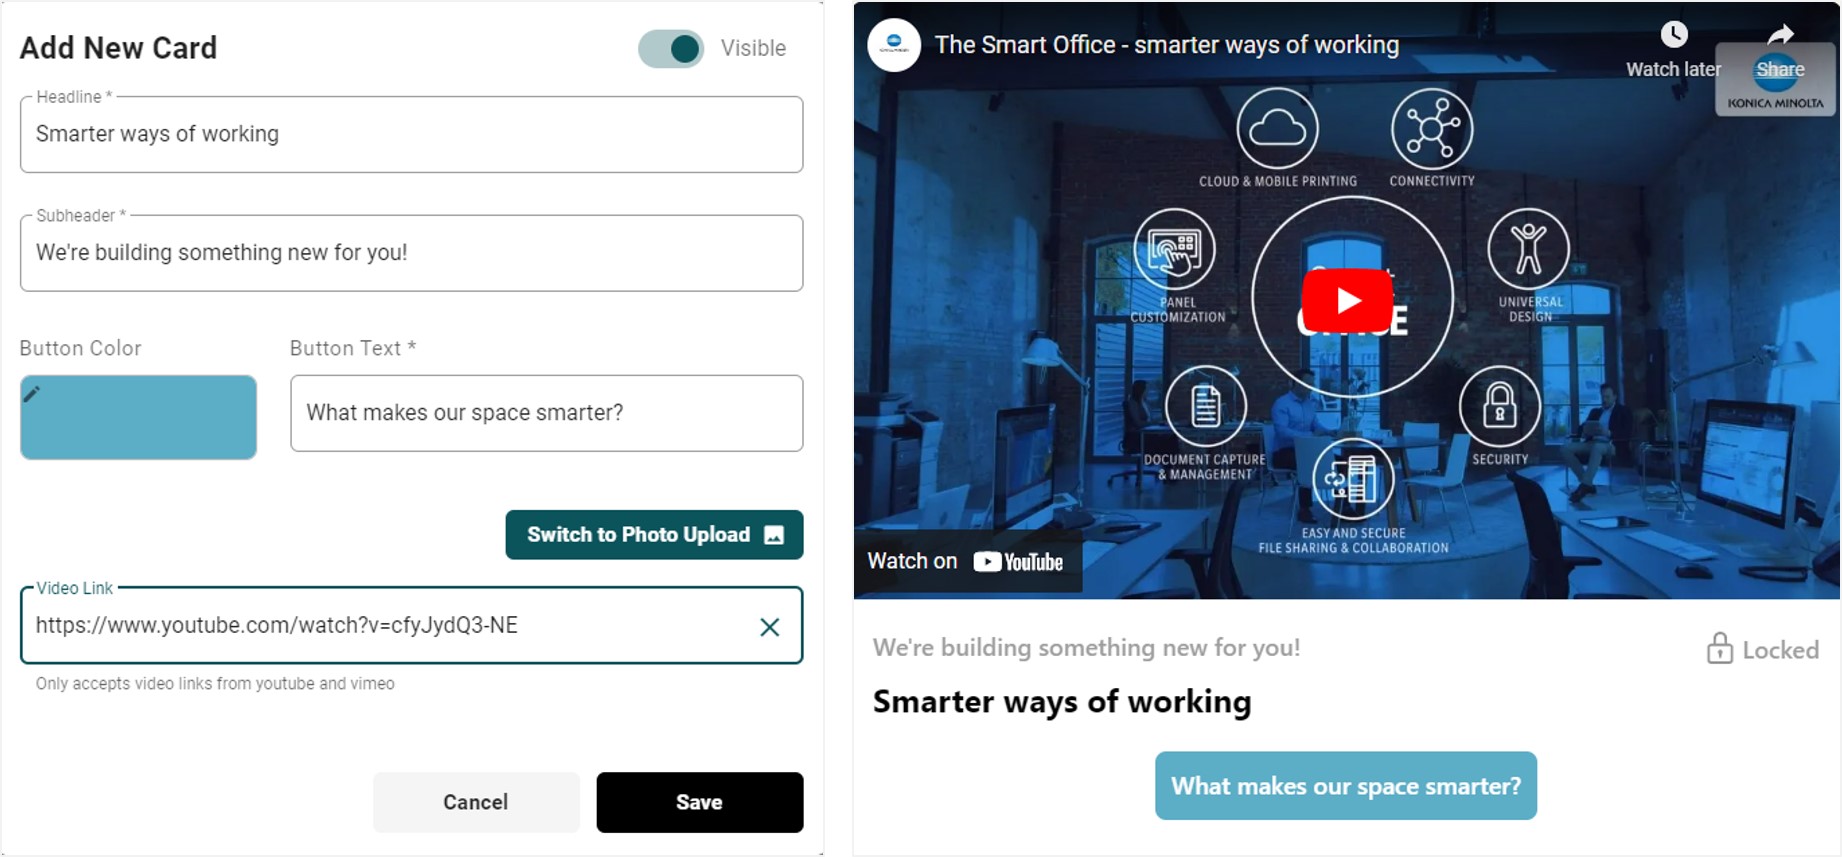
Step 3: Set up the different components of the teaser card then click 'Save'.
Product Deep Link
Product Deep Link is a type of link that sends the user directly to the checkout page, saving them time to locate the product on your website and encouraging them to checkout quickly. You can copy the product deep link from the 'Product List' section on the console.
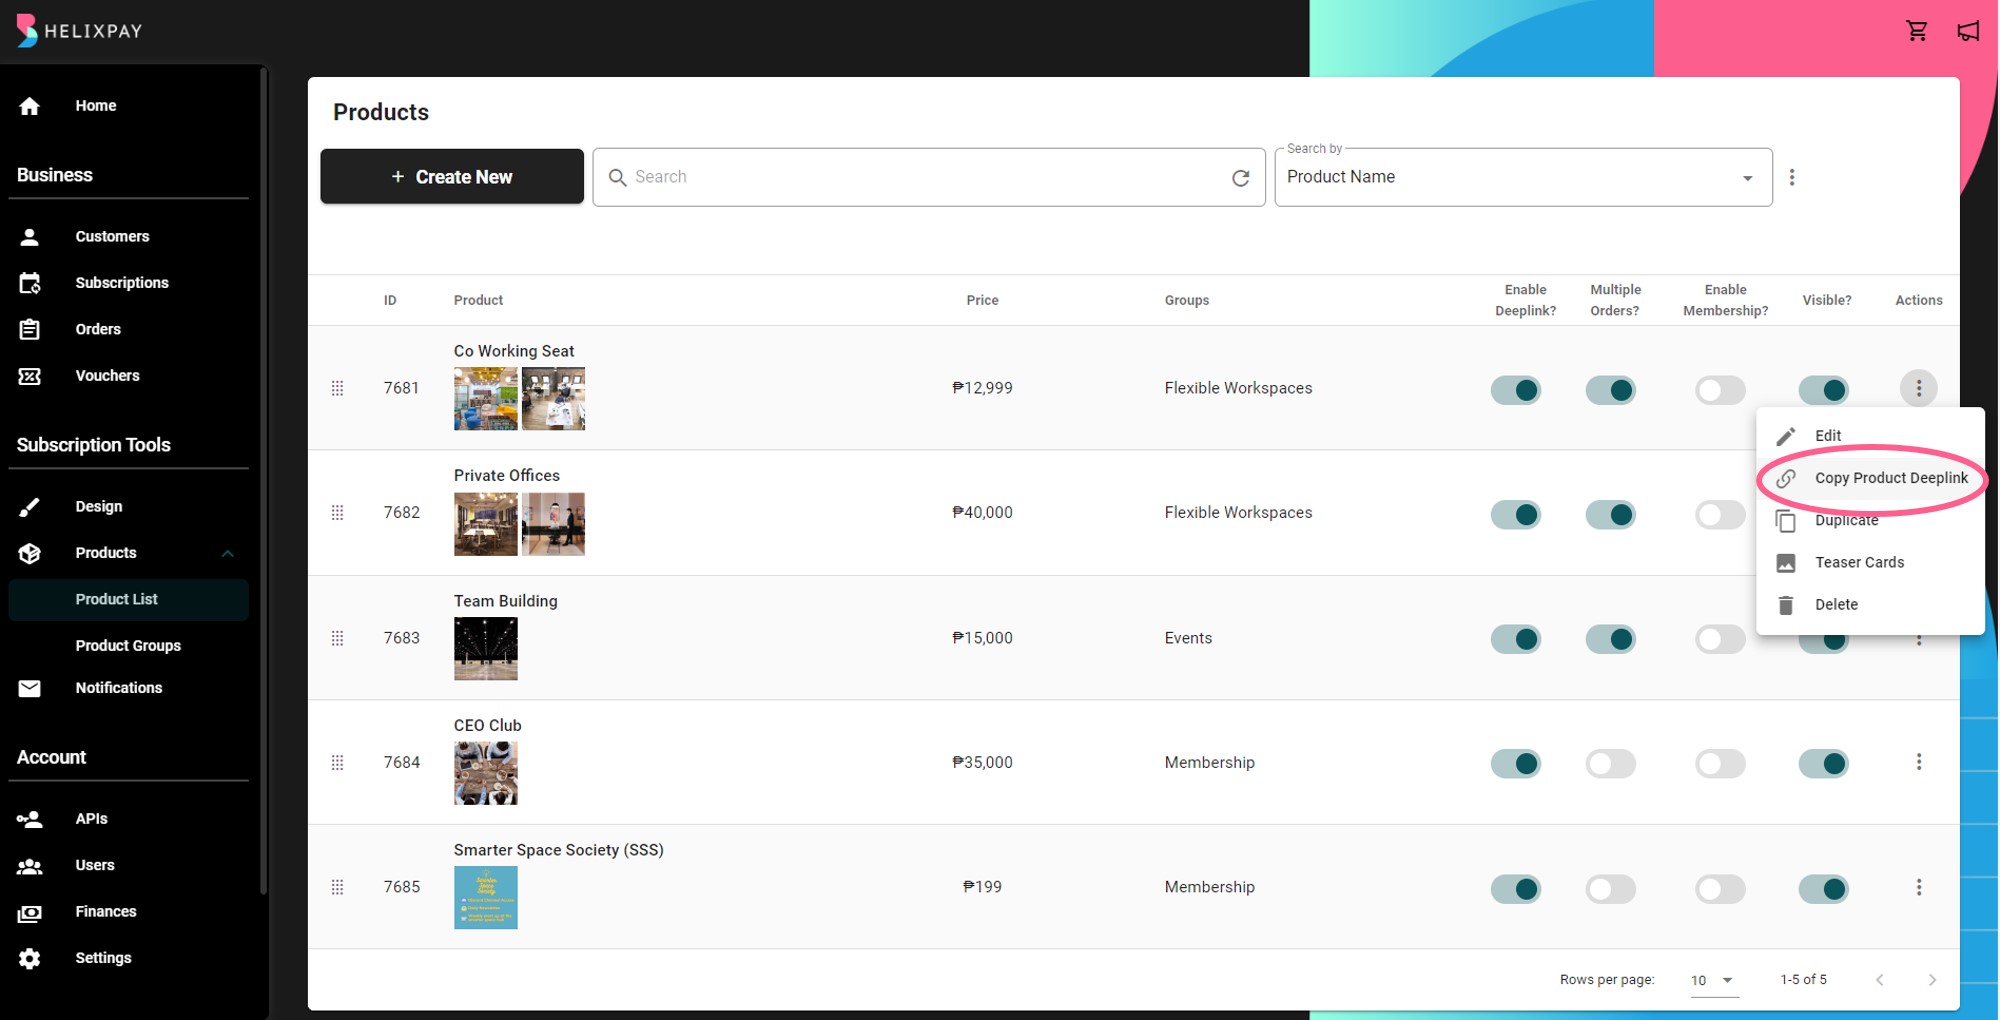
Make sure that 'Deeplink' is enabled to be able to copy it.
Customize Shipping Fee per Product
You can set up different shipping fees that will be added to the total cost of the customer's order. Shipping fees can be fixed or calculated and it can also be configured for each product.
Fixed Shipping Fee is a fixed amount that is added to the total order cost regardless of the order quantity. The settings for fixed shipping fee is global which means you can only set different shipping fees per region and it will be applied to all the products. You may refer to this link to know more about fulfillment settings.
On the other hand, calculated shipping fee is based on the incremental order quantity where you can set the shipping fee for the first order and the additional shipping fee for the succeeding quantity on the customer's order. Calculated shipping fee is also configured on a product level which can be helpful if you have products that require different handling where shipping fee may vary.
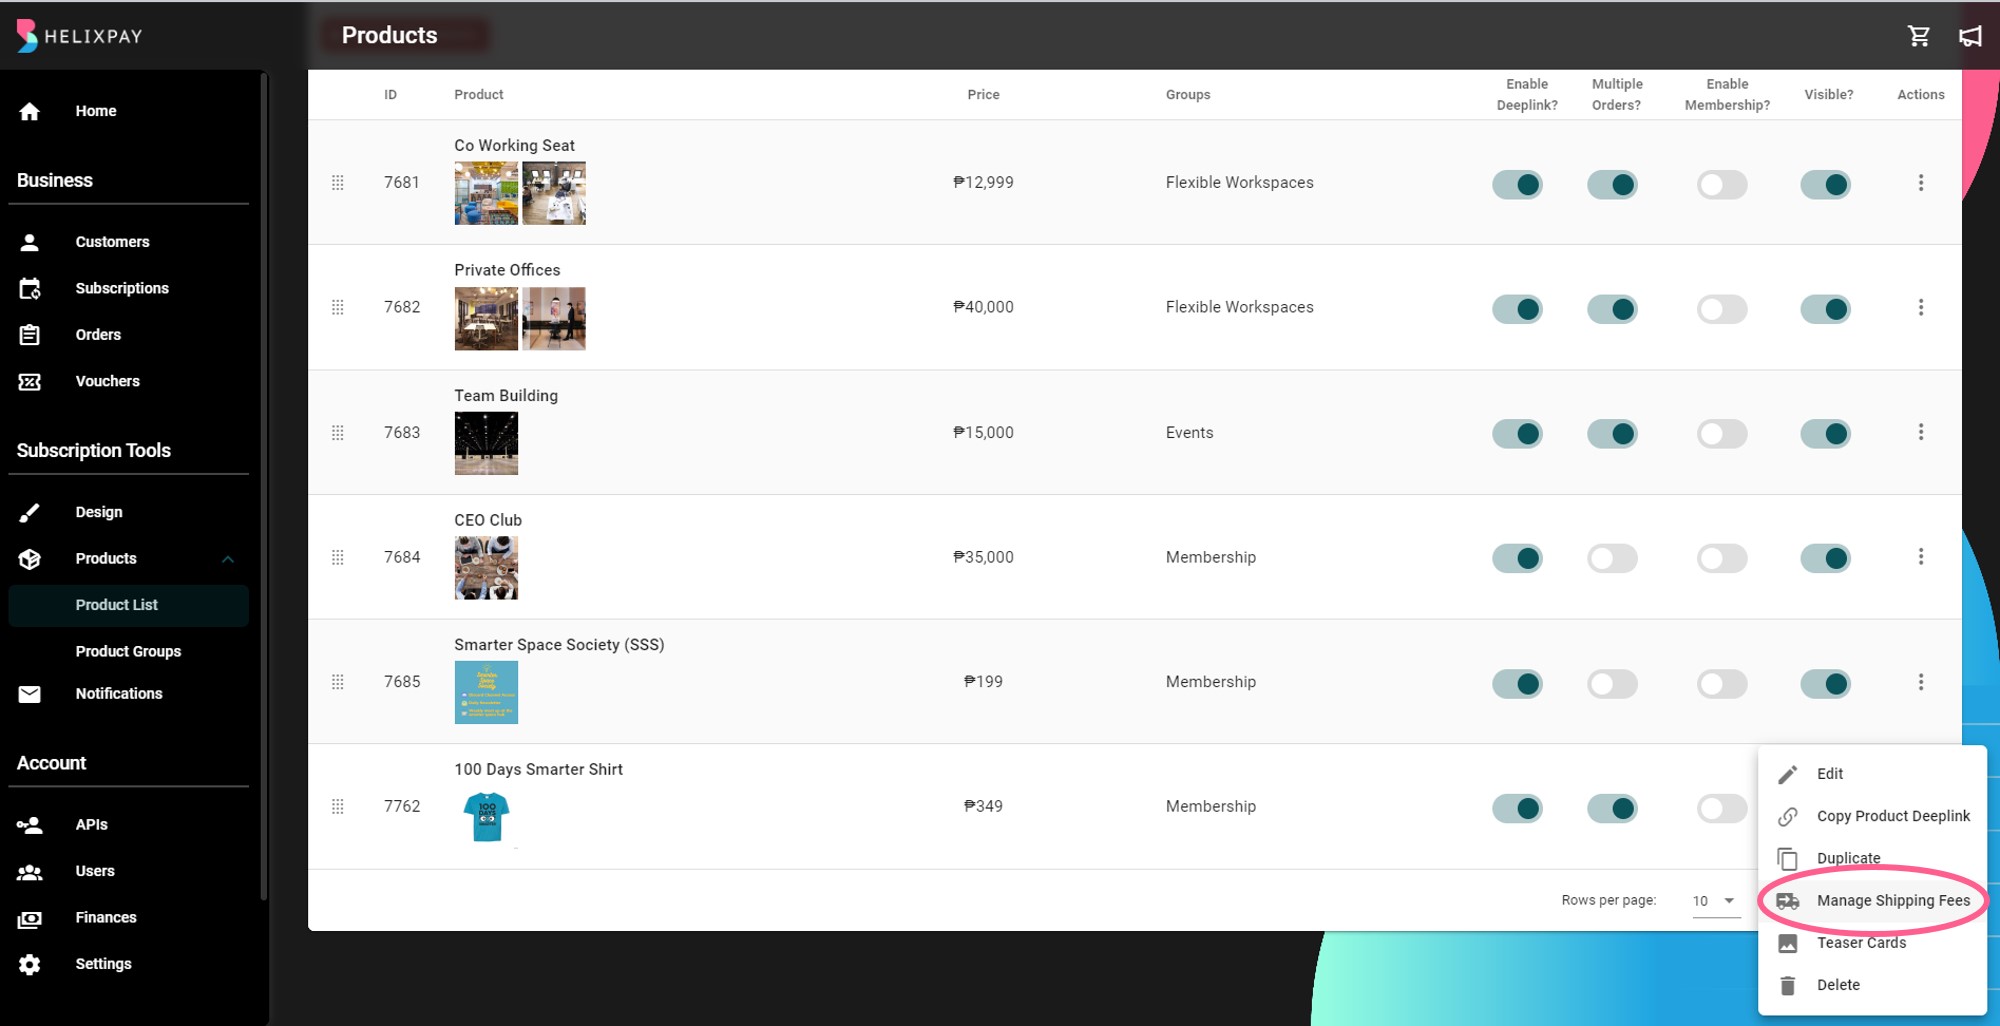
For example, Product A is a parcel and Product B is bulky. You can set the shipping fee for Product B to be higher than Product A by configuring the shipping fee for each product which you can do by following these steps:
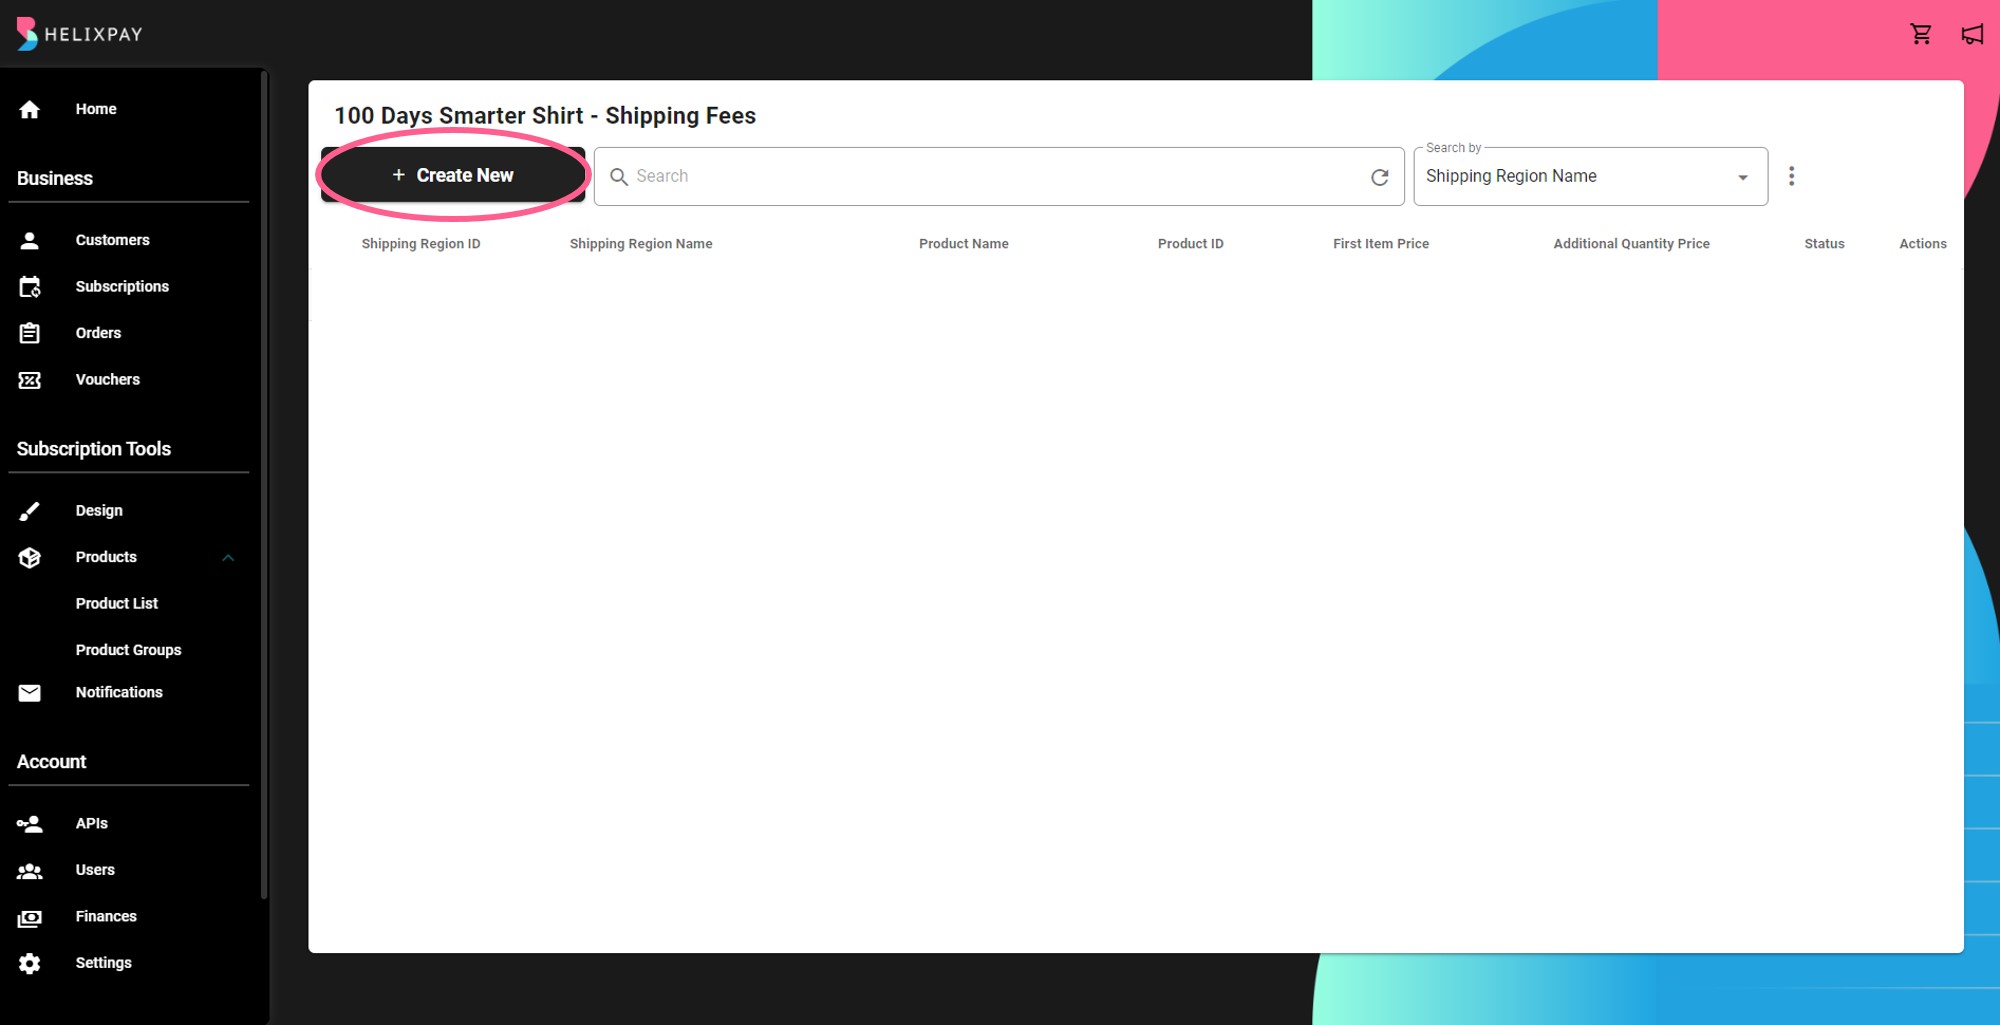
Step 1: Select the product that you want to add the shipping fees to. Click the 'ellipsis button' found under the Actions column then click 'Manage Shipping Fees'.
Step 2: Click '+ Create New'.
Step 3: Select the Shipping Region.
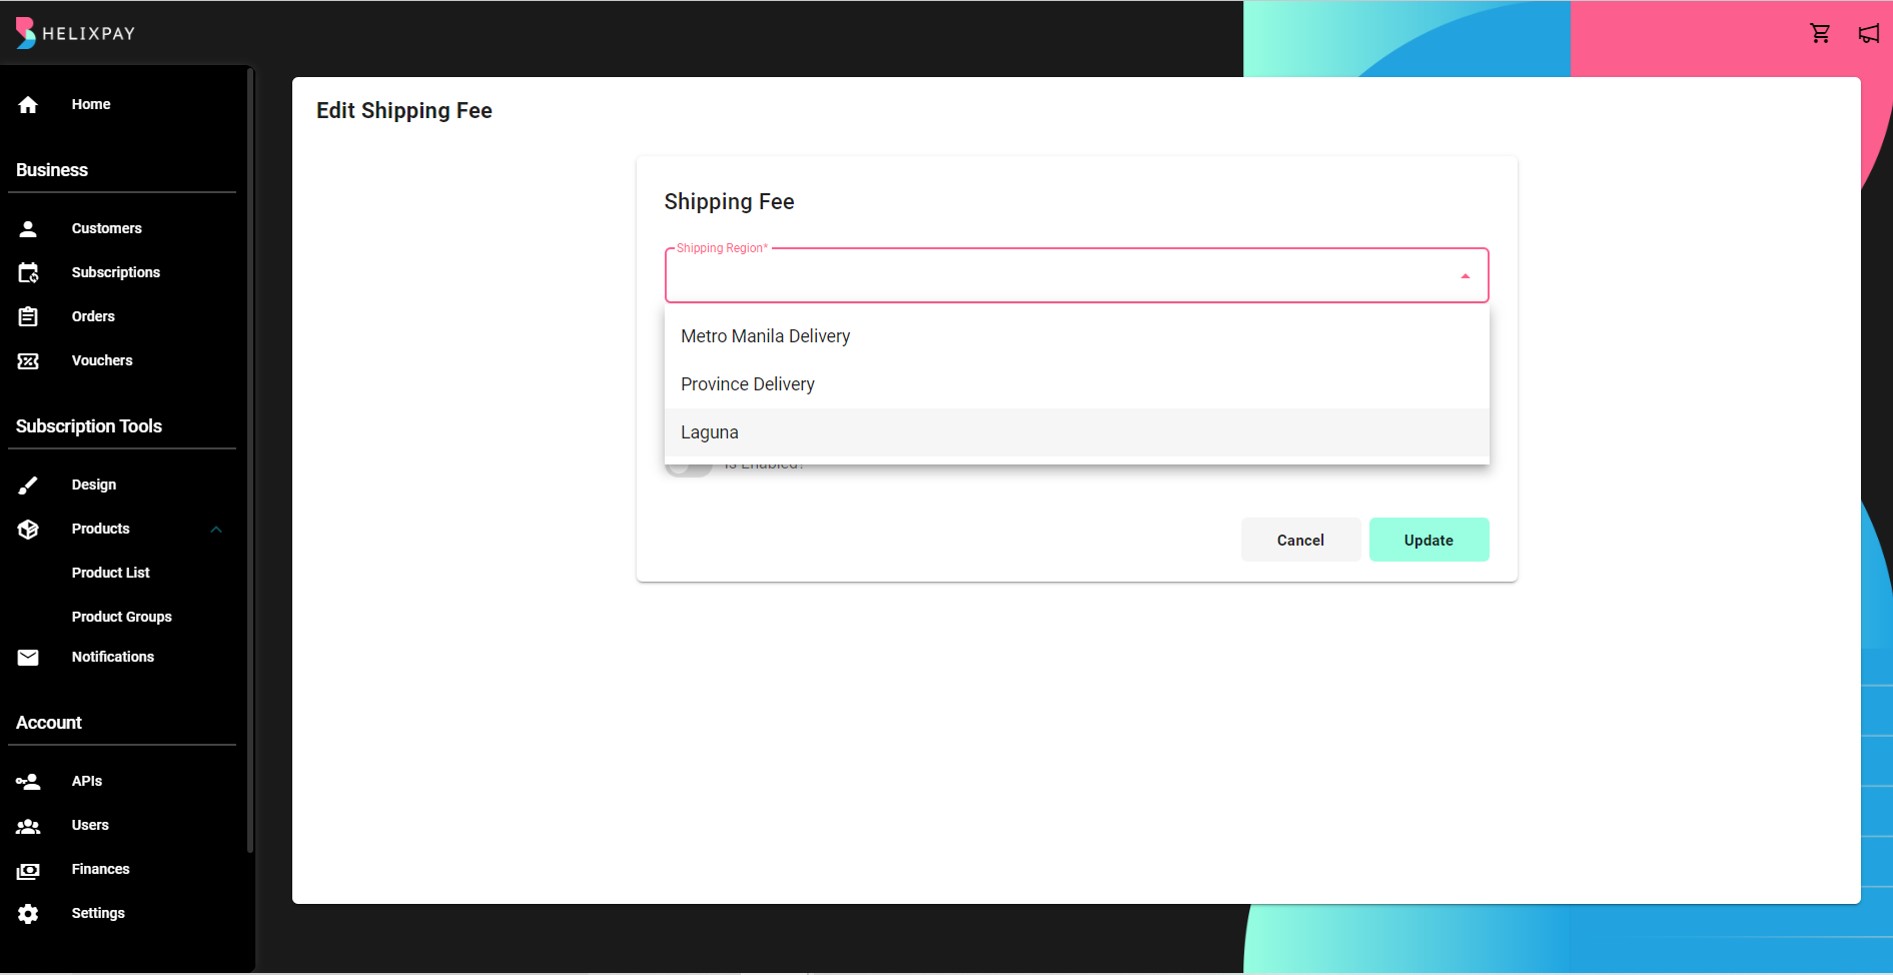
Inform your Account Manager if you want to add more shipping delivery region(s) to your shipping coverage.
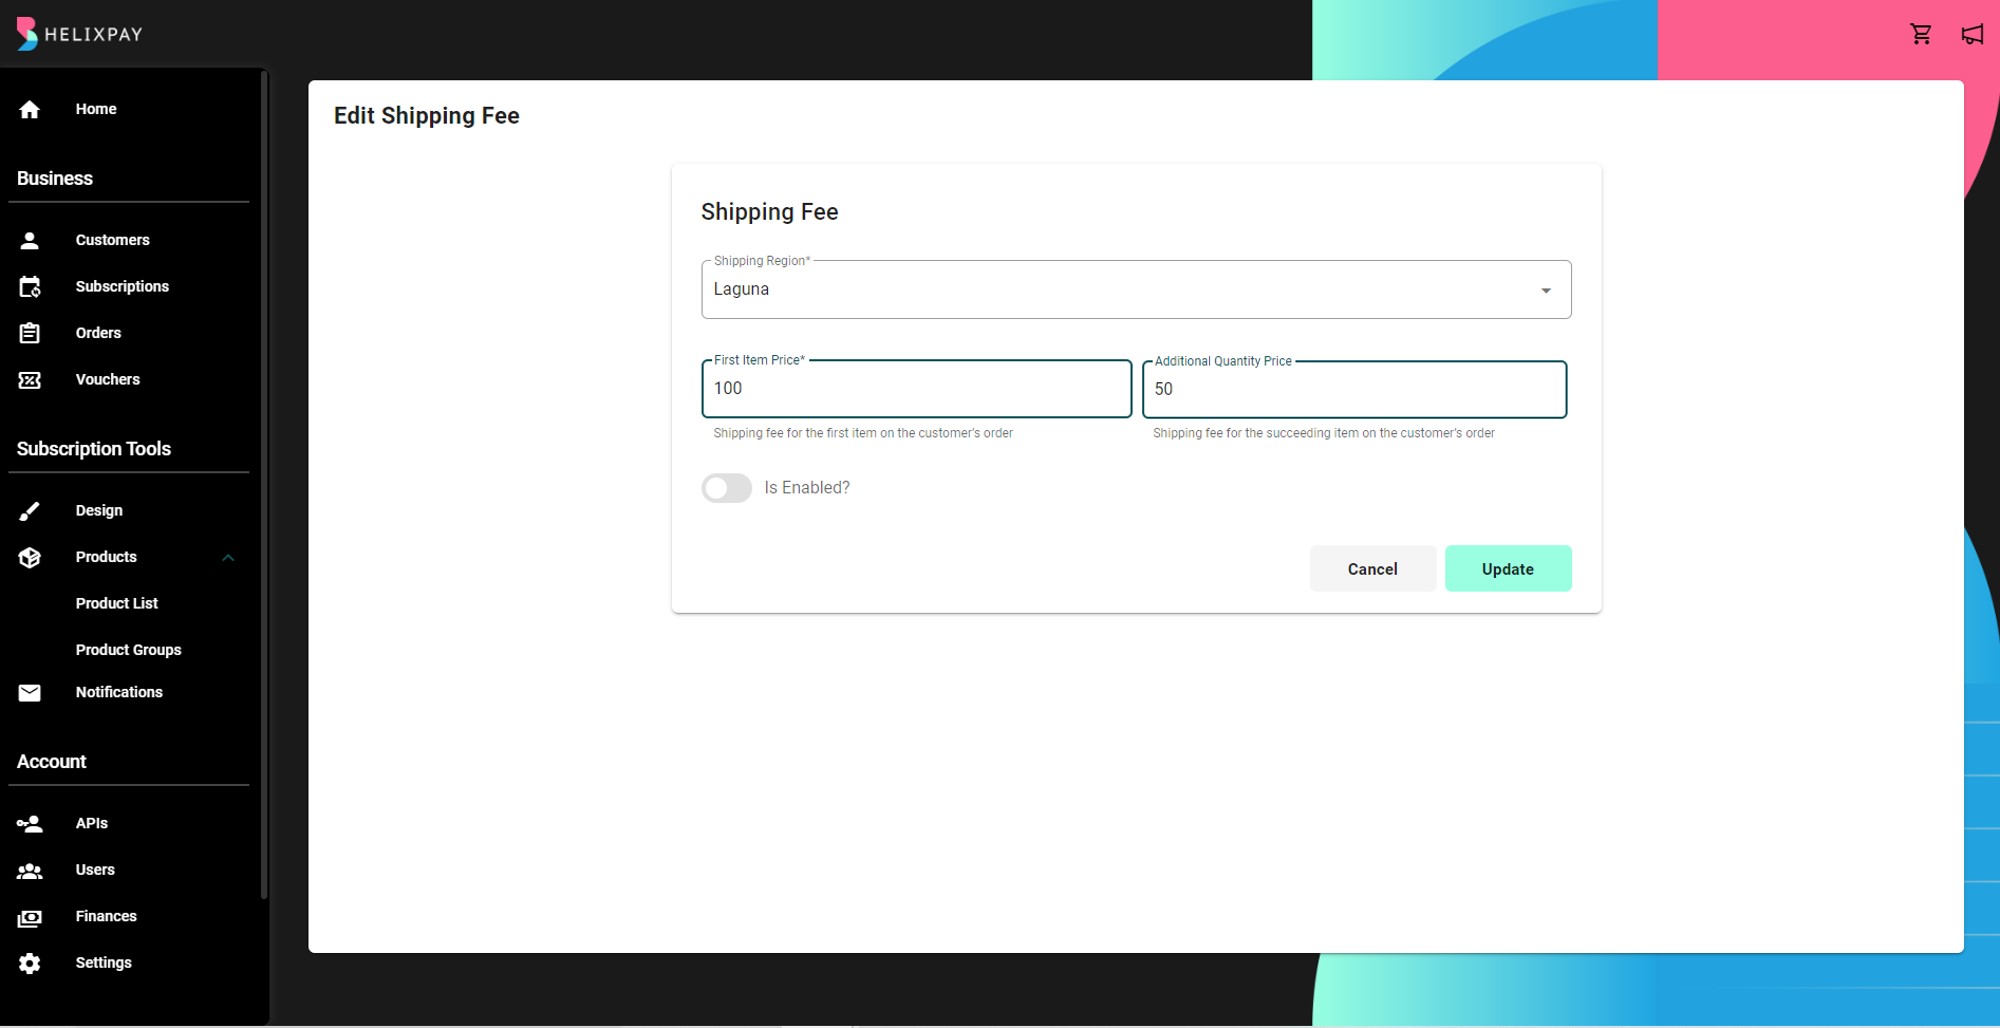
Step 4: Set the first item price and additional quantity price.
Step 5: Click 'Create'!
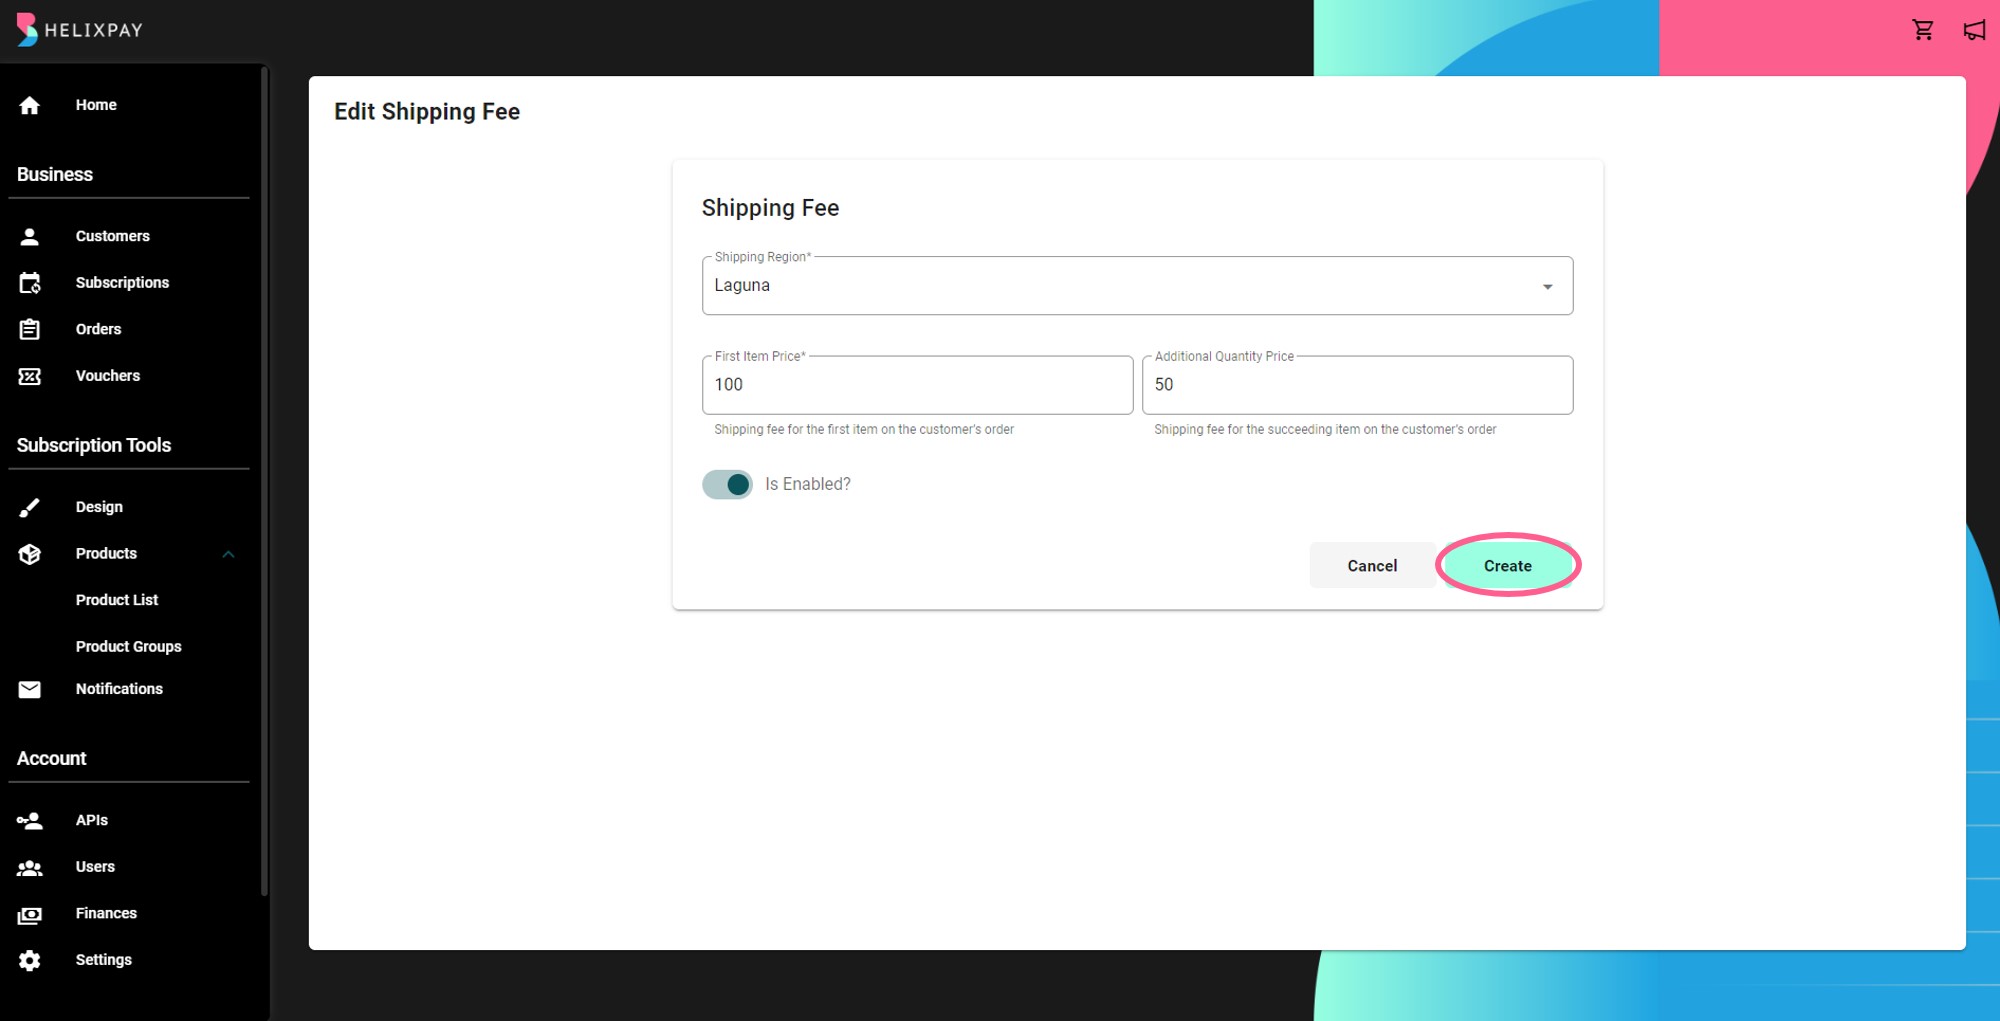
Make sure to enable the shipping to apply to the customer order.
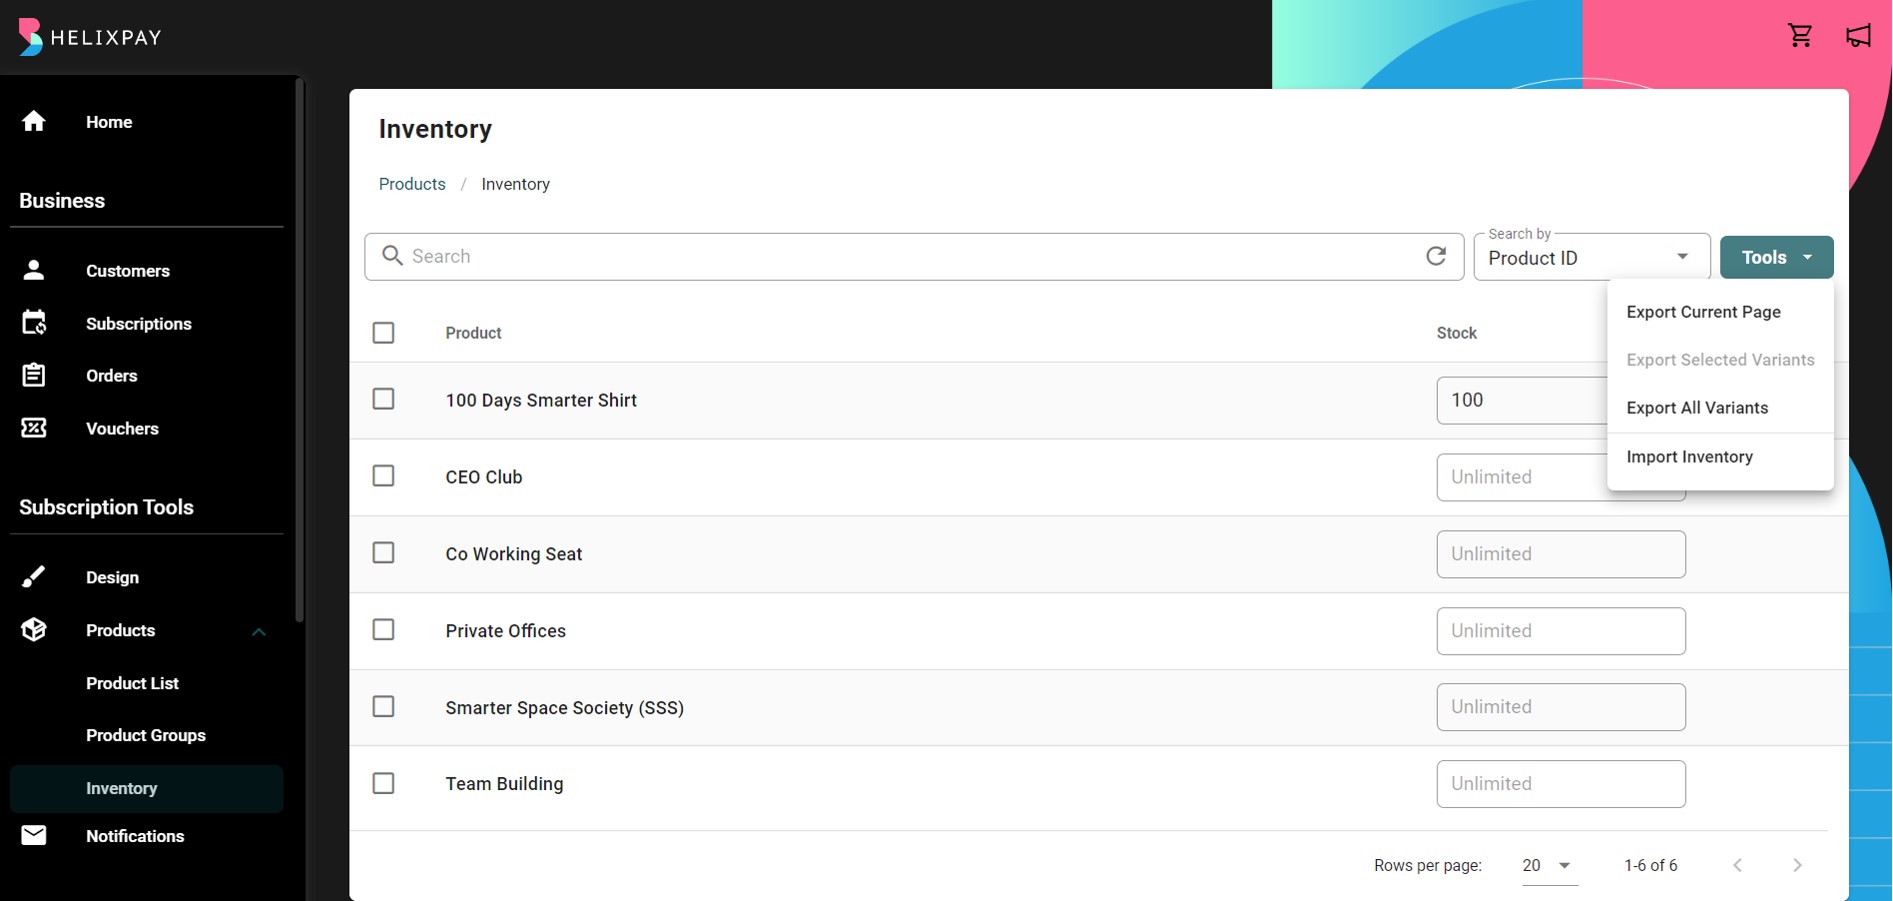
Inventory
You can do the following under the inventory setting:
- Update stock
- Export Current Page
- Export Selected Variants
- Export All Variants
- Import Inventory
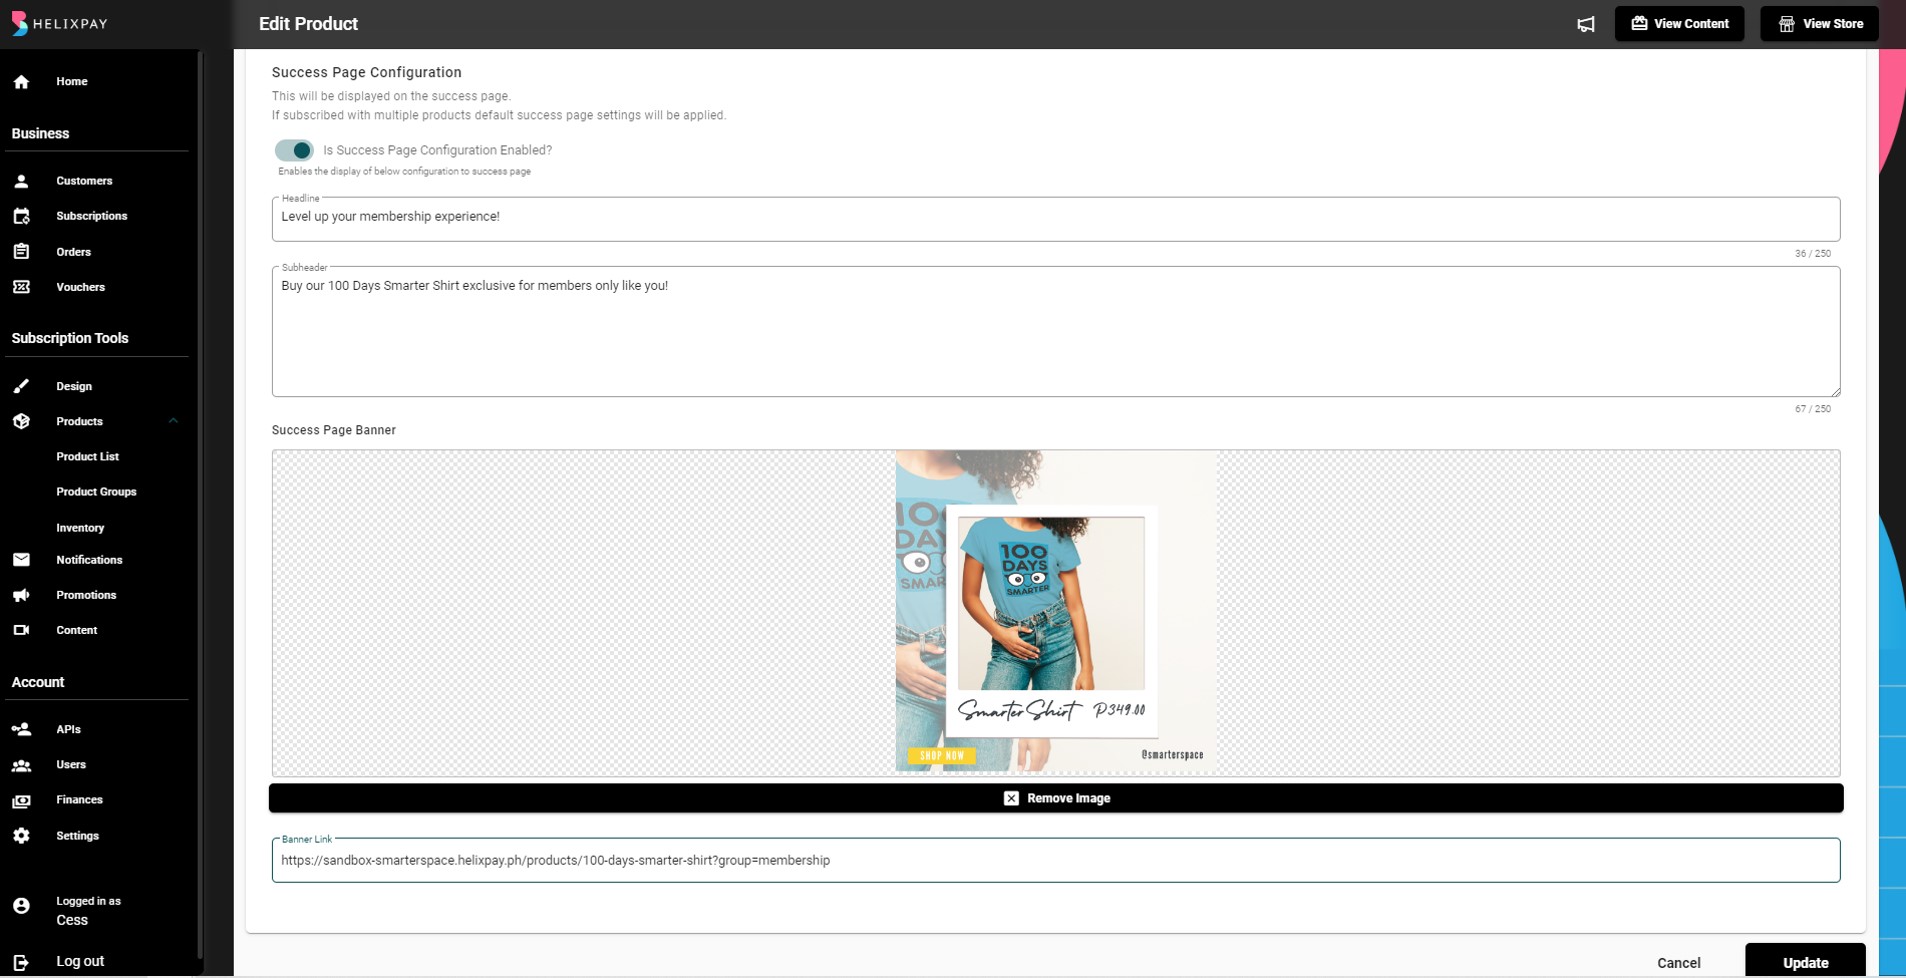
Success Page Configuration
This section lets you customize the payment success page for every product. You can use this setting to highlight product information, do promotion, or even cross sell other products that can be paired with the customer's current purchase. You can customize the following on payment success page:
- Headline
- Sub-header
- Success Page Banner
Updated about 2 years ago